

Quick Answer
Printing composite photos requires the same file preparation as printing any professional photograph: 300 DPI minimum resolution, sRGB or Adobe RGB color space depending on your print lab, proper sharpening for the output size, and soft proofing to catch color shifts before you send the file. The composite itself adds no special print requirements because once flattened, a composite is just a pixel-based image like any other. Where photographers get tripped up is resolution (the backdrop and subject must both be high-res), color profile mismatches (screen colors look different from printed colors), and material selection (canvas, metal, and paper each render differently).
This guide covers resolution requirements for common print sizes, color management from screen to print, file preparation in Photoshop, choosing the right print material for composites, and common mistakes that lead to disappointing prints.
Resolution: How Big Can You Print
The standard for professional photo printing is 300 pixels per inch (PPI, often called DPI). At 300 DPI, individual pixels are invisible to the naked eye at normal viewing distance. This means a 6000x4000 pixel image (a common digital camera output) prints at 20x13.3 inches at full 300 DPI quality.
For composites, both the subject file and the backdrop file contribute to the final resolution. If your subject was photographed at 6000x4000 pixels but your digital backdrop is only 3000x2000 pixels, the backdrop becomes the bottleneck. When you scale the backdrop up to match the subject size, it loses sharpness, and the print will show the quality difference between the sharp subject and the soft, upscaled background.
Professional digital backdrops are typically 6000-8000 pixels on the long side, which supports prints up to 20x27 inches at 300 DPI without upscaling. Our backdrop collections at Illumina Backdrops are designed at these resolutions specifically for print-quality compositing.
For larger prints (24x36 and above), you can reduce to 200-240 DPI without visible quality loss because larger prints are typically viewed from further away. A 24x36 poster on a wall is viewed from 3-6 feet, where 200 DPI looks identical to 300 DPI. Only prints viewed close up (desk frames, albums, trading cards) need the full 300 DPI.
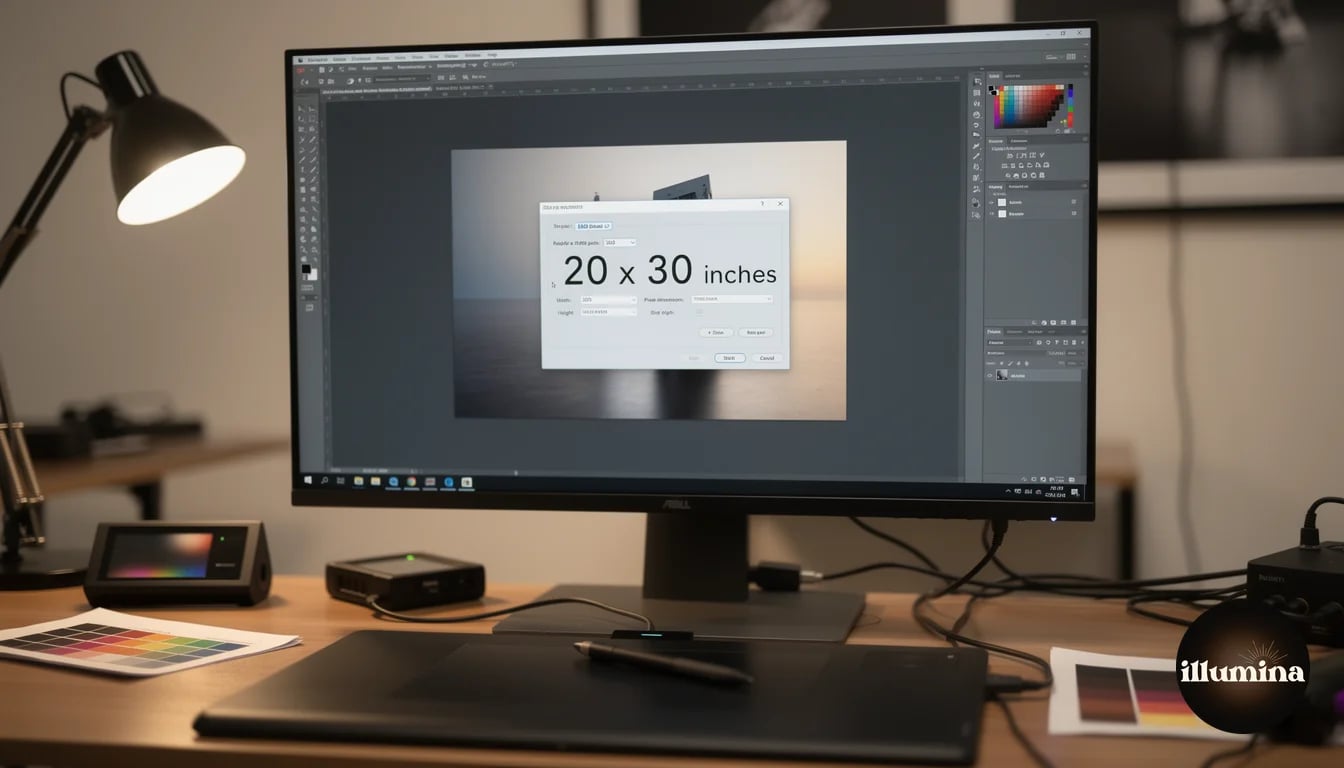
To check your composite's print potential in Photoshop: go to Image > Image Size, uncheck "Resample," and enter 300 in the Resolution field. The Document Size fields now show the maximum print dimensions at 300 DPI. If those dimensions are smaller than your desired print size, you either need higher-resolution source files or need to accept a lower DPI (which may still be fine depending on viewing distance).
Never upscale a finished composite to meet resolution requirements. Upscaling adds pixels through interpolation, not real detail. A 3000-pixel image upscaled to 6000 pixels is not a 6000-pixel image. It is a 3000-pixel image with blurry padding. Start with high-resolution source files and work at full resolution throughout your compositing workflow.
Color Management: Screen to Print
The most common disappointment with printed composites is color mismatch. The print looks different from the screen. This is not a printing error. It is a color management issue that is entirely preventable.
Your monitor displays colors using light (RGB: red, green, blue). Printers create colors using ink or dye (CMYK: cyan, magenta, yellow, black). These are fundamentally different color systems, and they do not produce identical results without translation. A vibrant blue on screen may print as a duller, slightly purplish blue because that exact blue is outside the printer's achievable color range (called the gamut).
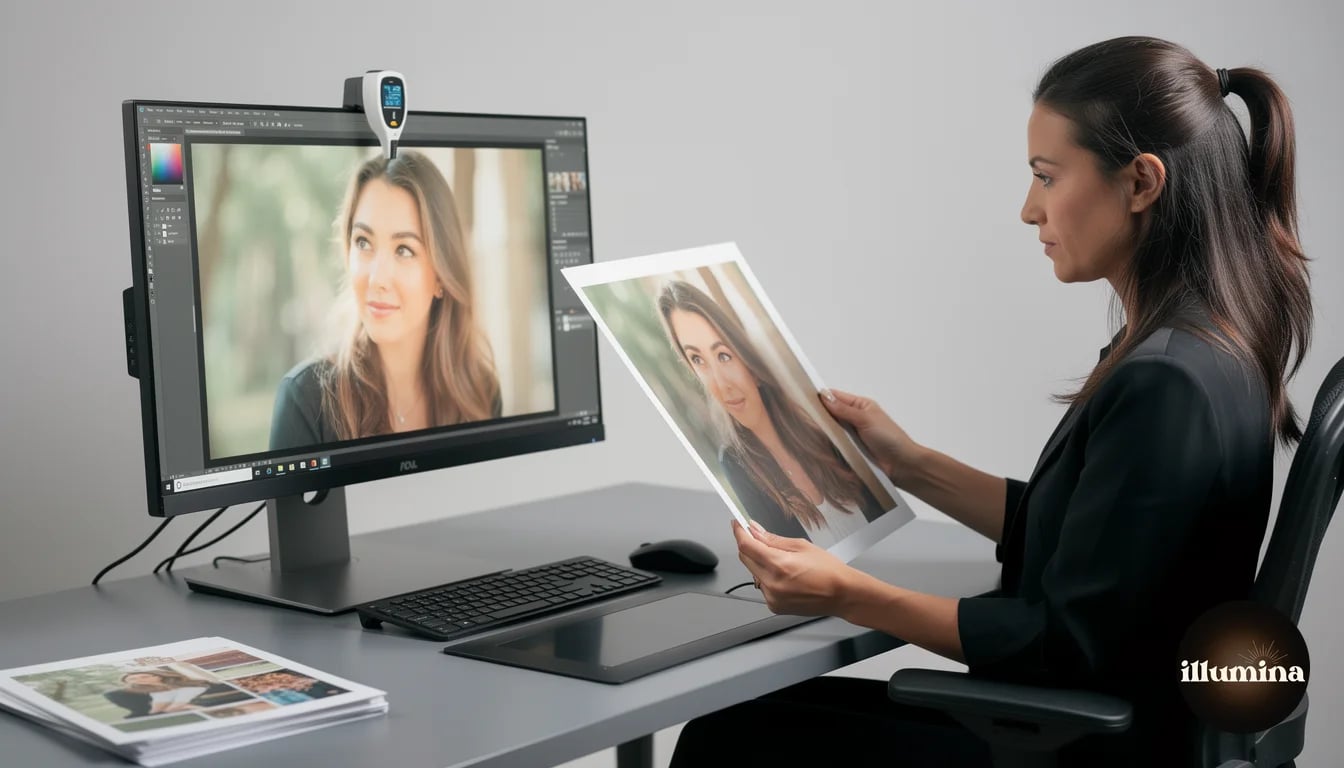
Step one: calibrate your monitor. A hardware calibrator (Datacolor SpyderX, X-Rite i1Display) measures your monitor's actual color output and creates a profile that corrects it to known standards. Without calibration, you are editing colors based on your monitor's inaccuracies, and the print lab's calibrated equipment will produce different results from your uncalibrated screen. A calibrator costs $100-150 and lasts years.
Step two: work in the right color space. For most print labs, sRGB is the standard. It is the smallest common color space but the most widely supported. Some professional labs accept Adobe RGB (larger gamut, more vivid colors) or ProPhoto RGB (largest, used for archival work). Check your lab's requirements before exporting. In Photoshop, set your working color space in Edit > Color Settings.
Step three: soft proof before printing. In Photoshop, go to View > Proof Setup > Custom. Select your printer's ICC profile (provided by the print lab or downloaded from their website). Enable "Simulate Paper Color" for the most accurate preview. Your screen will shift to show approximately how the print will look on that specific paper with that specific printer. If colors look different from your editing view, adjust the image while soft proofing is active to optimize for the printed output.
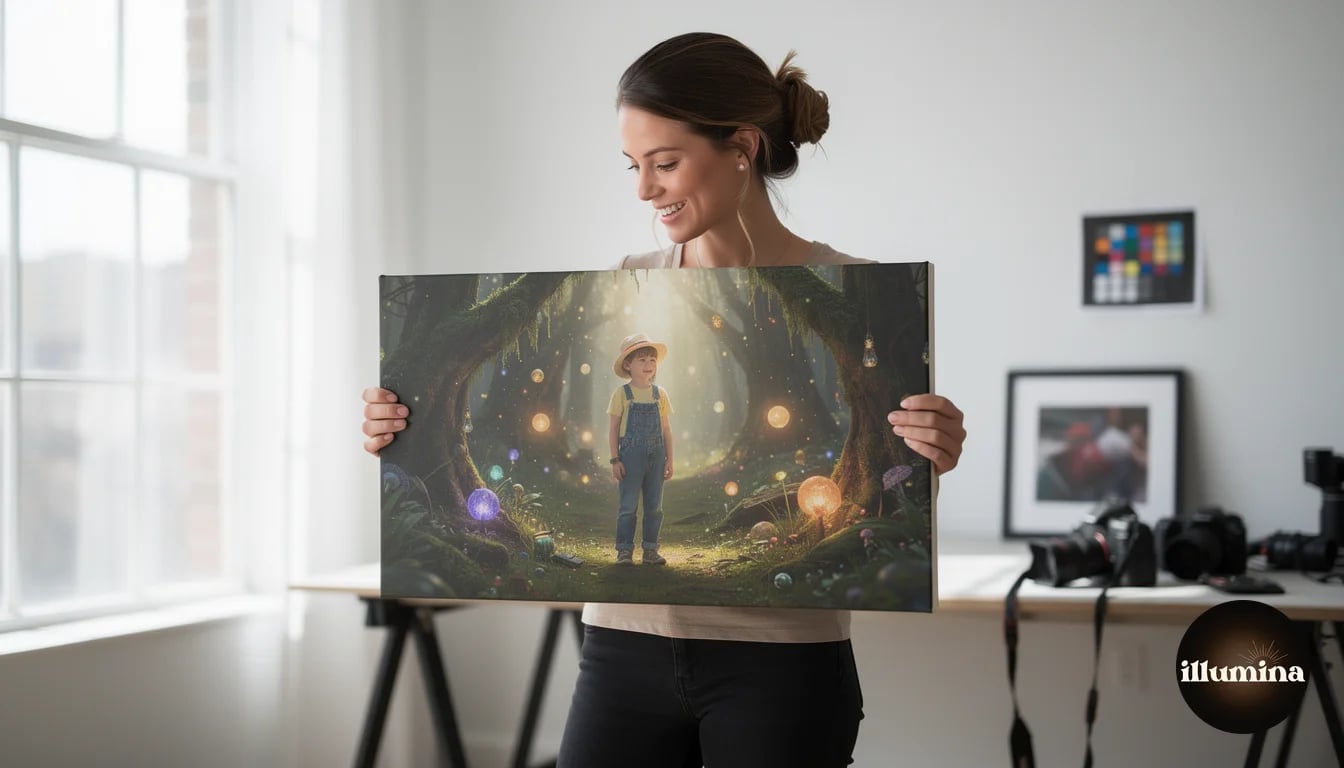
Order a test print before committing to a large format. Print an 8x10 of your composite before ordering a 20x30 canvas. The $5-10 test print reveals color shifts, resolution issues, and composition problems that a screen preview cannot fully show. It is far cheaper to catch these problems at 8x10 than at 20x30.
File Preparation in Photoshop
Before sending to the printer, flatten your composite and prepare the file properly.
Flatten all layers. Your layered working file with masks, adjustment layers, and blend modes needs to be flattened into a single-layer image for printing. Save a copy (never flatten your original working file) using File > Save As or File > Export. Keep the layered PSD as your master file and export a flattened TIFF or high-quality JPEG for printing.
Apply output sharpening. Composites often look slightly soft when printed because the printing process adds a tiny amount of softness. Apply a final sharpening pass specifically for print output. In Photoshop, use Filter > Sharpen > Unsharp Mask with Amount: 100-150, Radius: 0.5-1.0, Threshold: 0. This is lighter than screen sharpening because print resolves detail differently than screens do. Over-sharpening creates visible halos around edges that look fine on screen but awful in print.
Set the correct resolution. Image > Image Size, ensure resolution is 300 DPI (or your lab's requirement), and document size matches your intended print dimensions. If you need to resample, use "Preserve Details 2.0" (in newer Photoshop versions) for the best upscaling quality.
Convert to the correct color profile. Edit > Convert to Profile, select sRGB IEC61966-2.1 (for most labs) or the specific profile your lab requires. This converts your working color space to the output color space, which may shift some colors. Check the preview to ensure nothing looks wrong after conversion.
Save as TIFF (uncompressed, no layers) for the highest quality, or JPEG at quality 12 (maximum) if file size is a concern. TIFF preserves every pixel perfectly. JPEG at maximum quality is visually identical for print purposes and produces much smaller files for uploading to online labs.
Transform Your Photos
Give Your Photos the Wow Factor
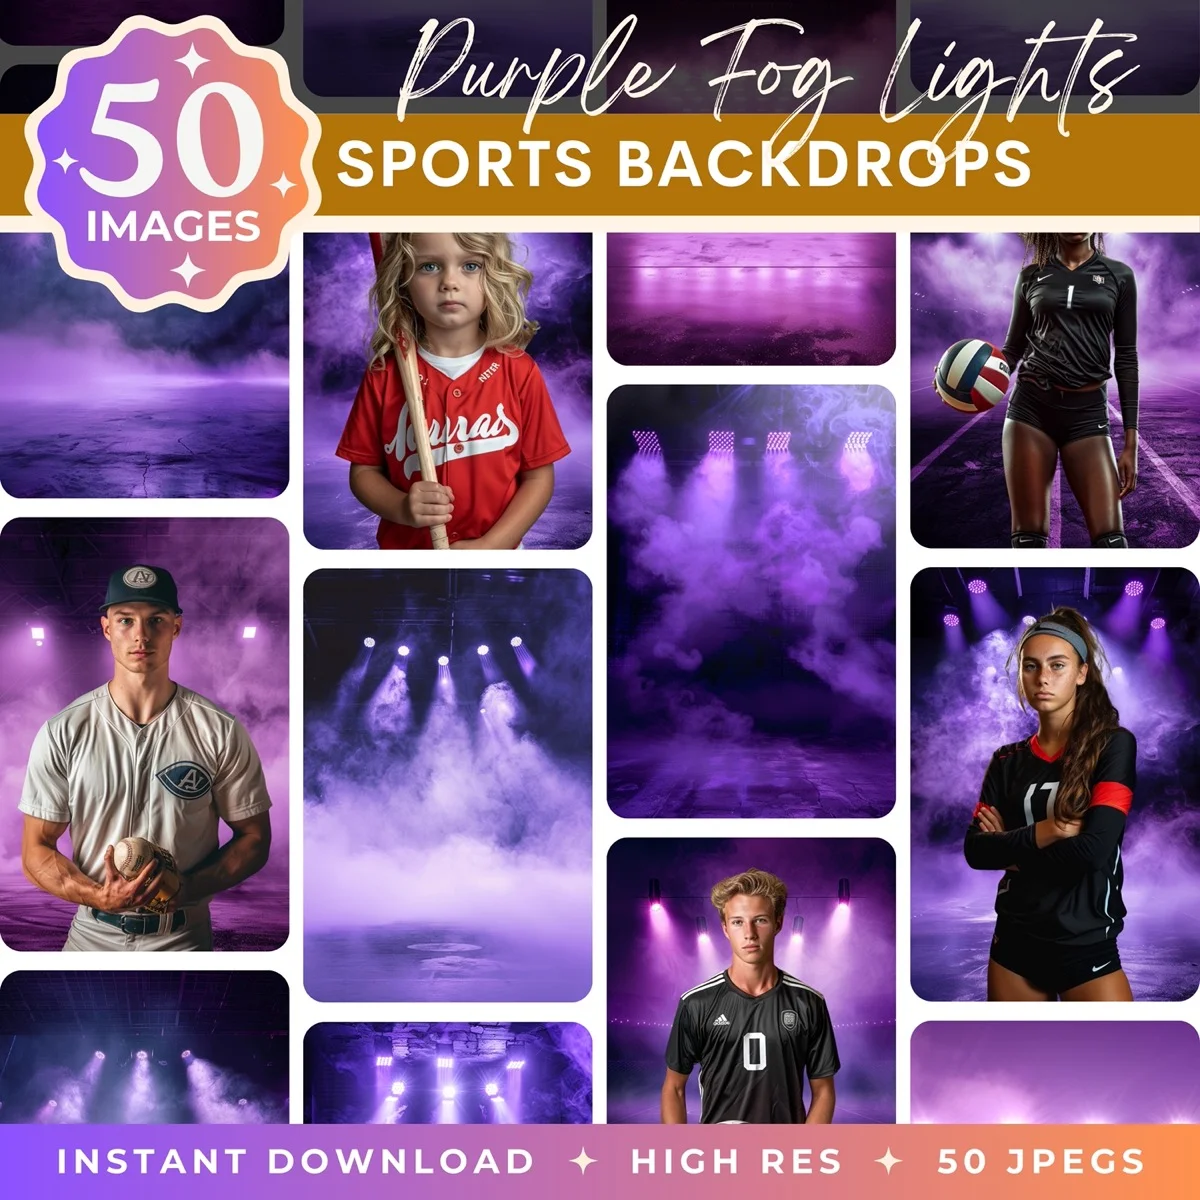
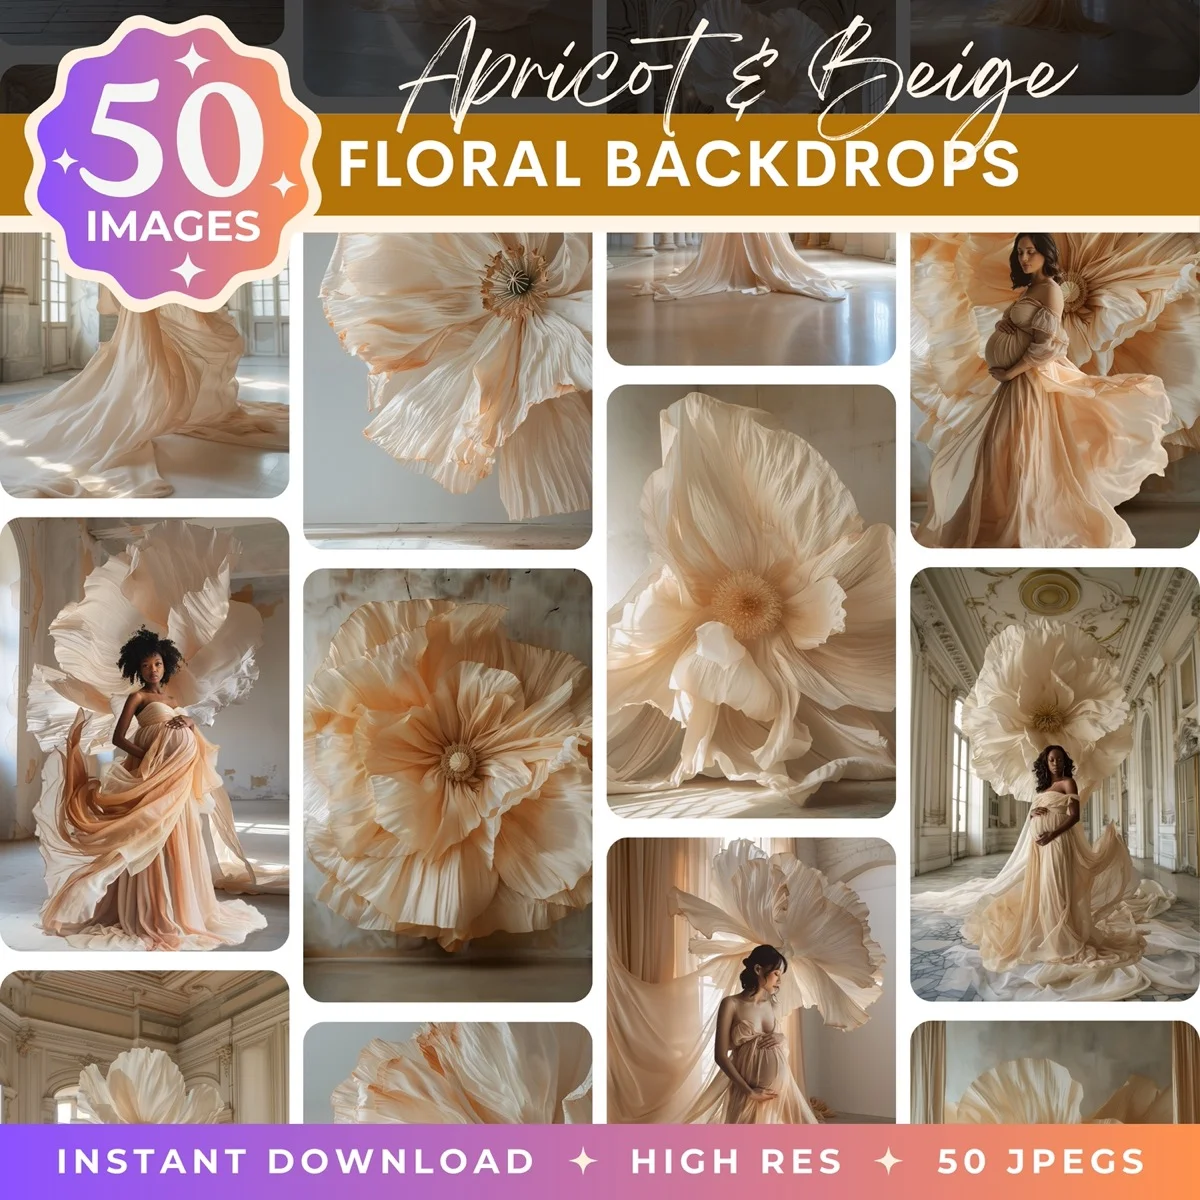
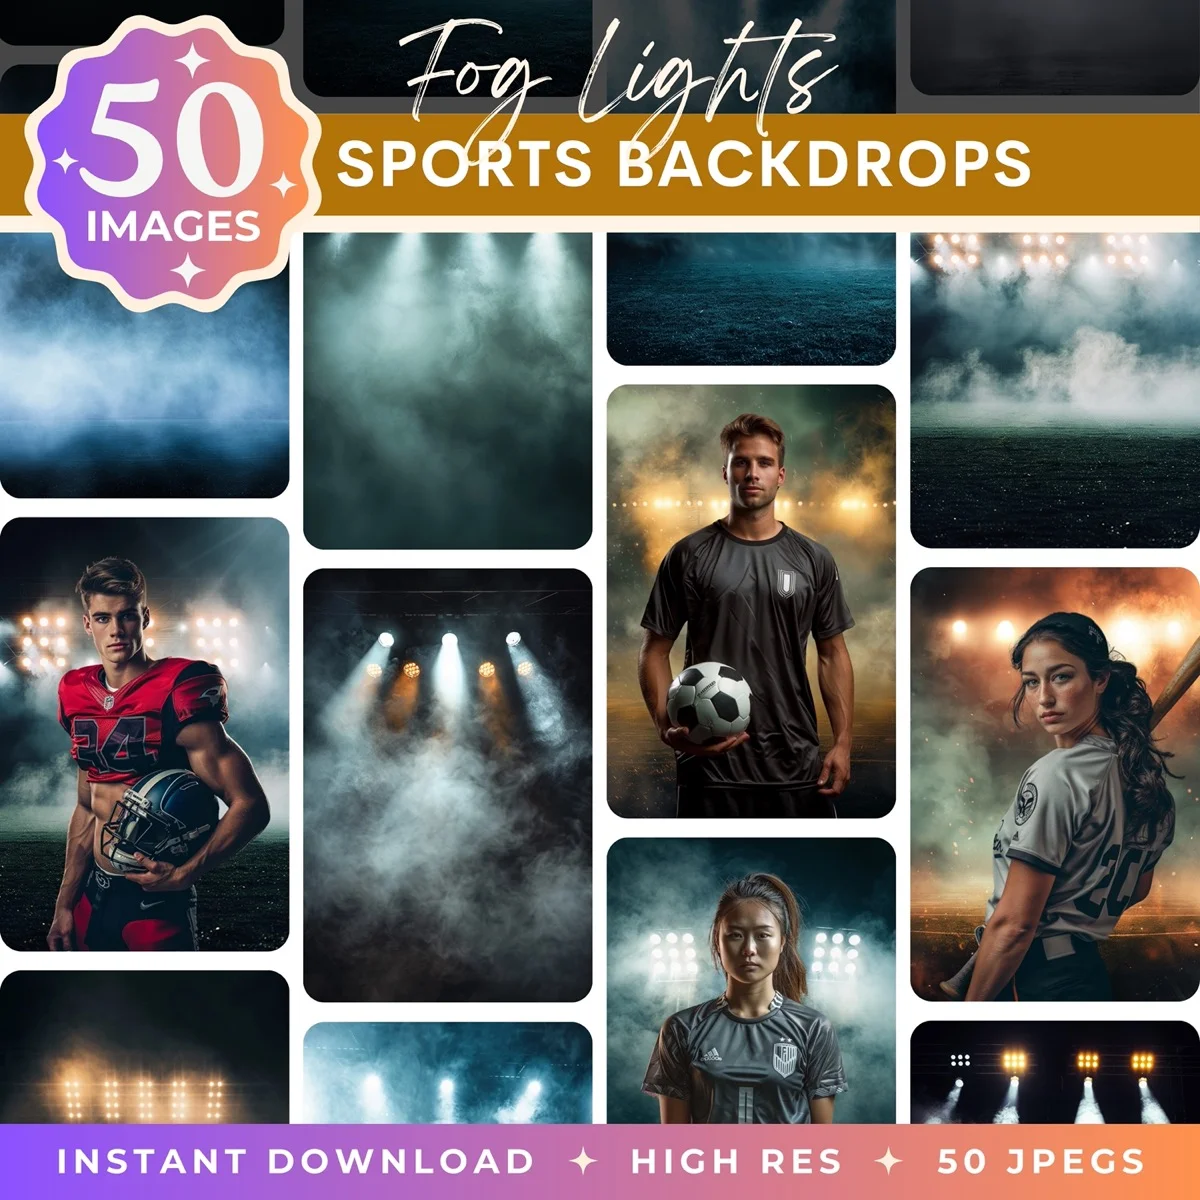
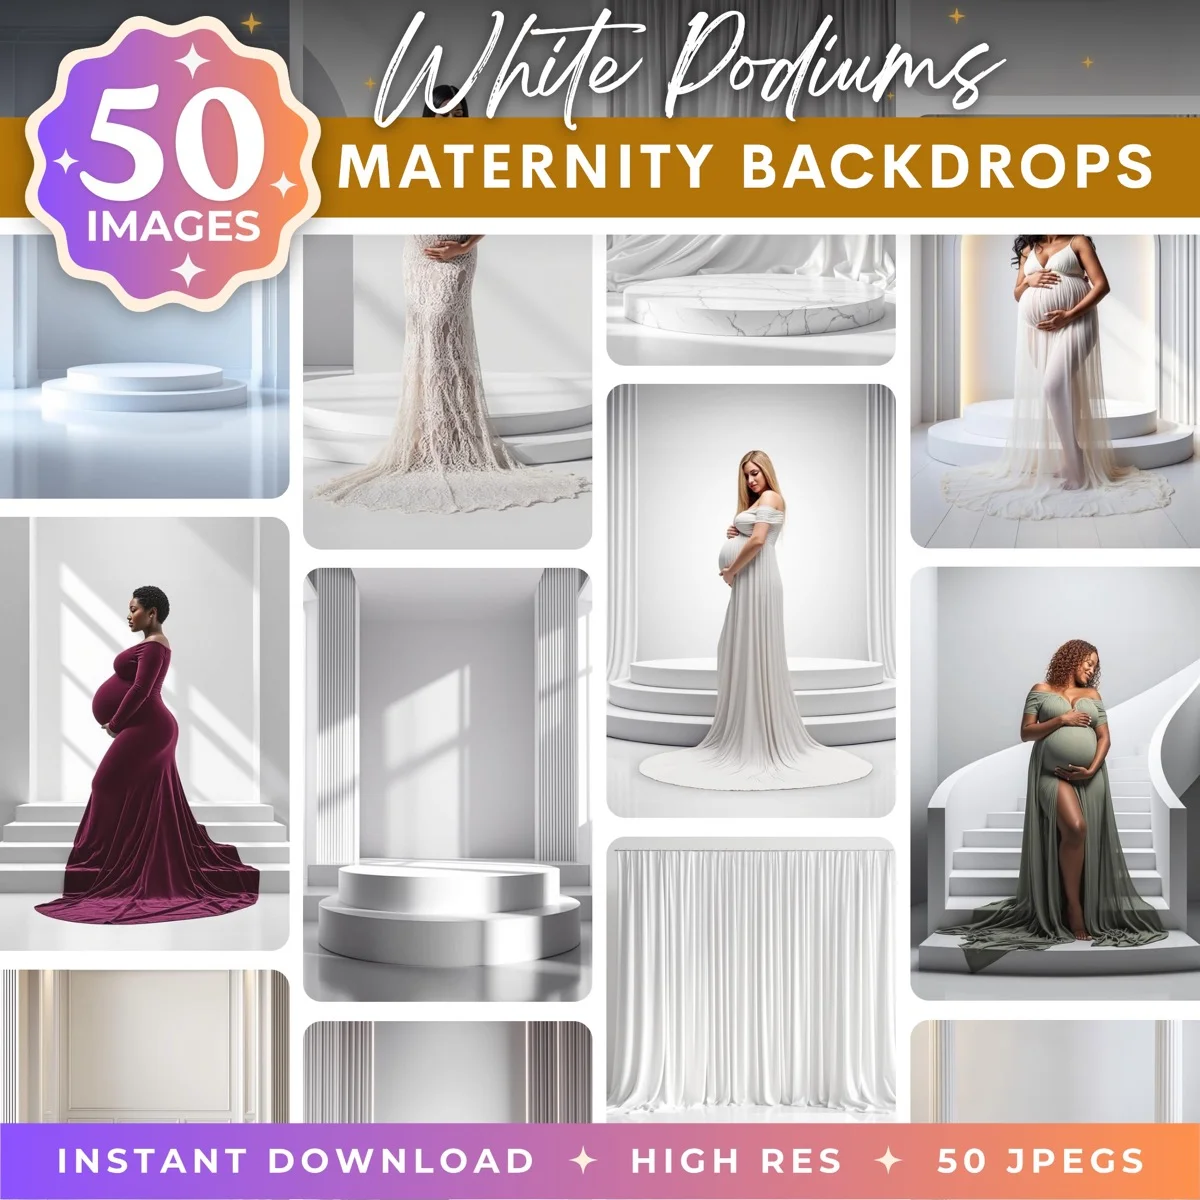
Browse our collection of premium digital photo backdrops. 50 high-resolution print-ready backgrounds in each pack. Instant download.
Browse Backdrops

Choosing Print Materials
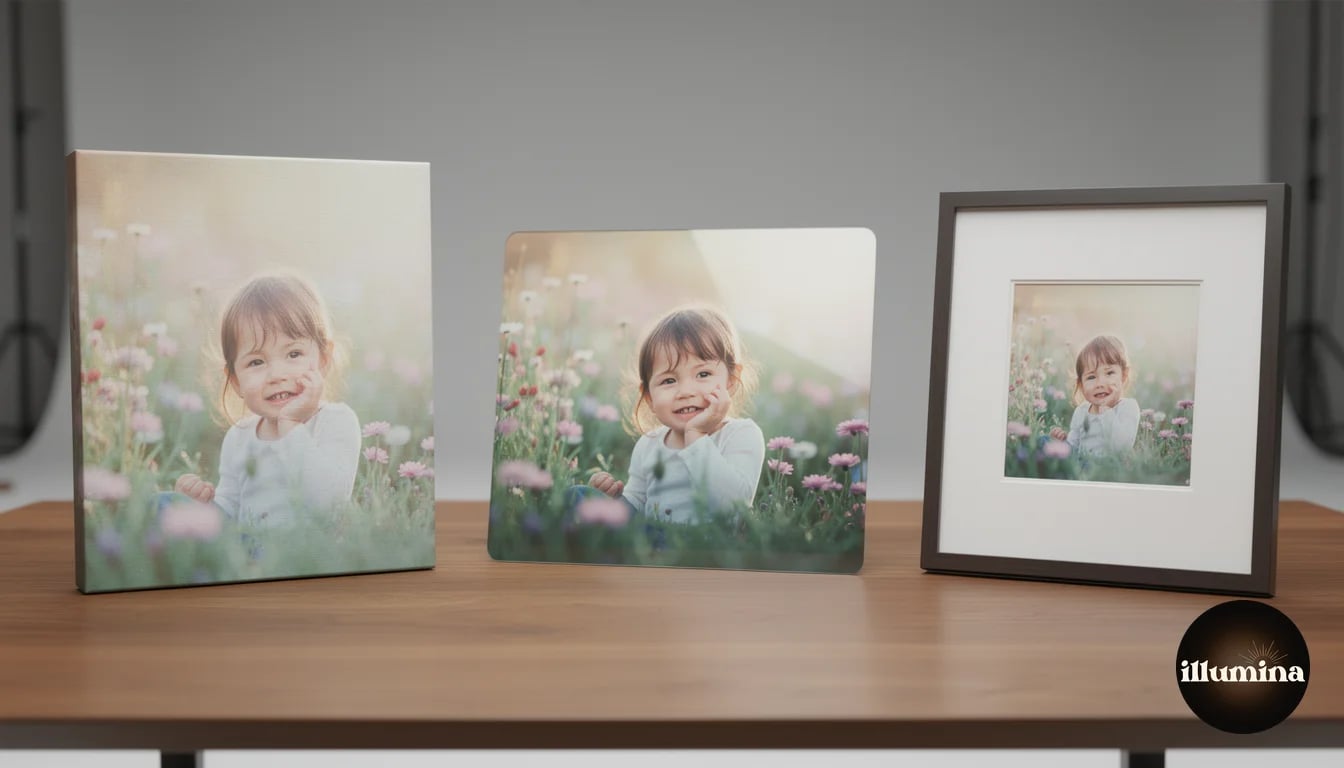
The material you print on affects how the composite looks and feels. Each option has strengths that suit different types of images.
Paper prints (lustre or matte). The traditional choice. Lustre finish has a slight sheen that resists fingerprints and enhances color saturation. Matte finish eliminates glare and gives a fine-art feel. Paper prints are the most affordable option and the most accurate in color reproduction. For portfolio display, gallery walls, and framed gifts, paper prints are reliable and versatile.
Canvas wraps. The composite is printed directly onto canvas fabric and wrapped around a wooden frame. Canvas adds texture that can actually help composite portraits because the texture unifies the subject and backdrop, masking any subtle edge imperfections. Canvas prints have a gallery presence that paper in a frame does not quite match. They look best at 16x20 and larger. Smaller canvas prints lose the premium feel.
Metal prints (aluminum). The image is infused into a coated aluminum sheet. Metal prints have the highest color vibrancy and sharpness of any material. They are waterproof, scratch-resistant, and frameless (they float on the wall with a hanging system). For composites with bold colors and high contrast (sports portraits with dramatic lighting, vivid landscapes), metal prints make the colors pop in a way no other material can match. They are also the most expensive option.
Acrylic prints. The image is printed and mounted behind a thick sheet of clear acrylic, giving a glossy, dimensional look. Acrylic adds depth and luminosity that works beautifully with dreamy, ethereal composites (maternity portraits on garden backdrops, children in fantasy scenes). The glossy surface intensifies colors and creates a sense of the image glowing from within. Premium and fragile, but stunning when done well.
Match the material to the image style. Dramatic sports composites look best on metal (bold, vivid). Soft family portraits look best on canvas (warm, textured). Fantasy and ethereal composites look best on acrylic (luminous, dreamy). Paper is the safe choice for everything, but the right specialty material elevates the right image from a print to a piece of art.
Common Print Mistakes
Sending low-resolution files. The print lab will produce what you send, and if you send a 1500-pixel-wide file for a 20-inch print, the result will be blurry. Always check resolution before uploading. If the math does not work at 300 DPI for your target size, either reduce the print size or accept that quality will be compromised.
Ignoring color profiles. Sending a file in ProPhoto RGB to a lab that works in sRGB results in washed-out, desaturated prints. The lab converts the profile automatically, but the conversion may not match your intentions. Always convert to the lab's preferred color space yourself so you can verify the result before sending.
Not ordering test prints. Screens and printers are different devices. A test print takes a few days and costs a few dollars. Skipping it and ordering a $100 canvas print that arrives with wrong colors is a $100 lesson you only need once.
Over-sharpening. What looks crisp on a retina display looks crunchy and halos-riddled in print. Apply print-specific sharpening at lower intensity than you would for screen display, and view the result at 100% zoom (not fit-to-screen) to evaluate actual pixel-level sharpness.
Forgetting about borders and wrap. Canvas prints wrap around the sides of the frame, meaning about 1.5 inches of image on each edge wraps around and is not visible from the front. If your composite has the subject close to the edge, parts of them may wrap around the canvas. Leave a safe margin of at least 2 inches on all sides for canvas prints, or specify a mirror or color wrap option with your lab.
Working with Print Labs
Choosing the right print lab makes a significant difference in output quality. Consumer print services (drugstore photo counters, basic online services) use lower-grade equipment and minimal color management. Professional print labs use calibrated printers, archival-grade media, and manual quality checks that consumer services skip.
For composite portraits, professional labs are worth the premium. The color accuracy and detail rendering matter more with composites because any quality issue in the print draws attention to the composite nature of the image. A slightly off color or soft edge that would go unnoticed in a straight photograph becomes a "tell" in a composite that makes viewers look more critically at the entire image.
Popular professional print labs include WHCC (White House Custom Colour), Miller's Professional Imaging, Bay Photo, and Nations Photo Lab. Each offers ICC profiles for download, detailed file preparation guides, and dedicated support for professional photographers. Many offer sample packs so you can evaluate their output quality before committing to a production run.
For sports trading cards and small-format products, specialty printers like GotPrint, Moo, and sports-specific vendors produce the heavy card stock and precise cutting that trading cards require. Standard photo labs do not offer card stock printing, so you need a specialty vendor for these products.
Pricing Prints for Clients
If you are selling composite prints to clients, your pricing should reflect the total value: the photography session, the compositing work, the print quality, and the uniqueness of the product. A composited portrait on metal is not a commodity product. It is a custom piece of art that required professional skill at every stage.
Common pricing for composite print products: 8x10 paper prints ($25-45), 11x14 paper prints ($40-65), 16x20 canvas wraps ($95-175), 20x30 canvas wraps ($150-275), 16x20 metal prints ($125-200), 20x30 metal prints ($200-350). These prices include your markup over the lab cost, which should be 2.5-4x the lab's wholesale price.
Offer packages that include the session, digital files, and one signature print product. The print becomes the anchor product that justifies the session price, and clients who originally intended to buy only digital files often upgrade when they see a canvas sample or metal print in person. Physical samples in your studio or at client meetings are the most effective sales tool for print products.
Wall art consultations (helping clients choose the right size, material, and placement for their home) increase average order values significantly. A 20-minute consultation where you show mockups of their composite portrait on different wall spaces and materials regularly turns a $50 digital file order into a $300 canvas order. The client gets expert guidance, and you sell a higher-margin product.
For volume work like sports teams, create a simplified online ordering system. Many professional labs offer storefront services where you upload the images and parents order directly, with prints shipped to their homes. You set the prices, the lab fulfills the orders, and you collect the markup without handling any physical products. This model scales beautifully for team photography where you might have 50-200 individual customers from a single shoot day.
Bundle print products with digital files rather than selling them separately. A package that includes 10 digital composites plus one 11x14 canvas at $275 sells better than the same items priced individually at $150 (digitals) + $150 (canvas). Bundling reduces the perceived cost of adding print products and increases your average order value without requiring additional selling effort.
High-resolution scenes designed for professional printing

Printing composite photos is no different from printing any professional photograph once you understand the fundamentals: resolution, color management, output sharpening, and material selection. The composite workflow adds no special complexity at the printing stage. The image is just pixels, and pixels print the same whether they were captured in-camera or assembled in Photoshop. Get the file preparation right, order a test print, and let the quality of your compositing work speak for itself on paper, canvas, metal, or acrylic.
Transform Your Photos
Give Your Photos the Wow Factor
Browse our collection of premium digital photo backdrops. 50 high-resolution print-ready backgrounds in each pack. Instant download.
Browse Backdrops

