

In this guide
- Quick Answer
- Why White Backgrounds Are Harder Than They Look
- Method 1: Adobe Express (Fastest Free Option)
- Method 2: Canva (Paid Feature)
- Method 3: Photoshop (Highest Quality)
- Method 4: iPhone and iPad (Quick Mobile Workflow)
- Method 5: Free Browser Tools
- Keeping a Realistic Shadow Under the Subject
- Color Accuracy: Making Sure Your White Is Actually White
- Where Compositing Beats White Backgrounds
- Shooting the Original Photo for Easy White Backgrounds
- Batch Processing: When You Have 50 of These to Do
- Common Mistakes
- What Comes Next
Quick Answer
The fastest way to get a pure white background on a photo is to remove the original background with an AI tool (Adobe Express, Canva, or remove.bg, or Vecteezy Background Remover), then place the transparent subject on a solid white layer. Total time is about one minute per image. For a true print-quality white (clean edges, no gray halo, proper RGB values), use Photoshop with Select Subject, Select and Mask, and a fill layer at pure white (255, 255, 255).
This guide walks through every method across every tool, shows you how to get a true white that reads as clean on Amazon and Etsy product listings, and explains why "just set the background white" is harder than it sounds on photos with hair, fur, or soft edges.

Why White Backgrounds Are Harder Than They Look
The phrase "change the background to white" sounds like a one-click operation. It is not. A good white-background photo has four properties:
The subject's edges are clean. No fringing, no halo, no leftover pixels from the original background.
The white is truly white. RGB values should be at 255, 255, 255 (or close to it). A background that looks white on your screen but is actually 245, 248, 250 will show as slightly gray on Amazon, Etsy, and any print marketplace that enforces white-background standards.
The lighting on the subject matches the new background. A subject lit with warm indoor light placed on a cold white background can look unnatural. The fix is either a color correction step or a careful shadow pass.
The shadow (if any) is retained for realism. A subject with no shadow at all floats weirdly. A subject with the wrong shadow looks obviously edited. The best white-background product shots keep a subtle drop shadow underneath the subject.
Getting all four right in a one-click tool is asking a lot. Most of the time you can get three out of four. The remaining fix takes another minute or two of manual work, which is what this guide is about.
Method 1: Adobe Express (Fastest Free Option)
Adobe Express has a Background Remover and a separate Replace Background workflow. For a white background, you need both in sequence.
Step 1. Open Adobe Express, upload your photo, and let the automatic background removal run. You will see a transparent checkerboard behind your subject.
Step 2. Click "Replace Background" in the right panel. Choose "Solid color." Click the color picker and enter 255, 255, 255 manually. Do not trust the "white" preset. Some tools set their white preset at 250 rather than 255.
Step 3. Download as JPG or PNG. Use PNG for print or professional use. Use JPG at maximum quality for web or social media.
Total time under 90 seconds. Quality is good on clean subjects, less so on hair or fur. For the full Adobe Express workflow including other backdrop types, see our Adobe Express background remover guide.
Always enter white as 255, 255, 255, not as a preset. Almost every tool has a color picker that defaults to an "off-white" or "paper white" that looks white in isolation but reads gray against truly white neighboring pixels. Amazon and Etsy both enforce pure-white backgrounds on primary product listings, and a 248 gray will fail their automated checks.
Method 2: Canva (Paid Feature)
Canva's Background Remover is a Pro feature ($12.99 a month in 2026) but is often the best option if you already use Canva for other design work. The workflow:
Upload your photo, click the image once to select it, click Edit Photo, then Magic Studio, then BG Remover. The background goes transparent. Now click the background area of your Canva canvas and set the color to pure white (#FFFFFF). Position your subject, resize if needed, and export.
Canva's edge quality is competitive with Adobe Express on most subjects. It sometimes clips hair more aggressively, which is a trade-off for faster processing.
The advantage of Canva is that it ties into the rest of your design workflow. If you are making product listings, social media posts, or marketing graphics, producing white-background images inside Canva means no exporting and re-importing. For a full Canva compositing tutorial, see our Canva photo editing composites guide.
Method 3: Photoshop (Highest Quality)
For commercial work, Etsy and Amazon primary listings, or anything printed at size, Photoshop still produces the cleanest white-background results. The workflow takes four to six minutes per image and is worth the time when quality matters.
Step 1. Open the image. Duplicate the background layer (Cmd+J or Ctrl+J). Always work on a duplicate.
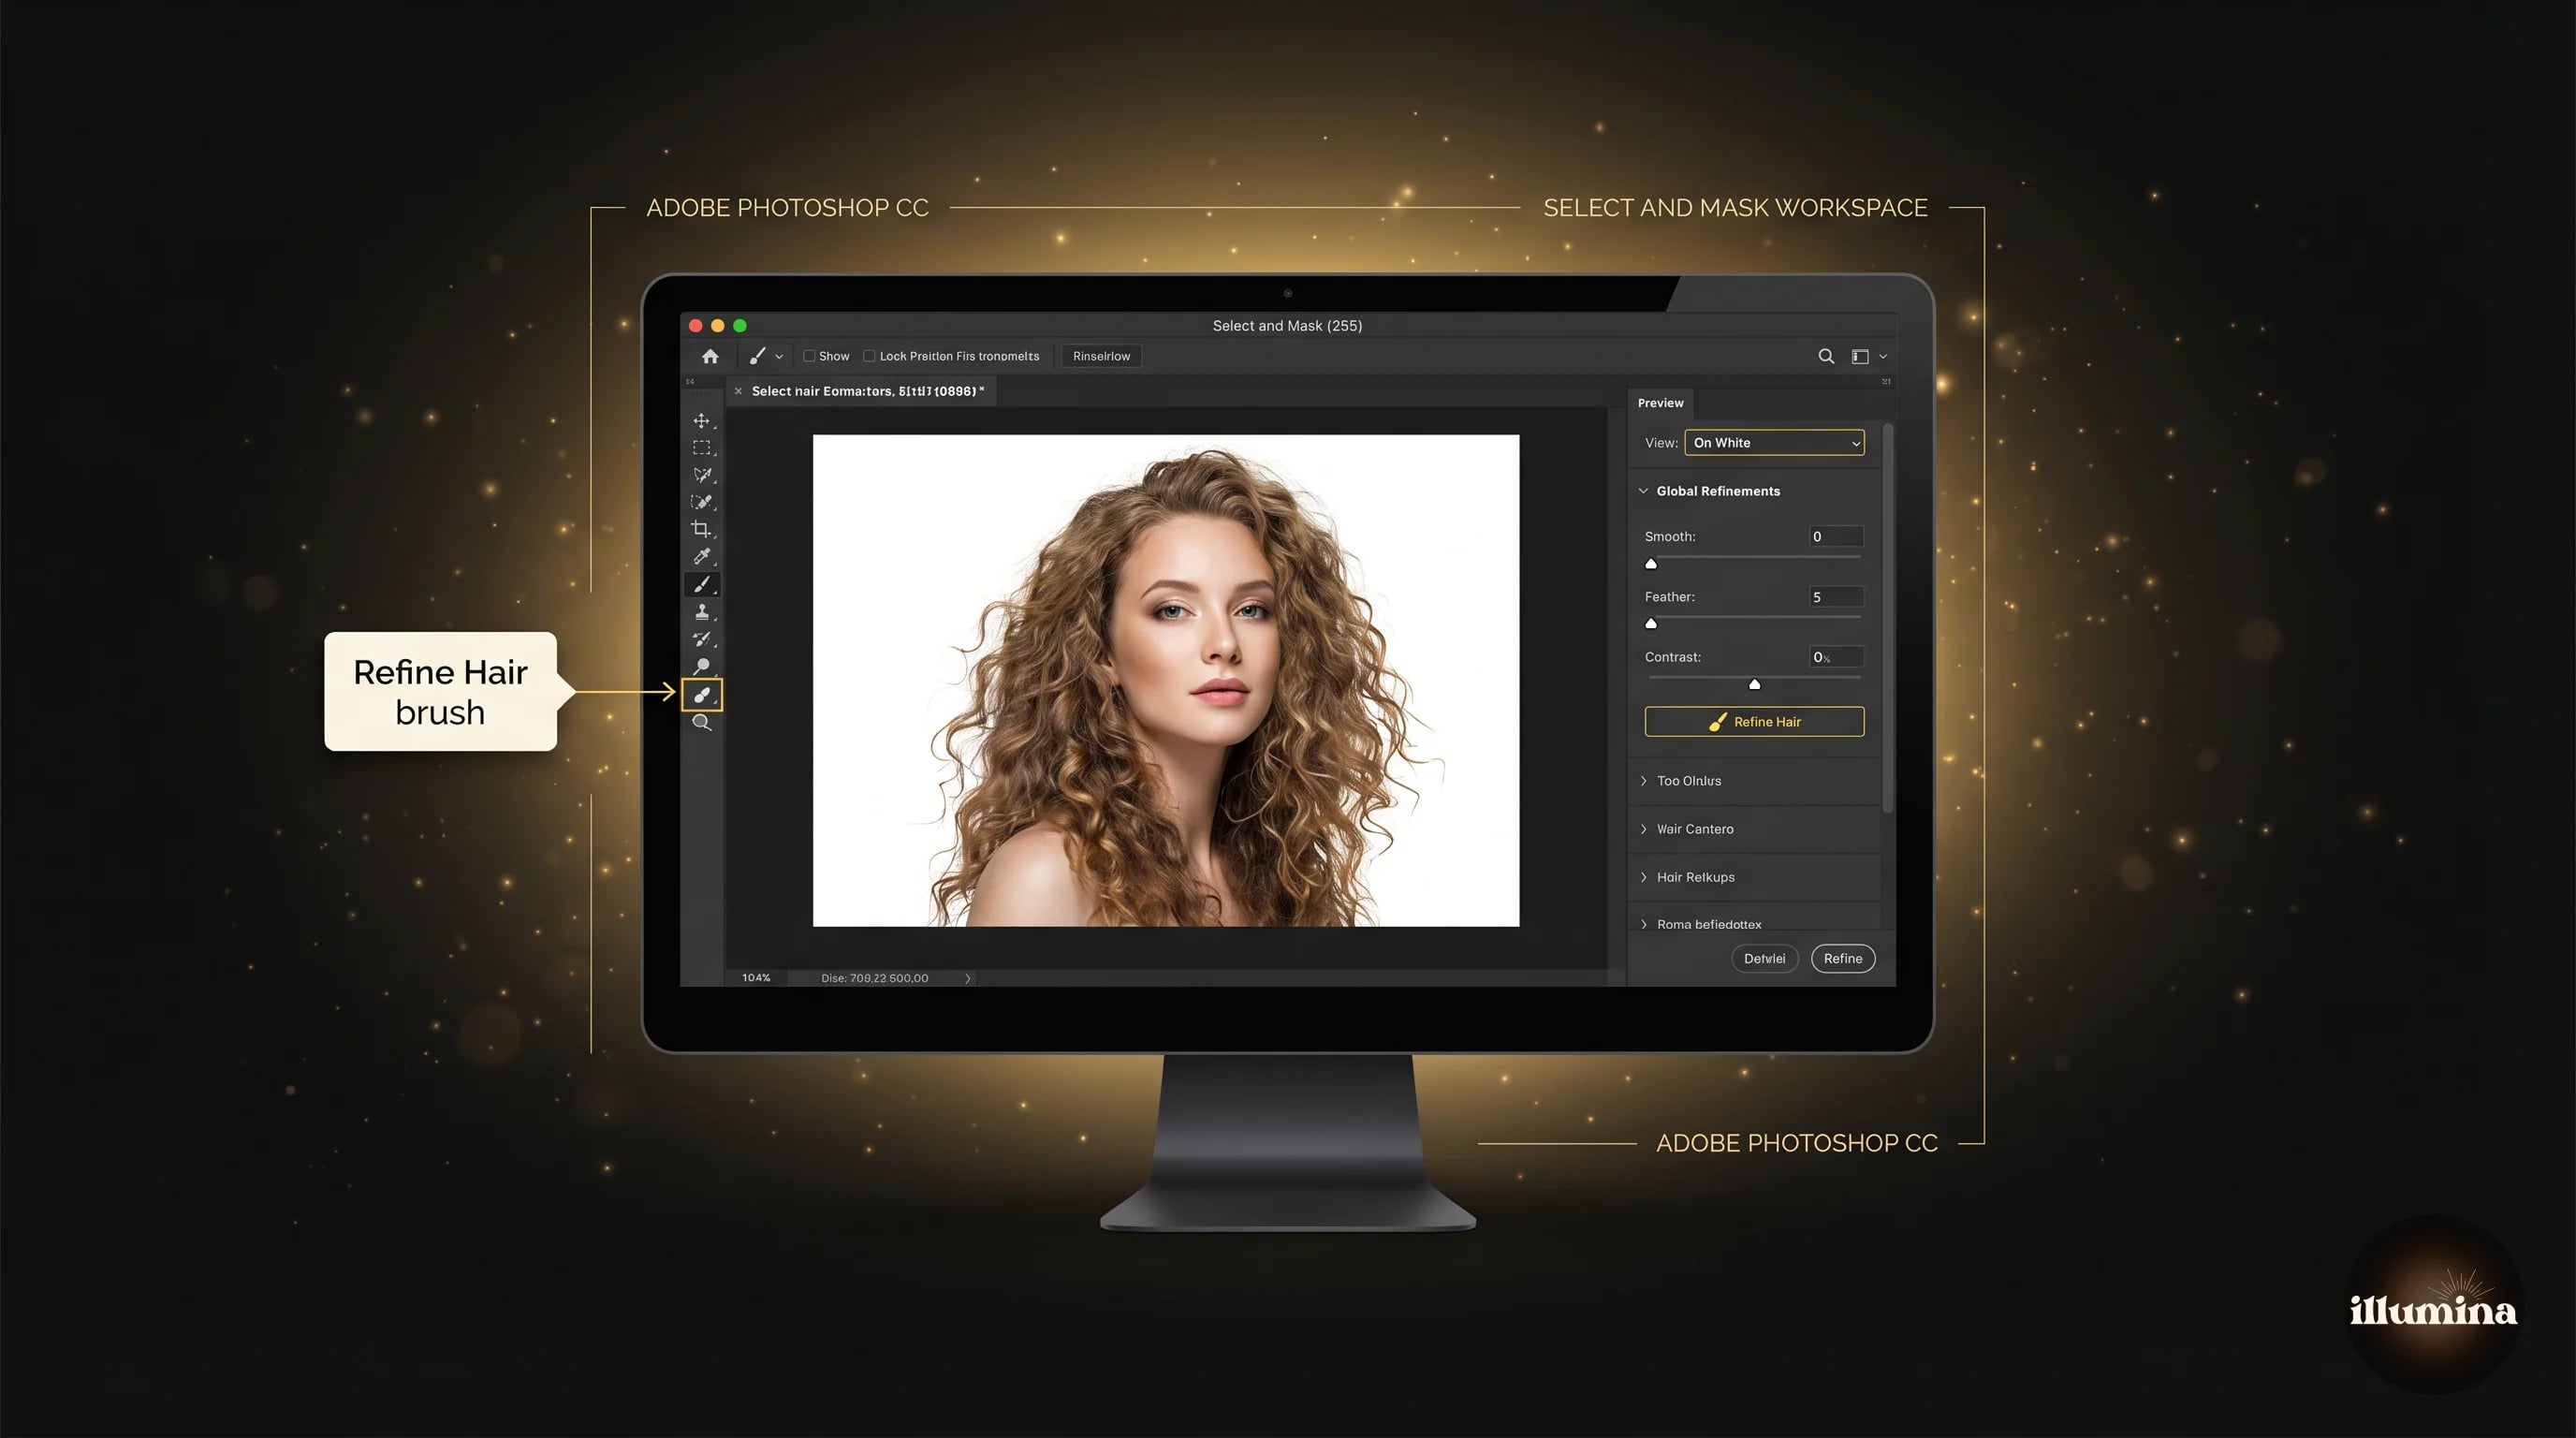
Step 2. Use Select > Subject. Photoshop runs Select Subject and creates a selection around the main subject. Immediately click Select and Mask to refine.
Step 3. In Select and Mask, set View to On White. This shows your subject against a white background in real time so you can see exactly what will ship. Use the Refine Hair brush on any hair edges. Adjust Smooth (try 1 to 3), Feather (0.5 to 1), and Contrast (10 to 20) sparingly. Output to "Layer Mask."
Step 4. Create a new Solid Color fill layer (Layer > New Fill Layer > Solid Color). Enter 255, 255, 255. Move this fill layer below your subject layer. Your subject is now sitting on pure white with a clean mask.
Step 5. Inspect at 100 percent zoom. Paint on the mask with a black brush to remove leftover background pixels, or a white brush to paint subject back in.
Step 6. Flatten and export. For web, JPG at quality 80 with sRGB profile. For print, PNG or TIFF with sRGB or AdobeRGB depending on the lab's requirement.
Method 4: iPhone and iPad (Quick Mobile Workflow)
On iPhone, you can get a clean white-background photo in under 30 seconds without any app. Open your photo in the Photos app, long-press the subject, and when the iOS Visual Look Up feature recognizes and lifts it, tap Copy. Open a note, image editor, or new photo canvas, and paste the subject on a pure white background.
The limitation is that iOS gives you a rectangular cutout or a copied subject, not a configurable canvas. For a true white-background product photo, use Photoroom's free app. It has a "White" background preset that applies a true 255 white and is designed for ecommerce sellers. The free tier exports at web resolution; paid tier ($9.99/month) unlocks full-resolution exports.
For the full iPhone workflow including shortcuts and batch processing, see our iPhone background removal guide.
Method 5: Free Browser Tools
A handful of free browser tools produce acceptable white-background images without any install. Four worth knowing.
remove.bg. Upload, wait five seconds, select "Photo" from the background gallery then pick a white color. Free tier exports at 0.25 megapixels (small). Paid tier ($9 a month) exports at full resolution. 
Vecteezy Background Remover. Free browser-based remover with no signup. Upload, let the AI cut the background, then download. No watermark on the output, no account required, no install. Useful when you want a quick cutout without creating yet another login. 
Photopea. Free browser-based Photoshop clone. Use the same Select and Mask workflow as Photoshop. The interface is slower than Photoshop but the output quality is identical. Zero cost. 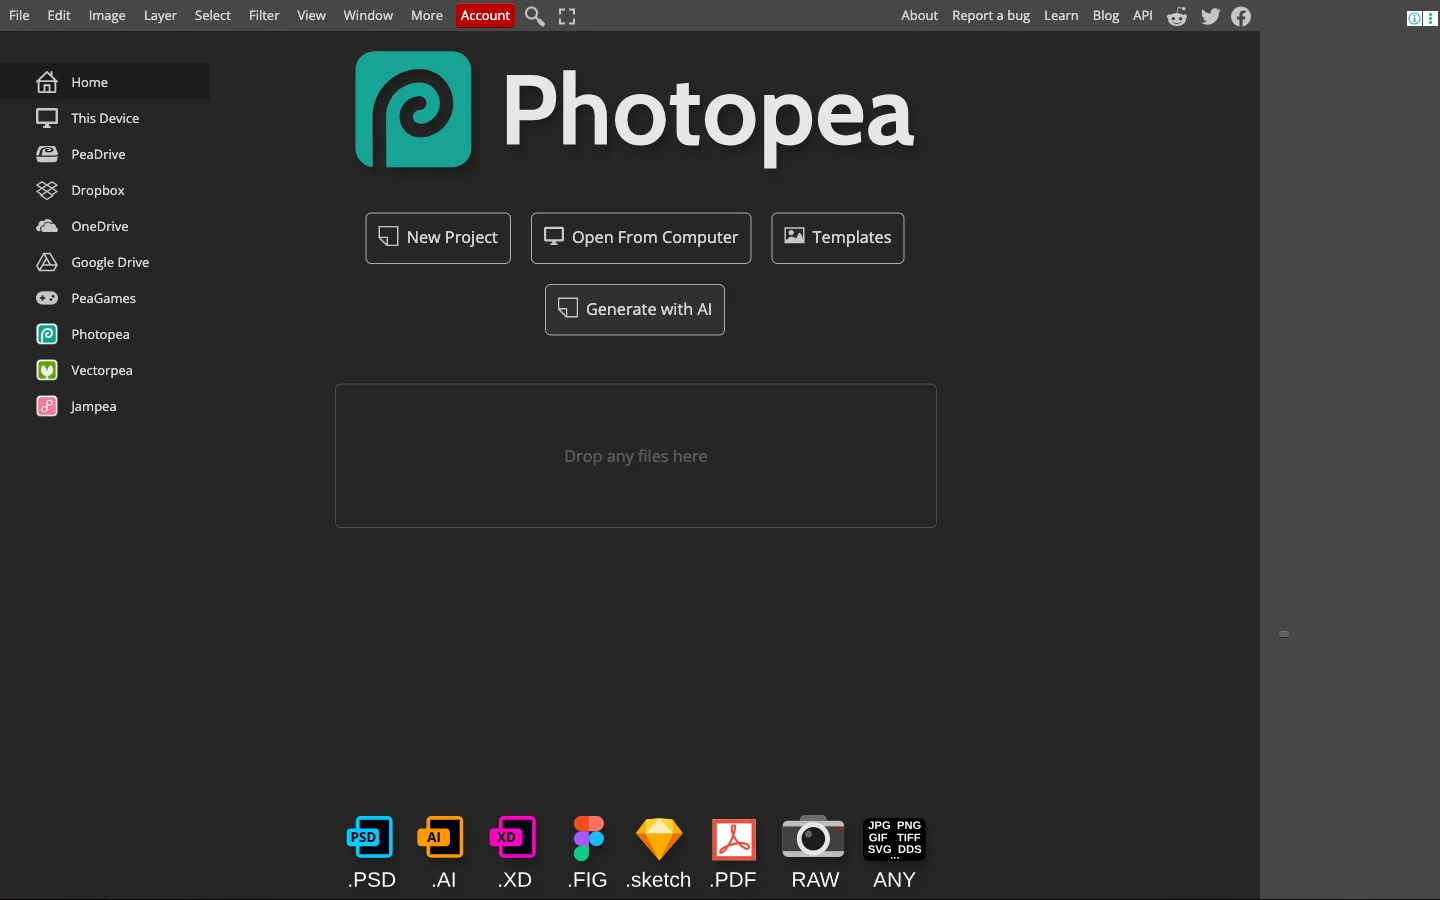
Pixlr Remove BG. Free browser editor with a background remover and a fill tool. Faster than Photopea, slightly lower edge quality. 
For the full comparison of free tools including edge quality tests, see our best free background remover tools comparison.
Transform Your Photos
Give Your Photos the Wow Factor
Browse our collection of premium digital photo backdrops. 50 high-resolution print-ready backgrounds in each pack. Instant download.
Browse Backdrops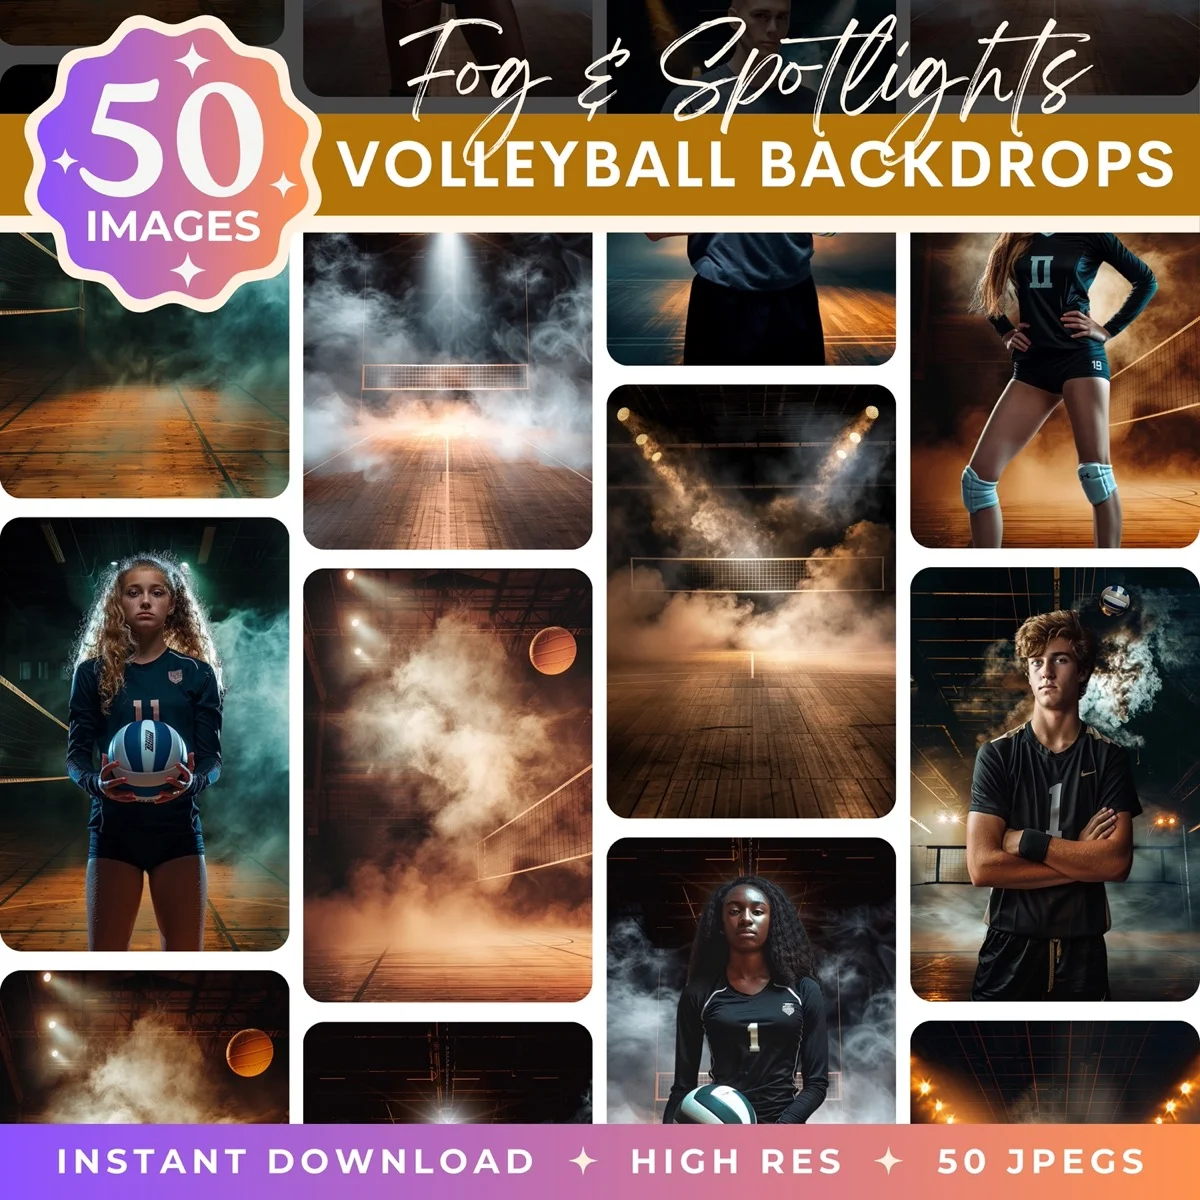

Keeping a Realistic Shadow Under the Subject
A common mistake on white-background photos is removing the original shadow entirely. The subject then floats in a way that looks artificial. For product photography especially, a subtle drop shadow reads as more realistic than pure floating.
In Photoshop, this is a two-minute fix. After your subject is on white, create a new layer below the subject. With black as the foreground, paint a soft brushstroke roughly the shape of the subject's base. Set the layer opacity to 30 to 50 percent. Blur with Gaussian Blur at 20 to 40 pixels. The result should look like a shadow the subject cast on the white surface, not a dark smudge.
For portraits, this is usually unnecessary because portraits do not read as "floating" the way product shots do. Skip the shadow pass for headshots and people photos.
The difference between a $50 product photo and a $500 product photo is often just the shadow work. Everything else is one-click AI in 2026. The subtle drop shadow and any reflection under the subject are what signal "professional studio" versus "quick fix." That single detail is worth learning manually even if everything else is automated.
Color Accuracy: Making Sure Your White Is Actually White
Your monitor can lie about white values. A slightly blue-calibrated screen makes a warm off-white look neutral. A warm-calibrated screen does the opposite. The only way to know if your background is truly 255, 255, 255 is to check the pixel values directly.
In Photoshop, use the Info panel with the Eyedropper Tool. Hover over the background area. All three RGB values should read 255. If any read lower (250, 252, 254), the background is slightly gray and will fail on strict marketplace checks.
In Canva and Adobe Express, the fill color picker shows hex values. Pure white is #FFFFFF. Anything else (FDFDFD, F8F8F8, F0F0F0) is off-white.
For web viewing, the difference between 255 and 252 is invisible to most eyes. For marketplace listings with automated checks, it is the difference between an approved listing and a rejected one. Check before you submit.
Where Compositing Beats White Backgrounds
Sometimes the right answer is not to use a white background at all. White backgrounds work brilliantly for:
Product photography on Amazon, Etsy, or Shopify where the platform requires or strongly prefers white.
Corporate headshots where the sterile look reads as professional.
Catalog and flyer design where photos will sit on a white page anyway.
Images destined for printed identification documents, ID cards, or academic listings.
White backgrounds work poorly for:
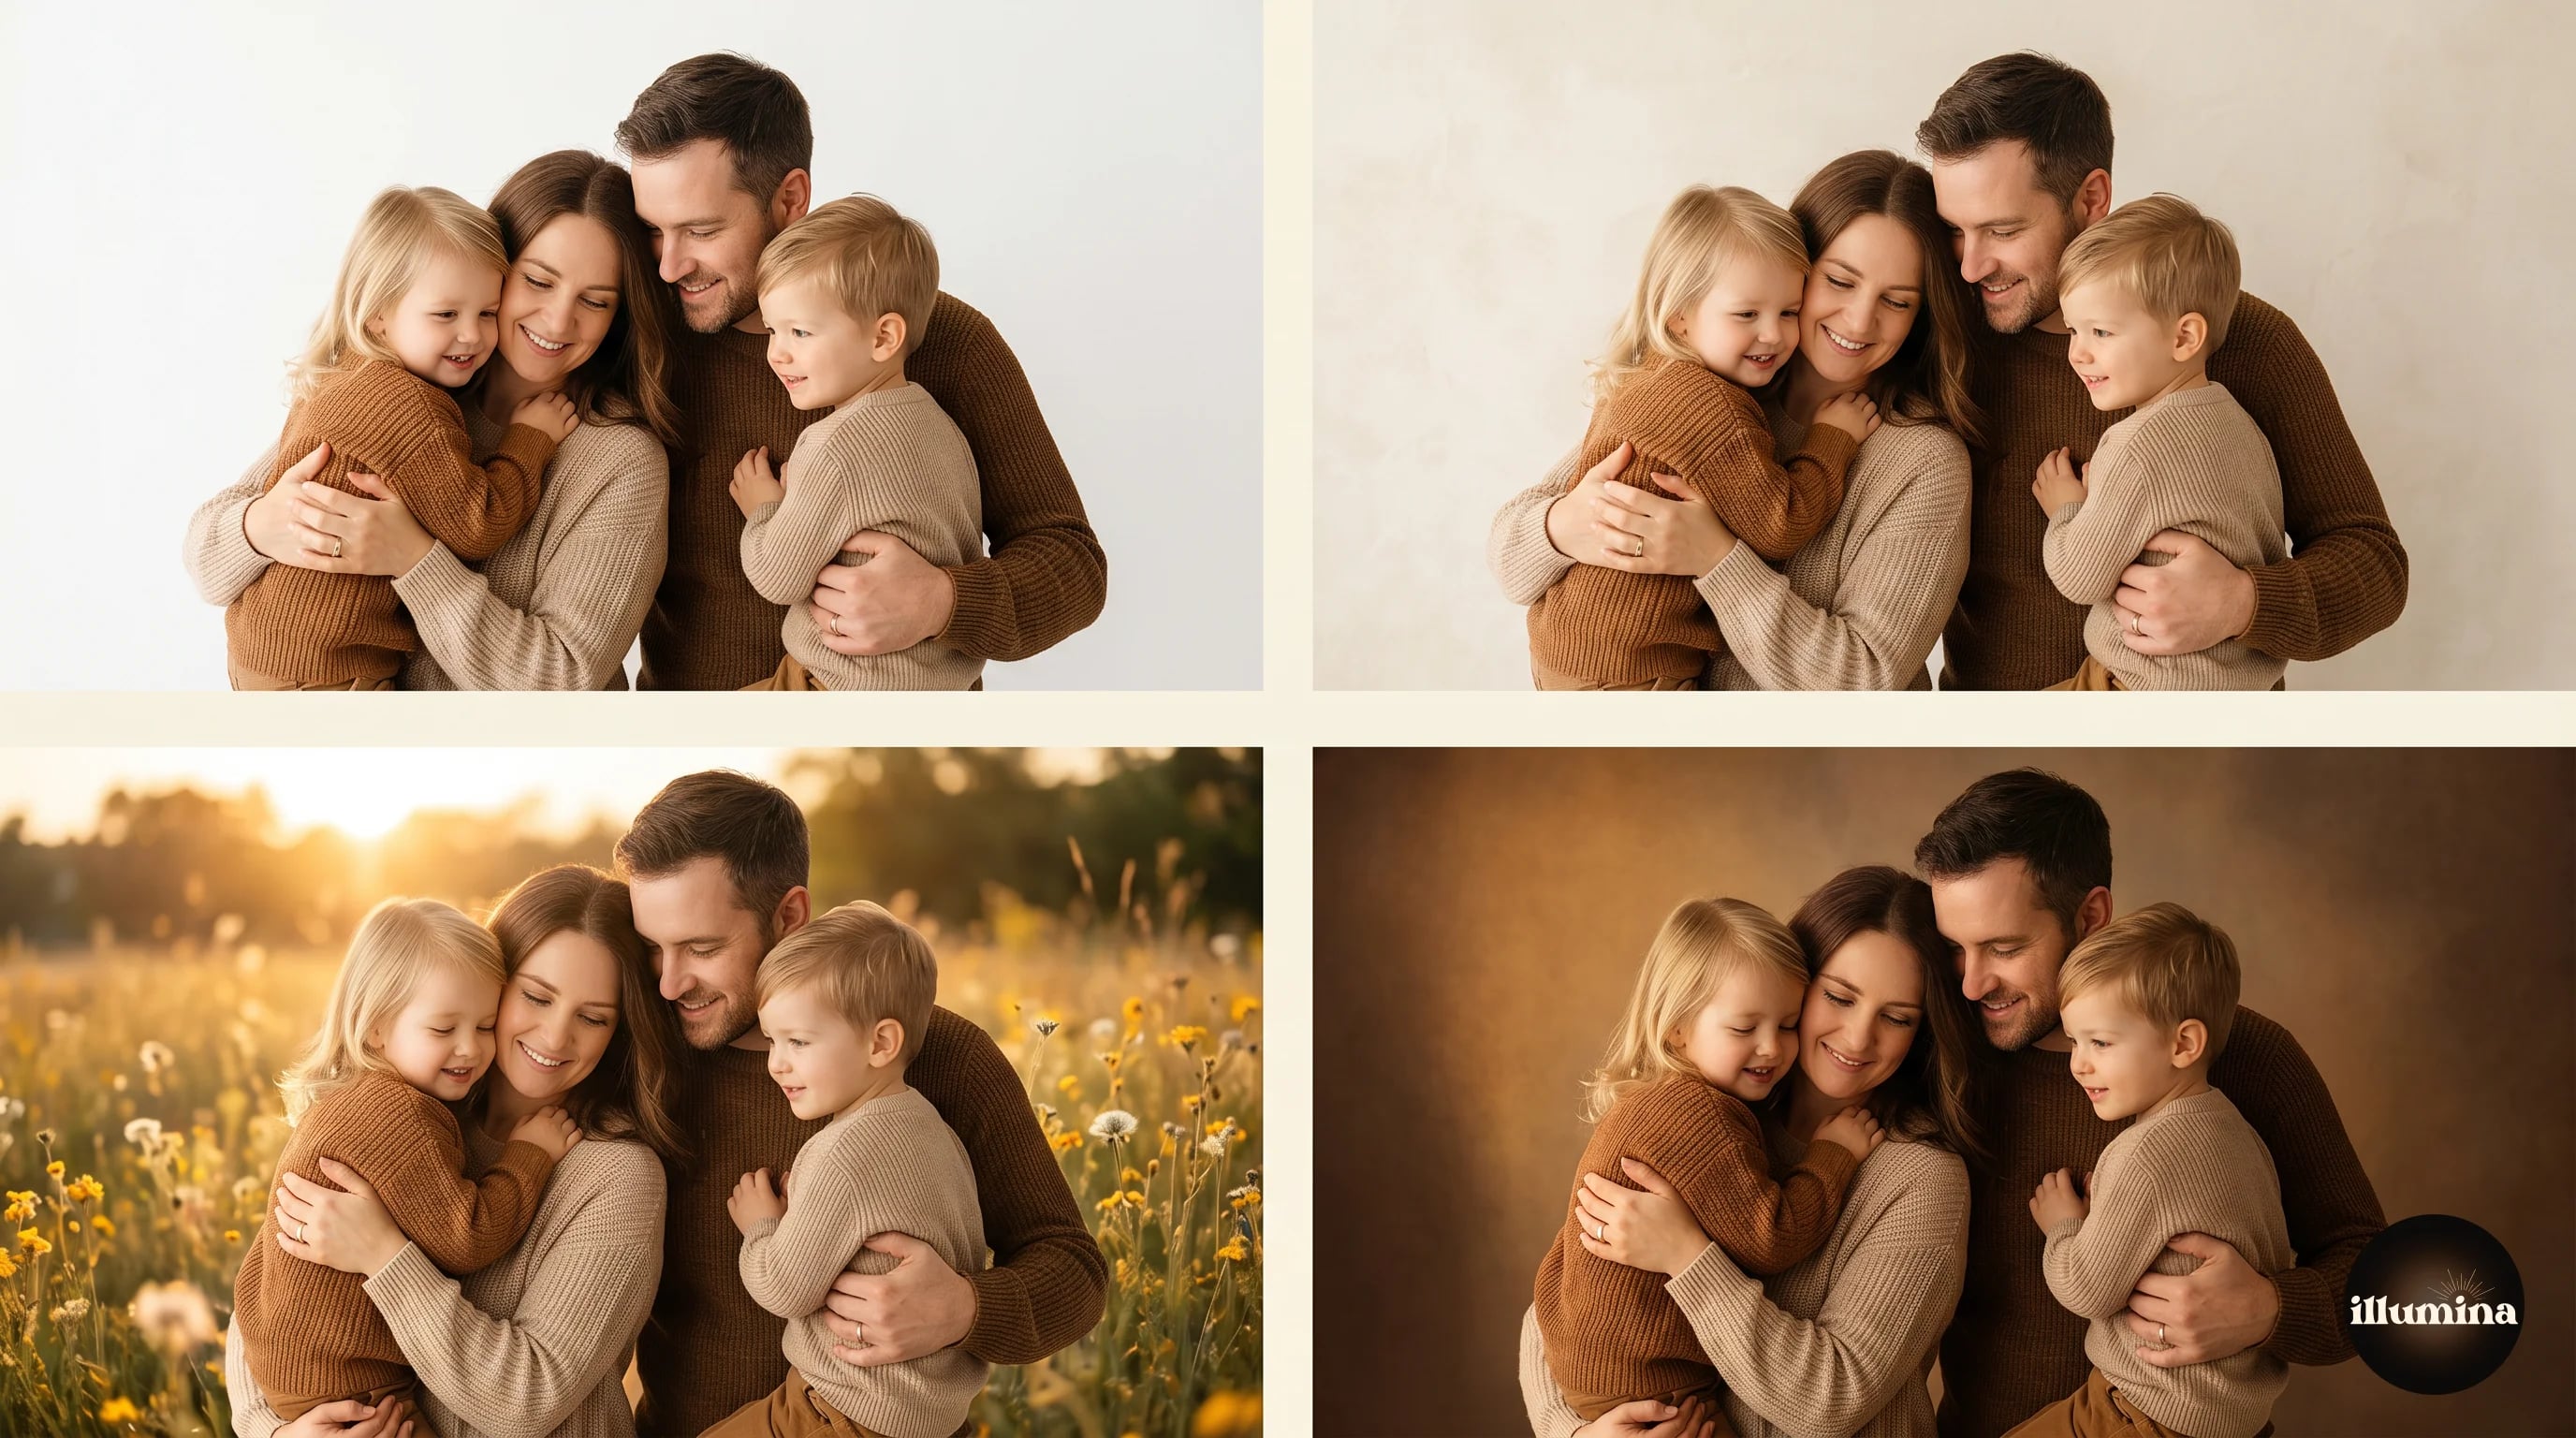
Portraits intended for wall art or personal use. A white wall behind a person looks clinical rather than intimate. A textured or environmental backdrop gives the photo warmth.
Maternity, newborn, and family photography. These categories live on soft, textured, atmospheric backgrounds. A pure-white backdrop strips the emotional quality.
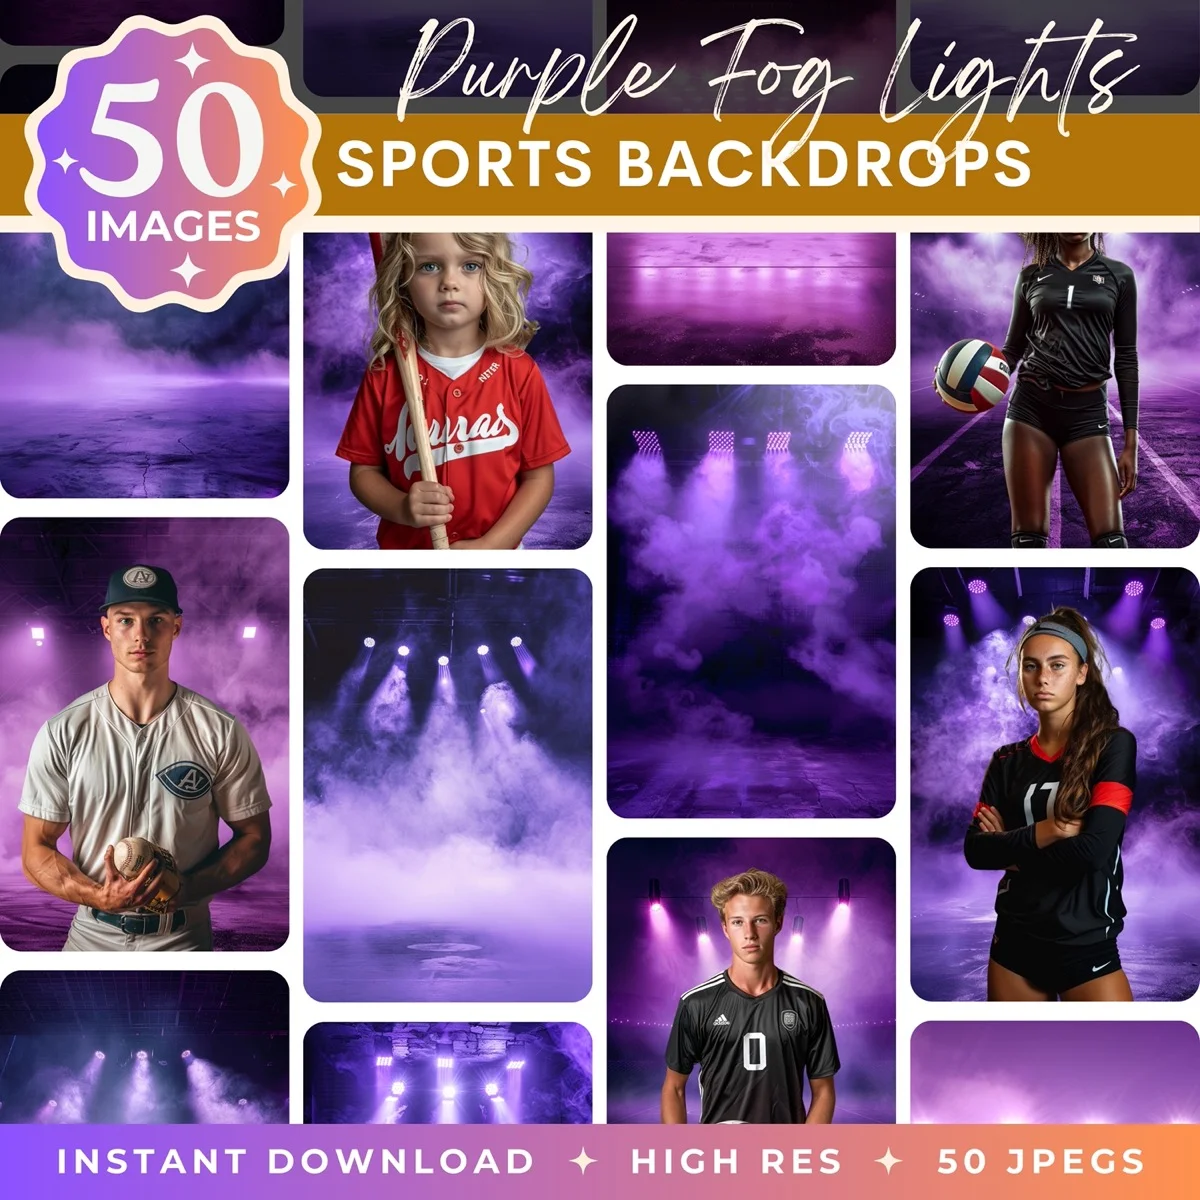
Sports, graduation, and milestone photography. Dramatic and environmental backgrounds (stadium, fog, sunset, forest) signal event and memory in ways a white background never will.
For any of these use cases, compositing onto a designed backdrop produces a stronger image than compositing onto white. We design Illumina Backdrops digital backdrops for exactly these categories. Browse the collection for family portraits, sports composites, maternity sessions, and seasonal photography.
Shooting the Original Photo for Easy White Backgrounds
The cleanest white-background photo starts with a well-shot original. A few choices at capture time save an hour of editing later.
Shoot against a high-contrast background. If your subject is fair-skinned in a light-colored outfit, shoot against a dark background. If they are dark-skinned or wearing dark clothing, shoot against a light background. High contrast between subject and background lets the AI separate them cleanly. Same-tone backgrounds cause half the edge problems in background removal.
Keep the subject sharp. Focus on the eyes (for portraits) or the primary feature of the subject. Any softness bleeds into the edges and makes the cutout fringed. Stop down to f/5.6 or f/8 for product photography where edge-to-edge sharpness matters.
Light evenly. A flat, even light source (softbox, overcast daylight, or a well-diffused flash) produces edges the AI can find easily. Harsh mixed lighting with both hard shadows and bright highlights produces edges the AI has to guess at.
Leave breathing room. Do not crop tight. Give at least 10 percent margin around your subject. You can always crop in later, but you cannot add back pixels that were never captured.
Photographers who start with these four rules spend minutes on cutouts instead of tens of minutes. The capture-time decisions compound through the entire edit pipeline.
Batch Processing: When You Have 50 of These to Do
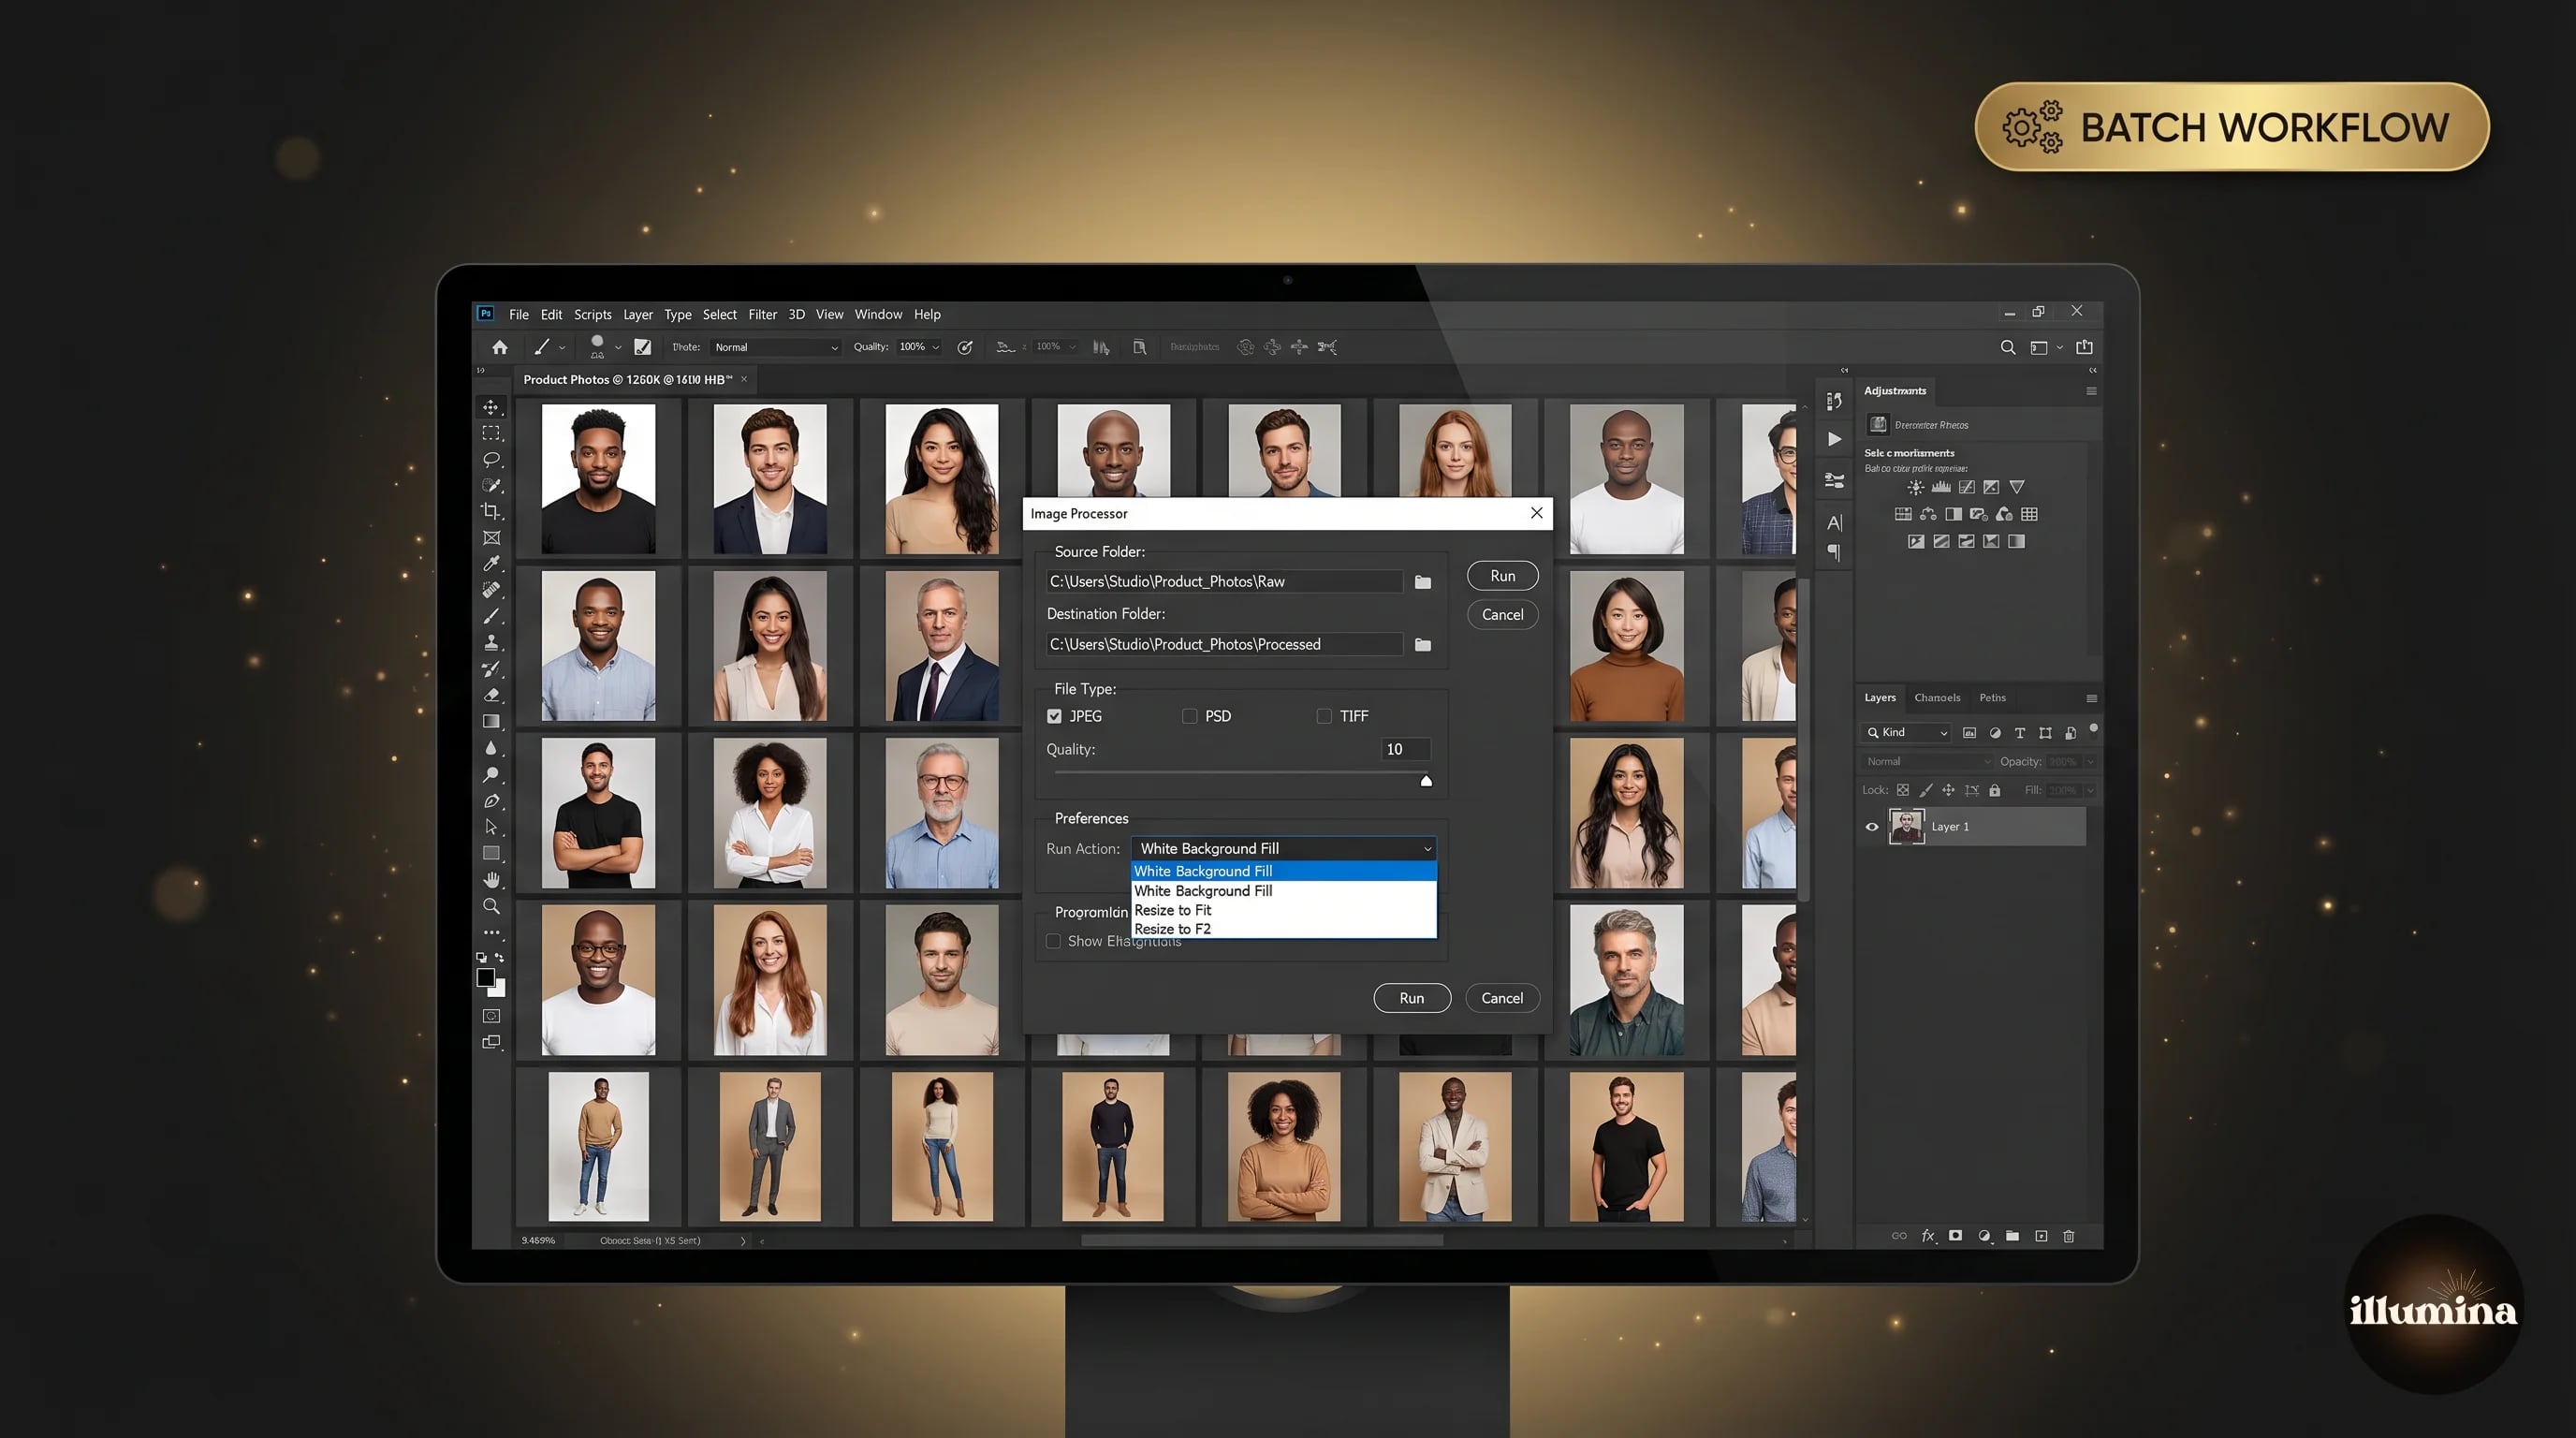
If you are processing a product catalog or an event shoot with dozens of white-background images needed, one-click tools fall short. You want a batch workflow.
Photoshop batch processing. File > Scripts > Image Processor, combined with a saved Action that runs Select Subject and fills the background layer. This can process 100 images in 15 minutes unattended. Some cleanup will be needed, but 80 percent of the output will be usable.
Photoroom batch mode (paid tier). Upload up to 100 images, apply a template (white background with specified shadow), and download the processed set. Faster than Photoshop for pure product work but less flexible.
remove.bg API. Scriptable API that costs about $0.20 per image at volume. Useful if you have a custom pipeline that already processes images. Integrates with Zapier, Shopify, and most ecommerce platforms.
Batch processing saves time only if your originals are consistent. If half your shots were taken against a black background and half against a wooden table, one Photoshop Action will not work for both. Either reshoot for consistency or separate the files into two batches before running the automation.
Common Mistakes
Using the color picker's "white" preset instead of pure 255, 255, 255. The single most common cause of off-white backgrounds. Always enter RGB values directly.
Forgetting to remove the original shadow. If you pull a subject from a busy original and drop them onto white, the leftover shadow from the original light source is often still faintly visible. Check the base of the subject and clean up any grayish residue with a white brush or a clone stamp.
Skipping the Select and Mask refine pass. Automatic selection is fast but leaves visible edges. A 90-second refine pass in Select and Mask makes the difference between "AI cutout" and "professional retouch."
Using JPG at low quality for primary product photos. A compressed JPG introduces artifacts around the subject's edges that show up against white as gray clusters. Save primary images as PNG or high-quality JPG (90+).
Not checking the final file on a different monitor. What looks bright white on your work display can read slightly warm or cool on a phone or a print. If the image is going to be viewed widely, check it on at least two devices before calling it done. A quick phone check catches the most common color shifts.
Batch-processing without visual inspection. Automated pipelines produce consistent results until they do not. A misaligned subject, an unexpected cropping artifact, or a single image with a weird hair edge can slip through a batch of fifty unnoticed. Skim every image in the output folder at thumbnail size before publishing.
Trusting the preview. Always check pixel values and zoom to 100 percent before calling a white-background photo done. The preview always looks cleaner than the exported file.
When white isn't the right answer


Pure white backgrounds work beautifully for product photography and corporate headshots, and poorly for almost everything else. When you want a portrait to feel warm, intentional, or wall-worthy, a designed digital backdrop does what white cannot. Browse the full Illumina Backdrops collection for studio, floral, maternity, and seasonal packs tuned for portrait compositing.
What Comes Next
White backgrounds are one tool in a bigger toolkit. For portraiture, compositing onto designed digital backdrops almost always produces stronger results than white. For product work, white is usually the right call, but keeping a subtle shadow is what separates amateur from professional output.
If you are interested in the compositing side, our full how to add a background to any photo guide covers the same cutout workflow applied to custom backdrops. And if you want to see how professional composites handle lighting and color matching so the final image reads as a real photograph rather than a paste-up, our color matching composites guide is the next step.
Transform Your Photos
Give Your Photos the Wow Factor
Browse our collection of premium digital photo backdrops. 50 high-resolution print-ready backgrounds in each pack. Instant download.
Browse Backdrops

