

The Quick Answer
The best newborn photos happen in the first two weeks of life, when babies are still sleepy, curly, and willing to be gently posed. Warm the room to around 80 degrees, shoot during a feed-nap cycle, and keep the setup minimal. A soft wrap, a plain backdrop, and good window light will produce better portraits than any elaborate prop setup. Safety is non-negotiable: never use poses that require the baby to support their own head, and always have a spotter within arm's reach.
This guide covers the full range of newborn photo ideas from simple lifestyle shots to styled studio setups, safety guidelines that every photographer (and parent with a camera) should know, the best timing and environment for the session, sibling and family poses with a newborn, and how digital backdrops can give you studio-quality results without a studio.
When to Shoot
Days 5 through 14. This is the window when babies are still in that deep newborn sleep pattern, their skin has cleared up from the initial post-birth blotchiness, and they're small enough to curl into those classic newborn poses. After two weeks, babies become more alert, less sleepy, and significantly harder to pose because they start stretching out and resisting being tucked into wraps.
Book the session before the baby arrives. Set a tentative date based on the due date and confirm once the baby is born. Most newborn photographers hold the first two weeks open for their expecting clients and slot them in based on actual birth date.
Time of day is less important than the baby's state. A fed, warm, sleepy baby at 2 PM will give you better photos than a hungry, cold, alert baby during golden hour. Plan the session around the feeding schedule. Feed the baby, burp, wait for them to fall into a deep sleep (usually 15-20 minutes after feeding), then start shooting. You'll get about 30-45 minutes of cooperative sleep before they wake for the next cycle.
Warm the room before you start. 78-82 degrees Fahrenheit. Babies lose body heat fast, especially when unwrapped for poses. A cold baby is a fussy baby, and a fussy baby doesn't pose. Use a space heater pointed away from the baby (never directly at them) and keep the room warmer than you'd normally find comfortable.
Safety First
This is not optional and it's not a section to skim. Newborn photography involves positioning a fragile human who cannot support their own head, regulate their own temperature, or tell you when something is wrong. Every photographer working with newborns needs to understand what's safe and what isn't.
Never place a baby in a position they can't be in naturally. The classic "froggy pose" (baby propped on their hands with head resting on fists) is a composite of two images: one with the spotter supporting the head from the left, one from the right, combined in Photoshop. The baby is never unsupported. If you see this pose and it looks like the baby is balancing alone, that's editing, not reality.
Always have a spotter. A parent, an assistant, or a second shooter with their hands inches from the baby at all times. The spotter's job is to catch, not pose. They stand behind the camera's frame of view with hands ready. Every time you adjust a light, move a prop, or change your angle, the spotter's hands stay close.
Never hang, suspend, or elevate a baby in a sling, basket, or hammock without the spotter holding the baby's weight. The finished photo may look like the baby is floating in a hanging basket. In reality, the spotter is supporting from directly below, and the support is edited out.
Watch for circulation. Wraps and headbands can restrict blood flow if they're too tight. Check fingers, toes, and the color of the face every few minutes. If anything looks purple, red, or mottled, unwrap immediately and give the baby a break.
Lifestyle Newborn Photos
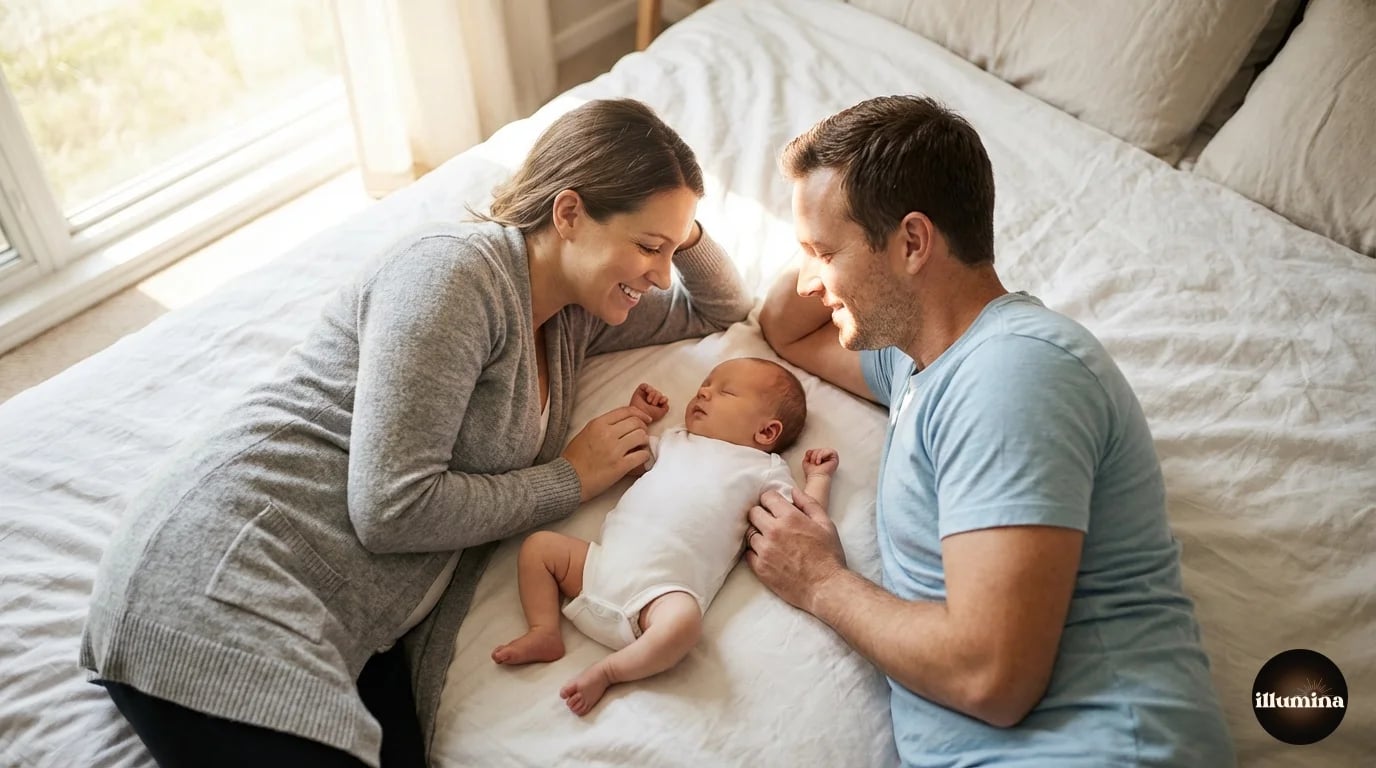
Lifestyle newborn photography is the opposite of studio posing. It's the baby in the parents' arms, on the bed, in the nursery, being held and loved in a real home environment. No props, no elaborate wraps, no posing. Just the family and the baby in their natural space.
This style works well for parents who want to remember what the first week felt like rather than what the baby looked like in a specific pose. The messy bed, the soft light through the curtains, the dad holding the baby on his chest at 6 AM. These moments are the ones that hit hardest in five years.
For photographers, lifestyle sessions are easier to set up (you're working with existing light and existing spaces) but harder to shoot well because you can't control the environment. Find the best light in the house (usually a north-facing window or a large window with sheer curtains), position the family near it, and shoot with a wide aperture to blur out any background clutter.
Lifestyle poses that work every time: baby on mom's chest with both looking down at the baby. Dad holding the baby in the crook of his arm while standing by a window. Baby on the bed between both parents, shot from above. Close-up of baby's hand wrapped around a parent's finger. Baby in the bassinet with the nursery visible behind, shot at a shallow depth of field.
One lifestyle shot that parents consistently love: the overhead view of the baby lying on the bed with both parents' hands visible on either side, everyone's jewelry and skin tones creating a frame around the tiny newborn. It shows scale, it shows the family unit, and it works in any room with decent overhead light. Stand on a chair or step stool to get directly above.
For the maternity-to-newborn transition, some photographers recreate a pose from the maternity session with the baby now in the parents' arms. Same location, same angle, same outfits if possible. The two photos side by side (bump and baby) become one of the most popular prints from the entire photography relationship. If you shot the maternity session too, revisit those images before the newborn session and plan one recreation.
Transform Your Photos
Give Your Photos the Wow Factor
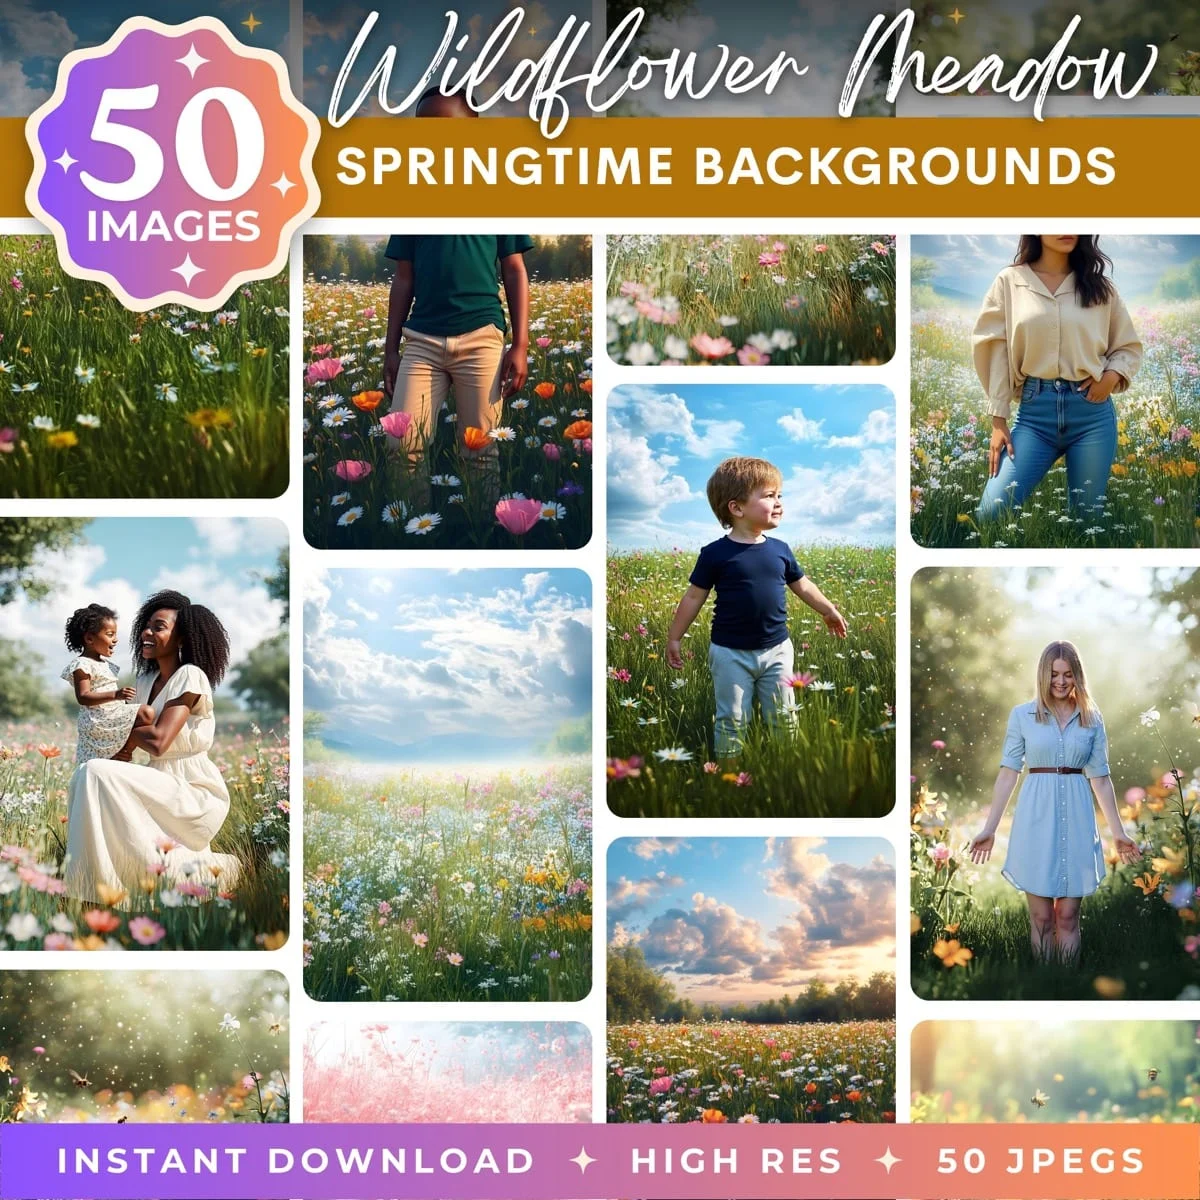
Browse our collection of premium digital photo backdrops. 50 high-resolution print-ready backgrounds in each pack. Instant download.
Browse Backdrops

Posed Studio Newborn Photos
The classic newborn studio look: baby wrapped in a knit cocoon, placed on a bean bag or posing pillow covered in a soft fabric, in a warm room with controlled lighting. This is where the "professional newborn photographer" aesthetic lives, and it requires more gear, more skill, and more safety awareness than lifestyle shooting.
The Setup
A bean bag or posing pillow is the standard surface. Cover it with a stretch fabric that wraps over the edges so the background is seamless. Position it near a large window for natural light, or use a softbox at a 45-degree angle for consistent lighting regardless of time of day.
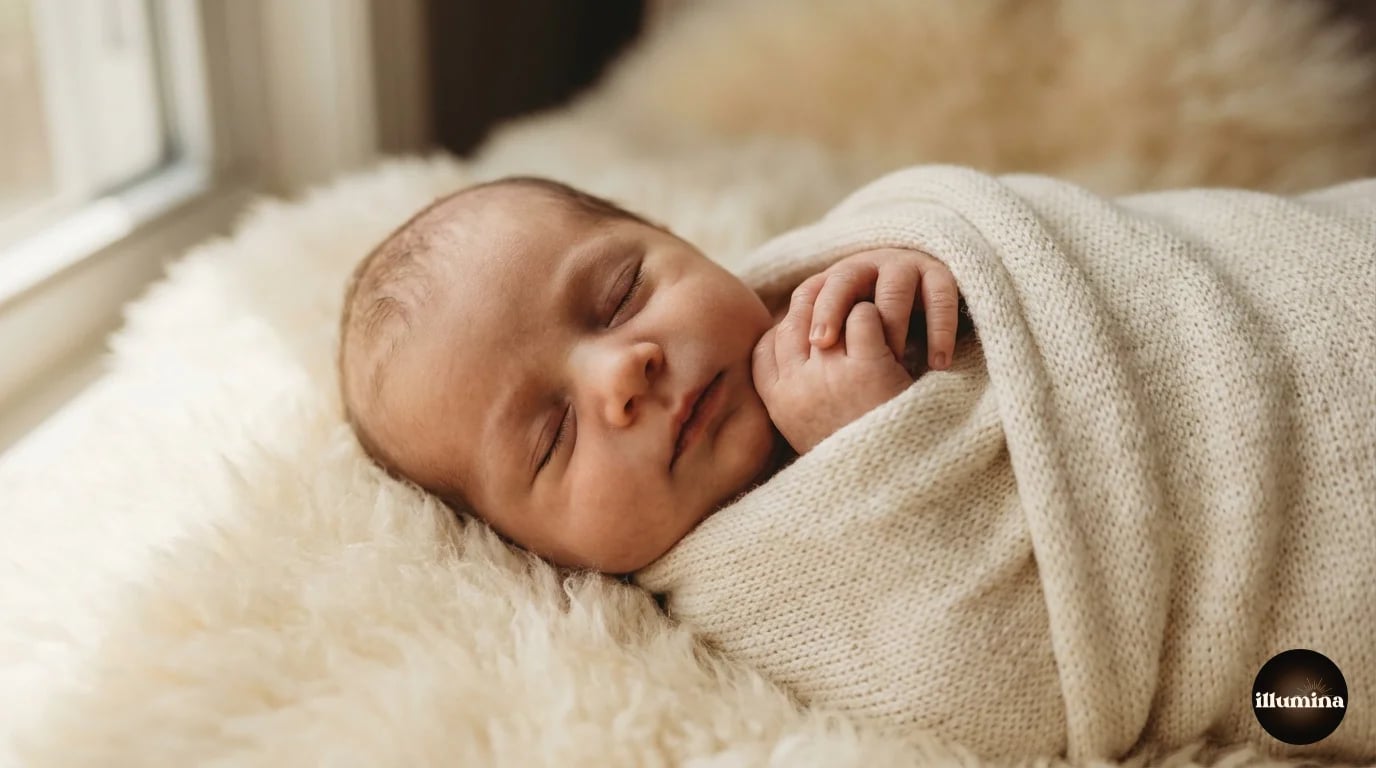
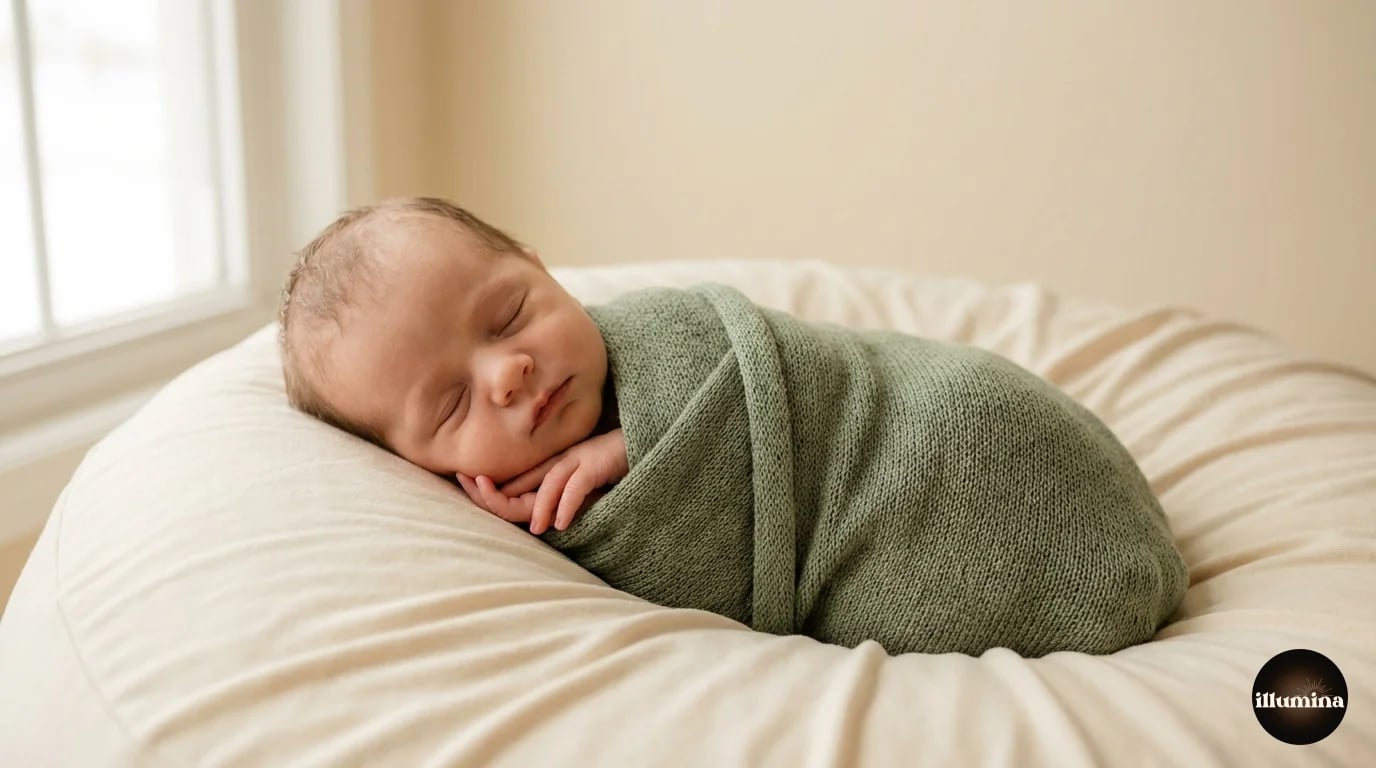
Wraps and swaddles are the primary "wardrobe." A stretchy knit wrap in cream, blush, sage, or dusty blue is the most versatile. Wrap the baby snugly (but not too tight) with their feet tucked and hands near their face. The wrap keeps the baby warm, gives you a clean visual, and helps the baby feel secure (they like the gentle pressure).
Classic Poses
The taco pose: baby on their side, curled up with hands under their cheek. This is the most natural position for a sleeping newborn and requires the least manipulation. It's usually the first pose you try because it's the safest and most comfortable for the baby.
The back pose: baby on their back with a wrap covering the lower body, arms free, hands near the face. Shoot from directly above. This gives you the classic "sleeping cherub" look and works well as a wide shot with plenty of negative space for text (useful if the parents want to use the image for birth announcements).
The chin-on-hands pose: baby on their tummy with their chin resting on their crossed hands. This is a composite pose. Photograph it with the spotter's hands supporting the chin from both sides, then combine the clean halves in Photoshop. Never attempt this without support.
The bucket or basket pose: baby placed in a small prop vessel lined with soft fabric. The baby's weight is always supported by the vessel itself or by the spotter holding from behind. The prop is for visual interest only, not structural support. Check that the basket is sturdy, won't tip, and has no rough edges inside.
Between poses, give the baby a break. Pick them up, hold them against your chest (or the parent's chest), let them settle. Newborns get overstimulated from being repositioned repeatedly, and a two-minute cuddle break resets them. I typically get three or four poses per sleep cycle. If the baby wakes and fusses, stop posing and wait for the next feed-sleep cycle. You can't fight a newborn's schedule. You work around it.
Sibling and Family Poses
Siblings with a newborn require careful management. The older child needs to feel included without being responsible for holding the baby. The safest setup: parent holds the baby, older sibling sits next to them, and everyone is on a bed or couch where the baby can't fall.
For toddler siblings (2-4 years old), don't hand them the baby. Instead, have the parent hold the newborn on their lap while the toddler sits beside them looking at the baby. The toddler can touch the baby's head gently with one finger while the parent supports everything. Shoot quickly. Toddler interest in a sleeping baby lasts about 90 seconds.
For older siblings (5+), they can hold the baby on their lap while sitting on the floor against a wall (for back support), with a parent's hand behind the baby's head just out of frame. The older child feels proud, the parent maintains safety, and the photo looks like the sibling is confidently holding the new baby.
Never force a sibling interaction. If the older kid doesn't want to hold the baby or sit near them, don't push it. A resentful kid next to a sleeping baby makes for a tense photo. Get the sibling shots if they happen naturally, and if they don't, photograph them separately and move on.
Family shots with a newborn: keep everyone close together, tight framing. Mom and dad looking at the baby while the baby sleeps between them on a bed. Everyone's foreheads touching with the baby in the center. Standing pose with the baby in one parent's arms and the other parent's arm around them. The focus is the connection, not the composition.
Props and Styling
Less is more. One or two thoughtful props add personality without overwhelming the baby. Popular options: a knit bonnet or headband, a tiny stuffed animal placed beside (not on) the baby, a meaningful item from the family (dad's watch, mom's engagement ring placed near the baby's hand, a book the parents read during pregnancy).
Color palette matters. Stick to neutrals and soft pastels: cream, white, blush, sage, dusty blue, warm gray. Bold colors and busy patterns dominate the frame and make the baby look like an afterthought. The baby should be the brightest, most interesting thing in the image.
Skip the seasonal costumes for posed studio newborns. A newborn dressed as a pumpkin or wearing a Santa hat reads as novelty, and novelty photos age fast. Classic wraps and neutral tones look timeless at any point in the future. If the parents want a seasonal touch, a single small prop (a tiny knit pumpkin placed beside the baby, not worn) is enough.
One prop I always bring: a small ruler or measuring tape placed beside the baby (not touching). It documents how tiny they are in a way that no other photo can. In ten years, the parents will look at that ruler and think "they were that small?" It's not a glamorous prop, but it's the one that gets the biggest emotional reaction down the road.
Headbands and bows are popular but use them carefully. They should be soft, stretchy, and loose enough that they don't leave marks on the skin. If the headband leaves a red indent after five minutes, it's too tight. The photos aren't worth a mark on a newborn's forehead. Check every few minutes and remove if there's any pressure.
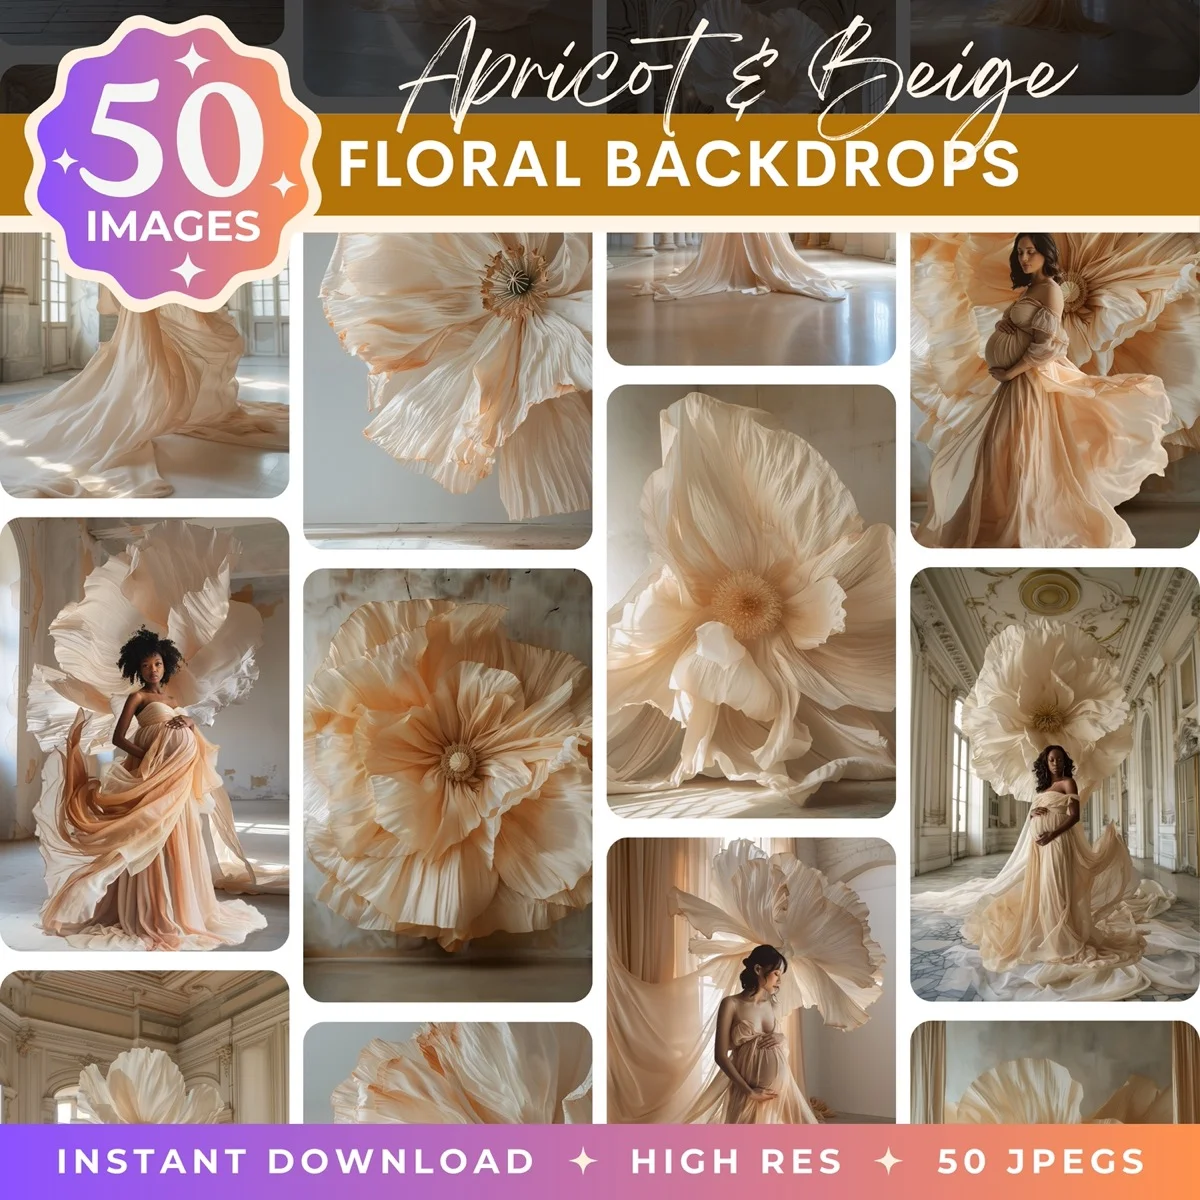
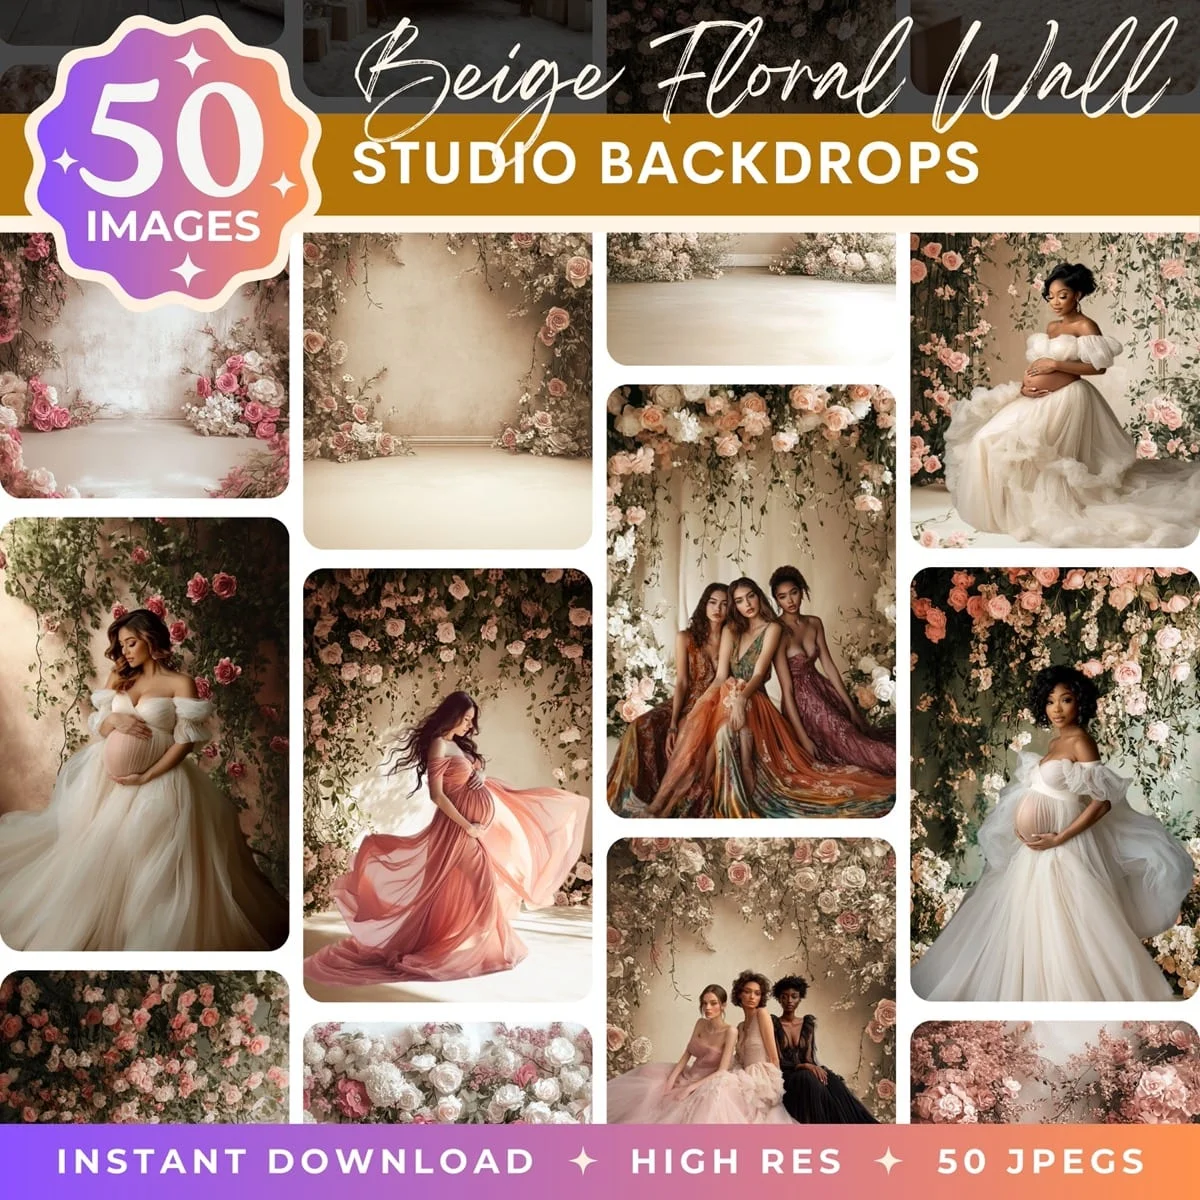
Digital Backdrops for Newborn Photography
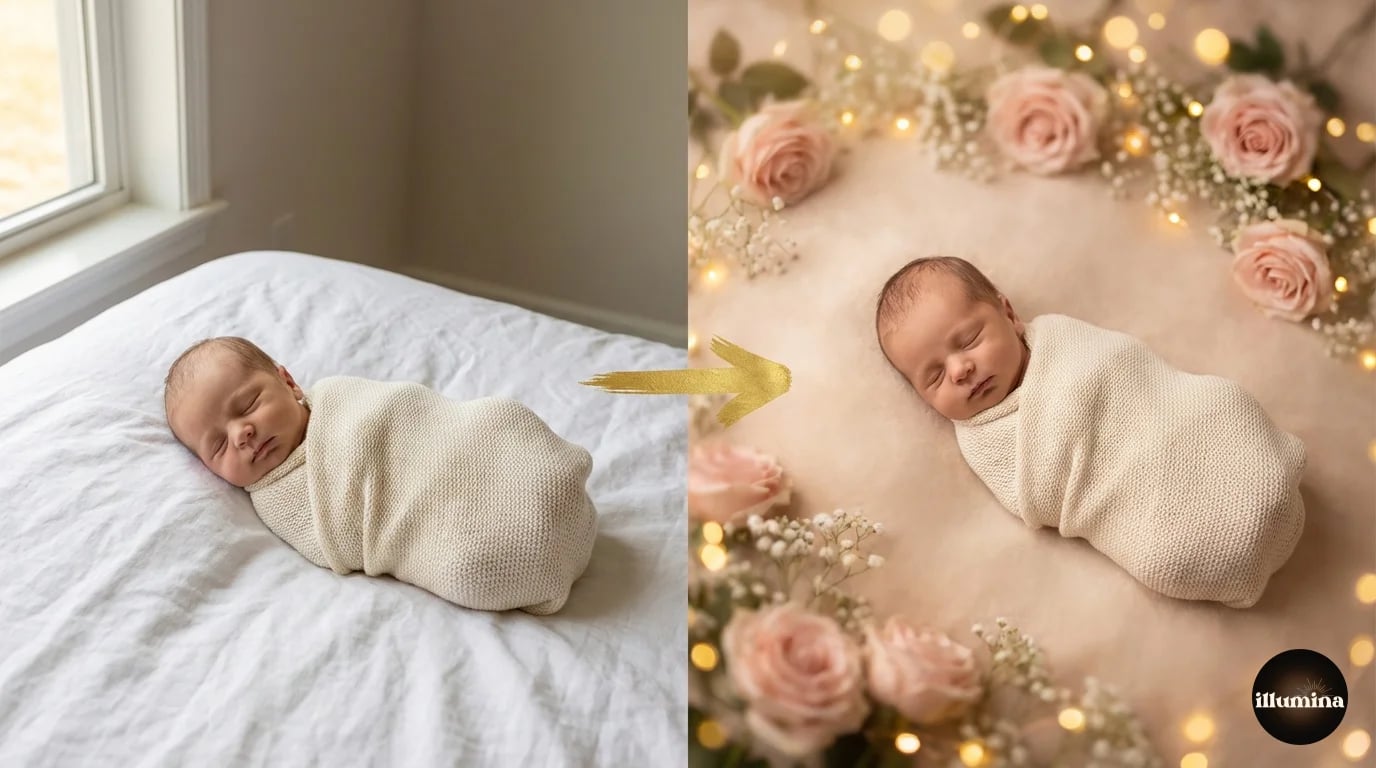
Not every photographer has a dedicated newborn studio with a wall of backdrop options and professional lighting. Digital backdrops let you shoot in any warm room and drop the result onto a clean studio background, a floral scene, a dreamy soft-focus nursery, or anything else that suits the family's style.
The workflow: shoot the baby on a plain posing surface (a bean bag covered in white or cream fabric works best). Keep the lighting soft and directional. Remove the background in Photoshop or Canva. Place the cutout onto the backdrop. Adjust color temperature to match. The soft edges of knit wraps and the organic shapes of sleeping babies make newborn composites very forgiving. Imperfect cutout edges disappear into the soft fabric.
For detailed compositing walkthroughs, see our Canva compositing guide or our Photoshop background removal guide. Both work well for newborn images.
Browse maternity and studio backdrops at Illumina Backdrops for scenes designed specifically for portrait compositing.
Common Mistakes
Shooting too late. After two weeks, the window for curly sleepy poses closes. A three-week-old is awake, stretchy, and fighting every wrap. If you miss the window, shift to lifestyle shots instead of trying to force poses.
Cold room. The single most common reason newborn sessions go badly. If the baby is cold, they cry, they startle, and they won't settle into poses. Crank the heat before you start and keep it up for the entire session.
Over-editing skin. Newborns have mottled, red, flaky skin. That's normal. Aggressive skin smoothing makes them look like a plastic doll. Light frequency separation to even out blotchiness is fine. Full-face smoothing that removes skin texture isn't. The goal is "this baby looks healthy and warm," not "this baby was rendered in CGI."
Forgetting the detail shots. Tiny feet, tiny hands, the belly button cord clip, the peach fuzz on the ears, the way their fingers curl around a thumb. These details disappear in weeks and they're the shots parents request prints of most often. Get the wide portraits and the close details.
Shoot the details while the baby sleeps between pose changes. While you're resetting wraps or adjusting the setup, the baby is lying still. That's your window for close-ups of toes, eyelashes, lips, and hands. Don't waste the downtime.
Soft studio scenes for portrait compositing

Newborn photography has a tiny window and a steep learning curve, but the results matter to families more than almost any other type of portrait work. The photos from the first two weeks become the ones that get framed, gifted to grandparents, and pulled out at every birthday. Keep it safe, keep it warm, keep it simple, and shoot more than you think you need. You won't get this window again.
Transform Your Photos
Give Your Photos the Wow Factor
Browse our collection of premium digital photo backdrops. 50 high-resolution print-ready backgrounds in each pack. Instant download.
Browse Backdrops

