

In this guide
- The Quick Answer
- Why Photoshop Still Wins for This
- Method 1: Select Subject
- Method 2: Select and Mask
- Method 3: The Pen Tool
- Method 4: Channel Selections
- Method 5: Quick Selection and Magic Wand
- Method 6: Blend If
- Cleaning Up the Mask
- Exporting
- Common Mistakes
- Keyboard Shortcuts That Speed Everything Up
- Compositing: What Comes After the Cutout
The Quick Answer
Go to Select, then Subject, then click the Layer Mask icon. That's the fastest way to remove a background in Photoshop, and for most portraits it takes about three seconds. If you're dealing with tricky edges (wispy hair, glass, fur), you'll want Select and Mask with the Refine Edge brush, the Pen Tool, or a Channel selection depending on the situation.
This guide goes through every method from fastest to most precise. All of them end with a non-destructive layer mask, which means you can go back and tweak things without wrecking the original image.
Why Photoshop Still Wins for This
Free tools and AI removers have gotten good. For social posts or quick crops, they're often fine. But when you need to print large, build composites for paying clients, or handle something difficult like flyaway hair against a busy background, Photoshop is still the only option that gives you real control.
The reason comes down to layer masks. Every method in this guide produces one. That means you can refine edges, paint back missed areas, soften or sharpen the cutout, and export at any resolution, all without touching the original pixels. AI tools bake their decision into a flat PNG and that's what you get. Photoshop lets you come back a week later and fix a single wisp of hair in thirty seconds.
If you're not sure whether to stick with Photoshop or try something faster, our guide on how to remove the background from any photo compares Photoshop against Canva, remove.bg, Photoroom, and others. This one is Photoshop-only.
Method 1: Select Subject
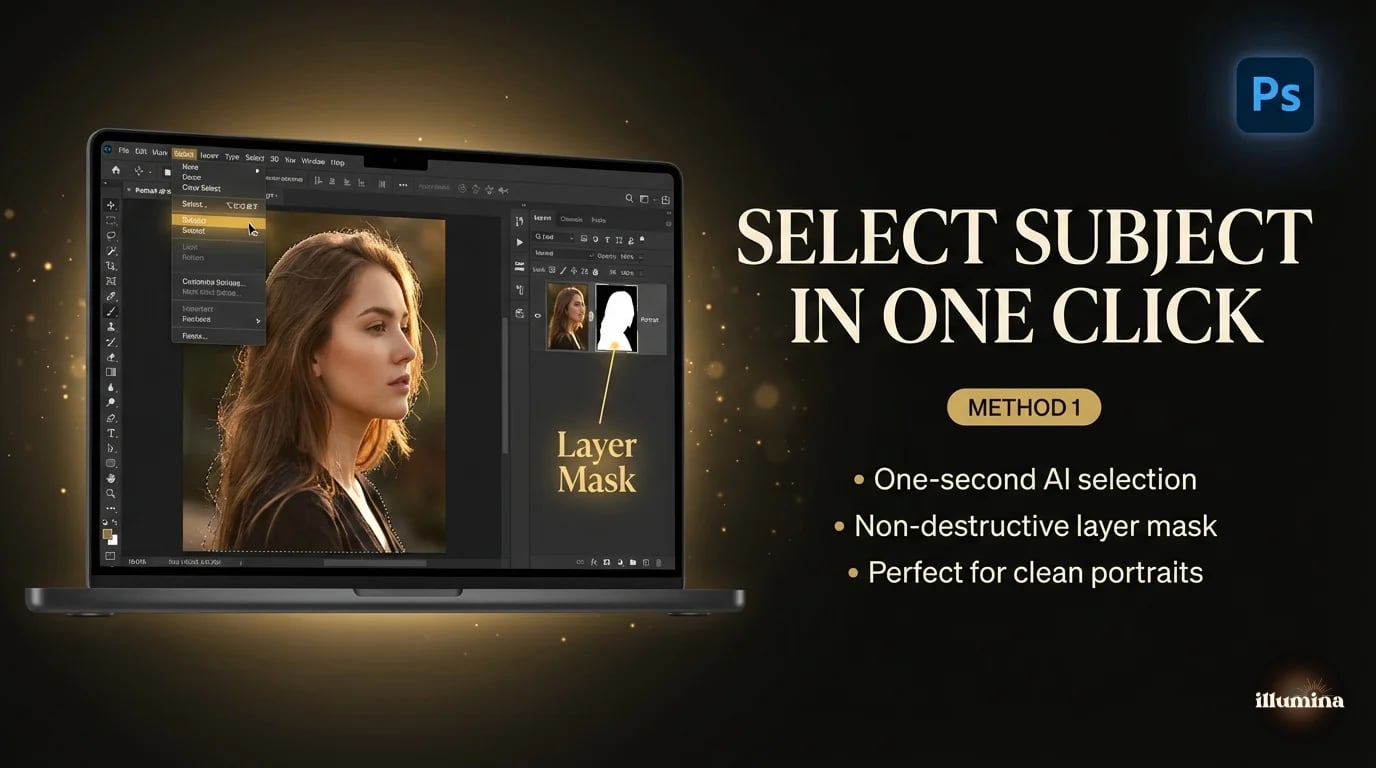
Open your image. Go to Select, then Subject. Photoshop's neural network looks at the photo and draws a selection around the main subject. You'll see the marching ants outline in about a second. Click the Add Layer Mask icon at the bottom of the Layers panel. Background gone, checkerboard visible.
Adobe's Sensei model has improved a lot across Photoshop 2024, 2025, and 2026. On well-lit portraits with good contrast between the subject and background, it produces cutouts I'd send to a client without any cleanup. On group shots or busy backgrounds, it still struggles, and you'll need to refine by hand.
I start with Select Subject on almost every image, even the hard ones. The initial mask usually gives you a decent starting point that's faster to refine than building from scratch. For single subjects in clean light with no tricky edges, it handles maybe 70% of real portrait work on its own.
Start with Select Subject every time, even on hard images. The initial mask is almost always a faster starting point than building a selection from scratch. You can refine from there.
One useful trick: hold Shift while clicking Select Subject to add to an existing selection, or Option (Alt) to subtract from it. That lets you run it multiple times on group photos where the AI only grabbed part of the scene.
Where Select Subject Falls Apart
It's not all magic. Select Subject consistently struggles with a few things: subjects wearing the same color as the background (white shirt on white wall), multiple overlapping people where limbs cross, and anything where the "subject" is ambiguous (does Photoshop grab the person, the chair they're sitting in, or both?). It also has a tendency to include shadows in the selection, which can be a problem if you want a clean edge at the feet.
For group photos, I'll run Select Subject first to get the general shape, then switch to the Quick Selection tool to manually add or subtract specific areas. The combo is faster than either tool alone. And if the entire image is low contrast (overcast day, gray clothes, gray background), don't expect any automated method to do great work. That's when you reach for the Pen Tool or Channels and accept that it's going to take a few minutes.
Method 2: Select and Mask
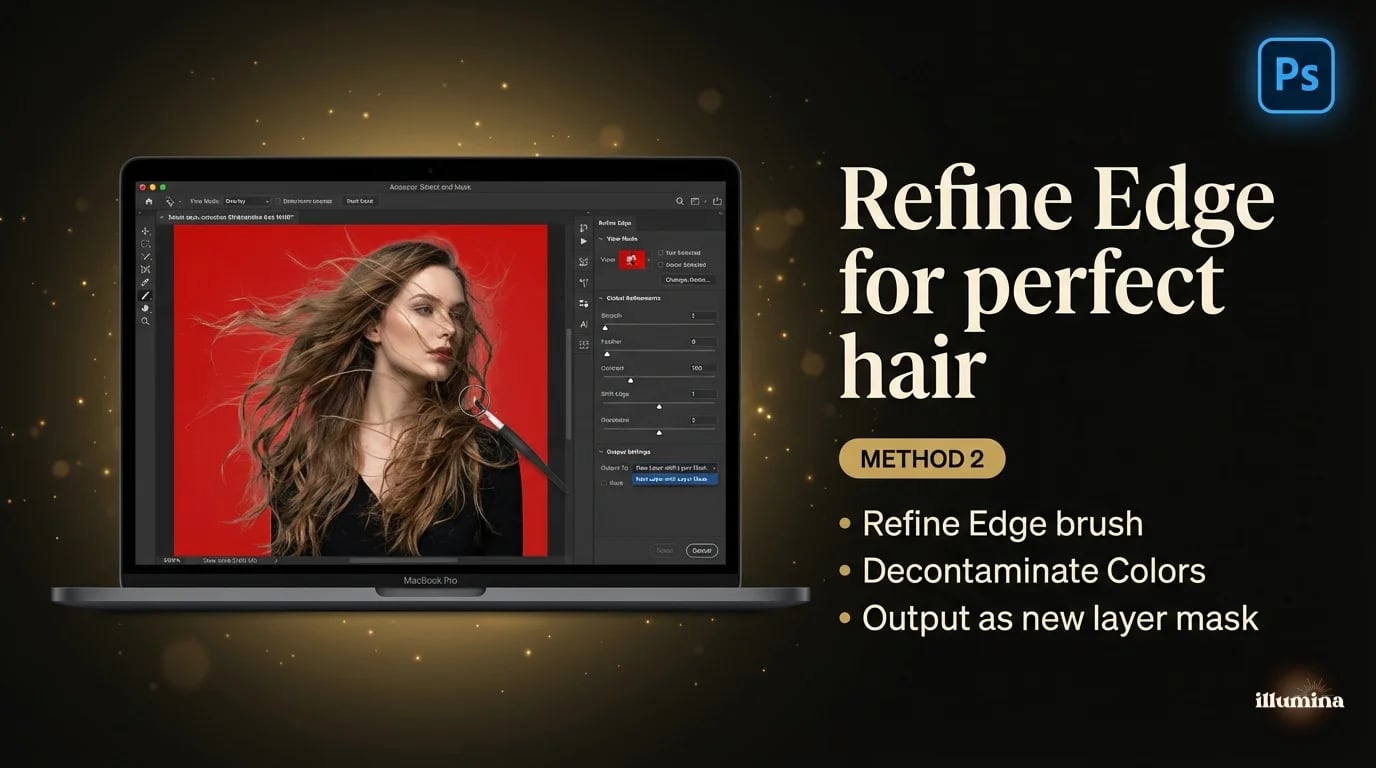
This is where you go when Select Subject leaves rough edges, which usually means hair. With your selection still active, click Select and Mask in the Options Bar. Photoshop opens a dedicated workspace where you can see your cutout previewed against a red overlay or the transparency checkerboard.
The tool you want is the Refine Edge brush (second from the top in the workspace toolbar). Paint it along the hair edges. Photoshop recalculates the selection to grab individual strands without pulling in background pixels. The Smooth, Feather, Contrast, and Shift Edge sliders on the right give you control over the overall edge quality. I usually leave Smooth and Feather low and nudge Shift Edge inward by -5 to -10 to tighten things up.
Set the Output To dropdown to "New Layer with Layer Mask." This is important. It preserves your original on a separate layer and gives you a mask you can keep refining. Don't use the other output options unless you have a specific reason.
For hair-heavy portraits, tick the Decontaminate Colors checkbox in the Output section. This strips the color cast of the old background from your cutout edges. It's what kills the green screen bleed or the white halo that would otherwise show up around blonde hair.
Method 3: The Pen Tool
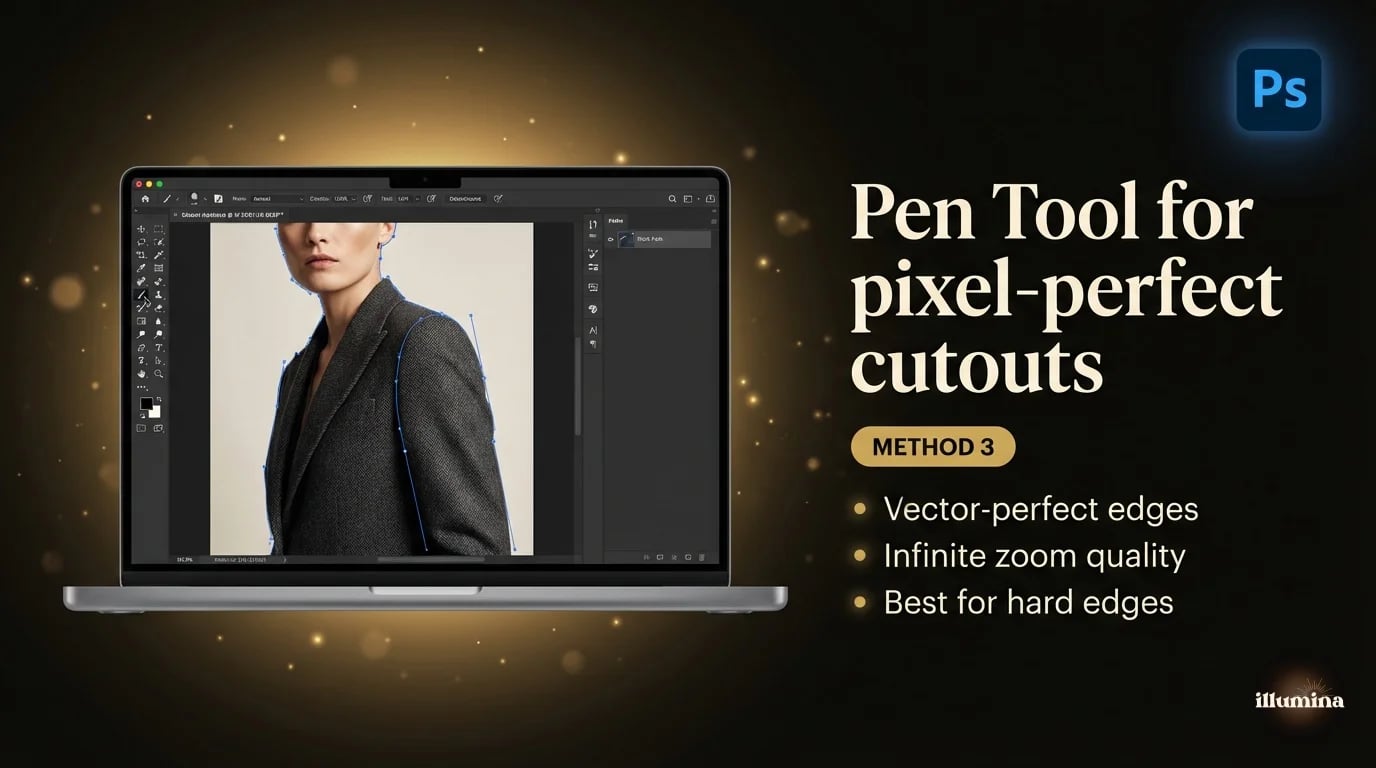
The Pen Tool is slow. It's tedious. And it's still the best thing Photoshop has for hard-edged precision work. You manually trace the outline of your subject with anchor points, and Photoshop builds a vector path. Because it's vector, the edges are perfectly clean at any zoom level, and you can tweak the path months later.
Select the Pen Tool (P), set it to Path mode (not Shape) in the Options Bar. Click to place anchor points along the edge. For curves, click and drag to pull out Bezier handles. When you loop back to the start, click the first point to close the path.
Right-click the path, choose Make Selection, set Feather Radius to 0.5px for a slightly soft edge (or 0 for razor sharp), and add a layer mask. Done.
I only use the Pen Tool for product photography, corporate headshots going to print, and anything with hard geometric edges like architecture or packaging. It's not the right tool for hair, but for hard edges, nothing else comes close.
Set Feather Radius to 0.5px, not 0. A hair-thin soft edge looks more natural than a razor-sharp cut, especially on skin against a new backdrop. Zero feather screams "cut out."
Method 4: Channel Selections
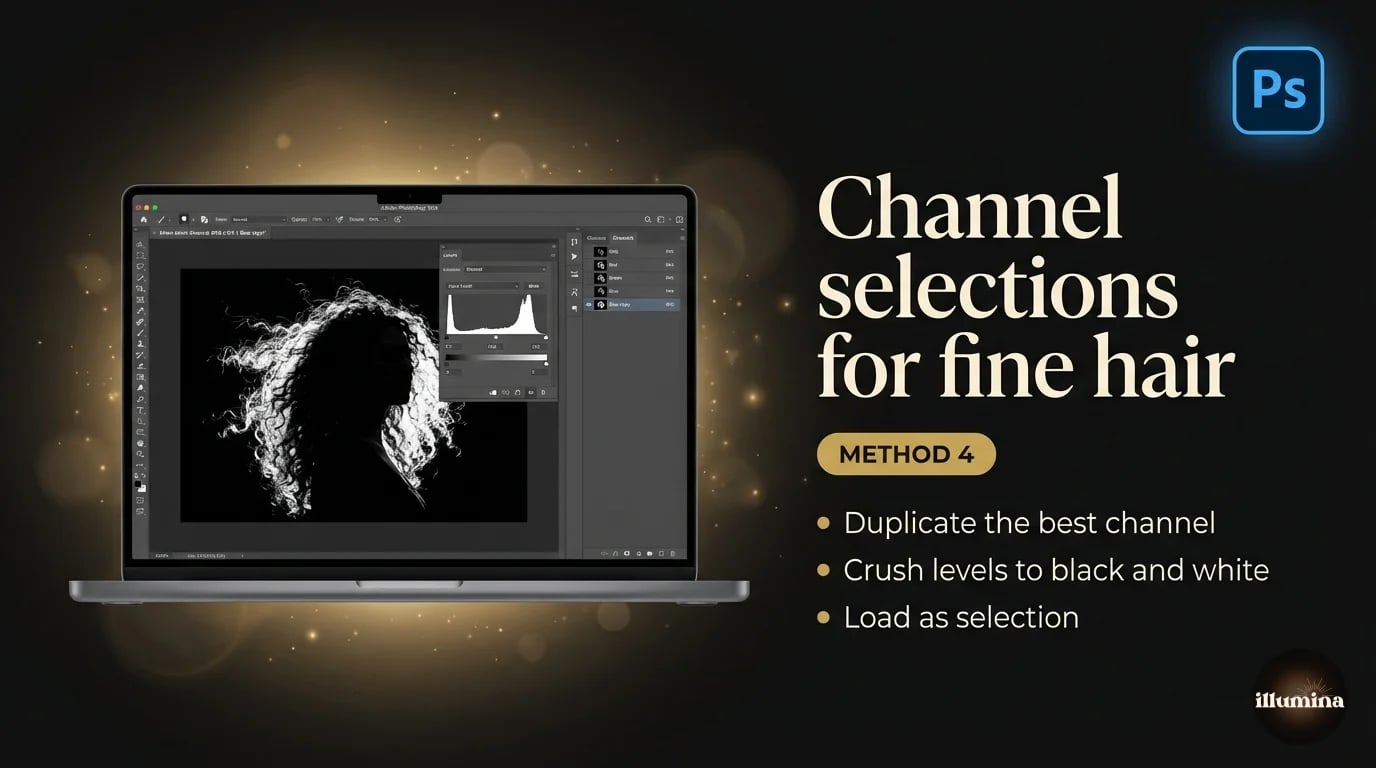
This is the technique retouchers use for cutting out hair, fur, tree branches, and anything with hundreds of fine edges that no brush can trace. It works by exploiting the natural contrast in one of the RGB color channels.
Open the Channels panel (Window, Channels). Click through the Red, Green, and Blue channels individually. You're looking for the one where the subject's edges have the strongest contrast against the background. Blonde hair on dark? Blue channel usually wins. Dark hair on light? Red channel tends to be clearest.
Duplicate that channel. With the copy selected, open Levels (Cmd+L / Ctrl+L) and drag the black and white sliders inward until the background is pure white and the hair is pure black. You'll probably need to paint some leftover gray areas inside the subject with a regular black brush.
Cmd-click (Ctrl-click) the channel thumbnail to load it as a selection, invert if needed (Cmd+Shift+I), switch back to the RGB composite, and add a layer mask. The result preserves individual strands of hair in a way that Select Subject can't match. It's more work, but for the right image, it's worth it.
Combining Channels with Other Methods
Channel selections work best when paired with another method. A common workflow I use: Select Subject for the body, then a Channel selection just for the hair. You end up with two masks. Load one, paint the other in with a white brush, and you get the clean body outline from Select Subject plus the hair detail from the channel. It sounds complicated but once you've done it twice, it takes maybe three extra minutes.
The big limitation of Channel selections is that they need a relatively clean, single-toned background to work well. If your subject has dark hair against a dark and busy forest background, there's no channel that'll give you good separation. In that case you're better off with Select and Mask and a lot of patience with the Refine Edge brush.
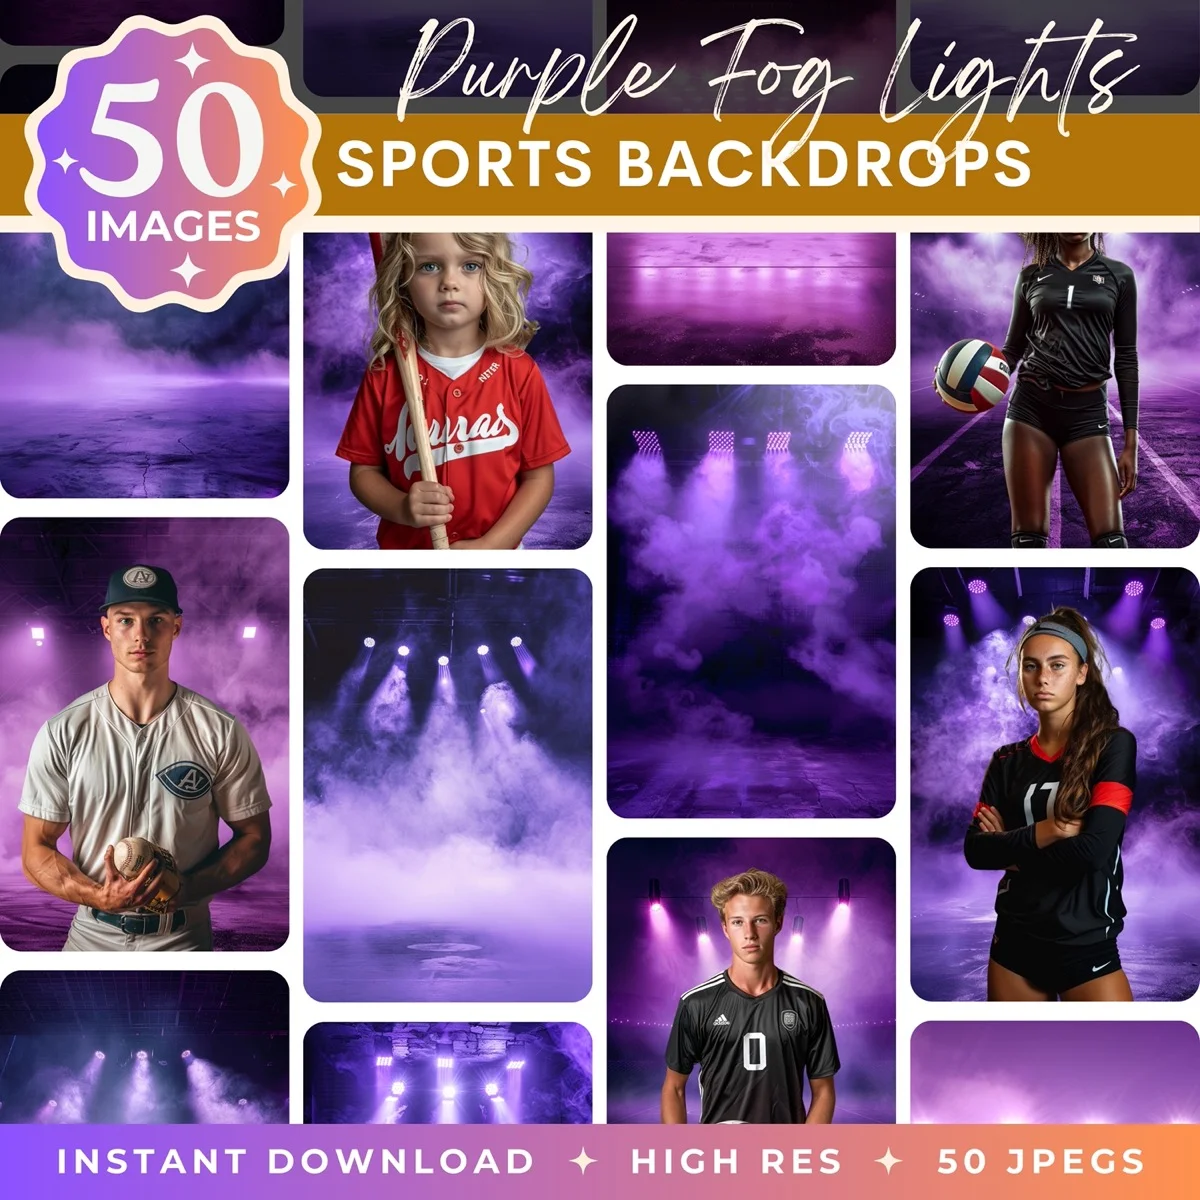
Transform Your Photos
Give Your Photos the Wow Factor
Browse our collection of premium digital photo backdrops. 50 high-resolution print-ready backgrounds in each pack. Instant download.
Browse Backdrops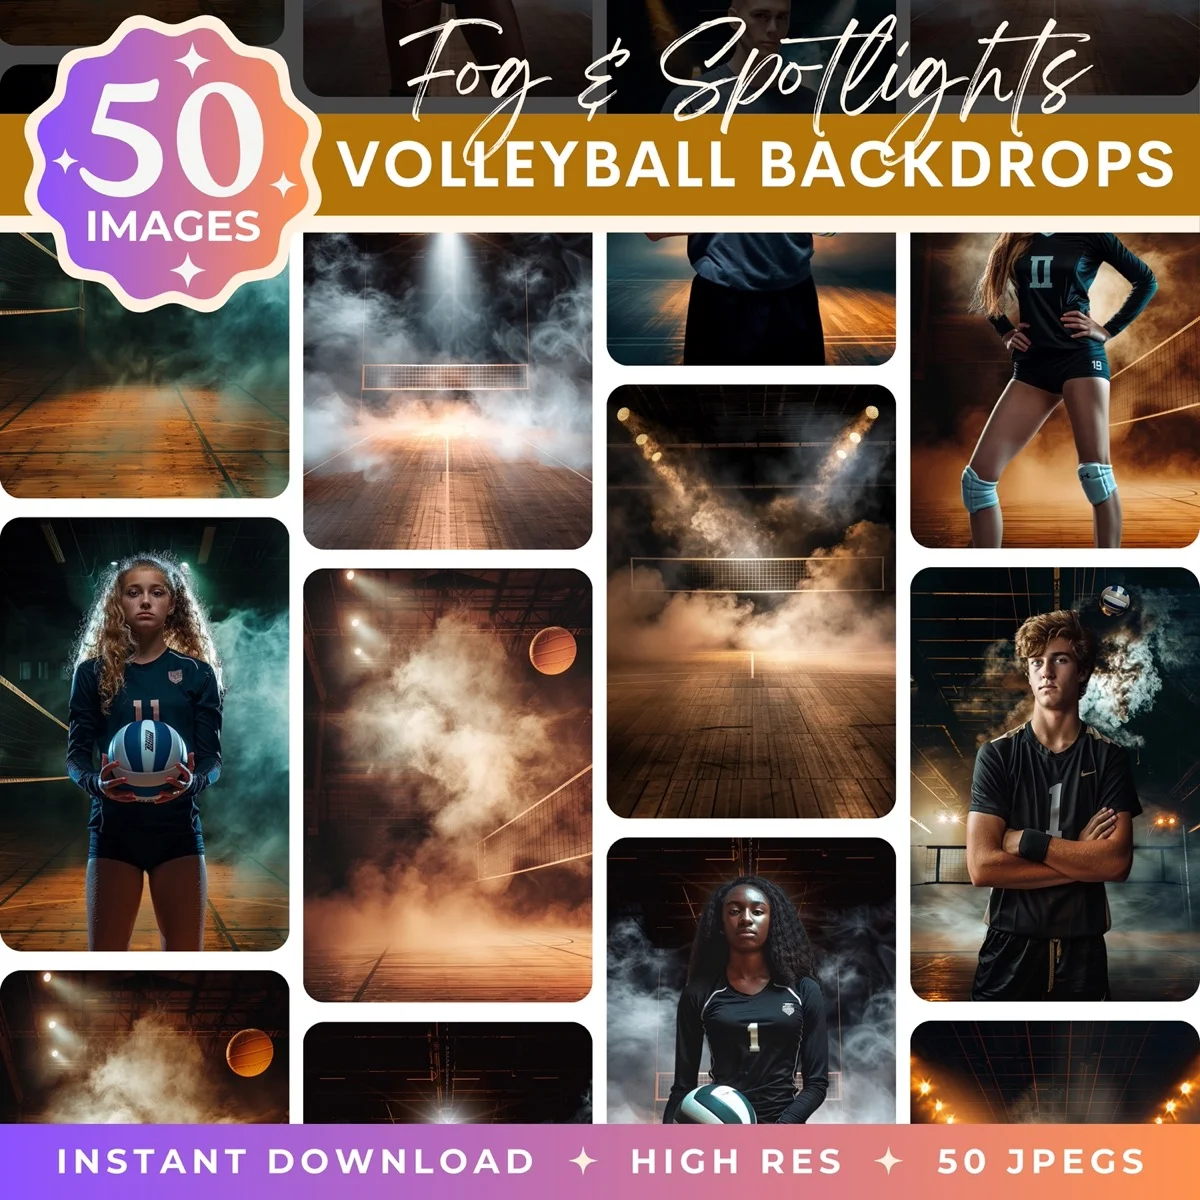

Method 5: Quick Selection and Magic Wand
These are older tools, but they're still useful in specific situations. I wouldn't start a portrait with either one, but they fill gaps that the newer methods don't cover well.
Quick Selection works like a smart paint brush that finds edges as you drag. It's most useful when Select Subject nails most of the cutout but misses one isolated area, like an arm blending into a similar-toned background. Paint over just that section and it extends the selection without recalculating everything.
Magic Wand is the fastest way to remove a solid color background. Product shot on pure white? Set Tolerance to 20-30, click the background, invert (Cmd+Shift+I), add a mask. If there are subtle shadow gradients, bump Tolerance up and uncheck Contiguous so it grabs all the light pixels at once.
Method 6: Blend If
Most people don't know about this one. Blend If is buried in the Layer Style dialog, and it removes pixels based on brightness values. It's the fastest way to knock out smoke, fire, fireworks, water sprays, glass, and anything semi-transparent where a traditional mask would look completely fake.
Double-click the layer to open Layer Style. Look at the bottom of the Blending Options panel for the Blend If sliders. Dragging the "This Layer" black slider right makes dark pixels transparent. Dragging the white slider left makes light pixels transparent. Hold Option (Alt) to split the slider for a smooth fade instead of a hard cutoff.
Portrait on a bright studio backdrop? Drag the white slider inward. Smoke on black? Drag the black slider. It's non-destructive and converts to a proper mask if you right-click the layer, choose Convert to Smart Object, and apply. One of Photoshop's most underrated features.
Cleaning Up the Mask
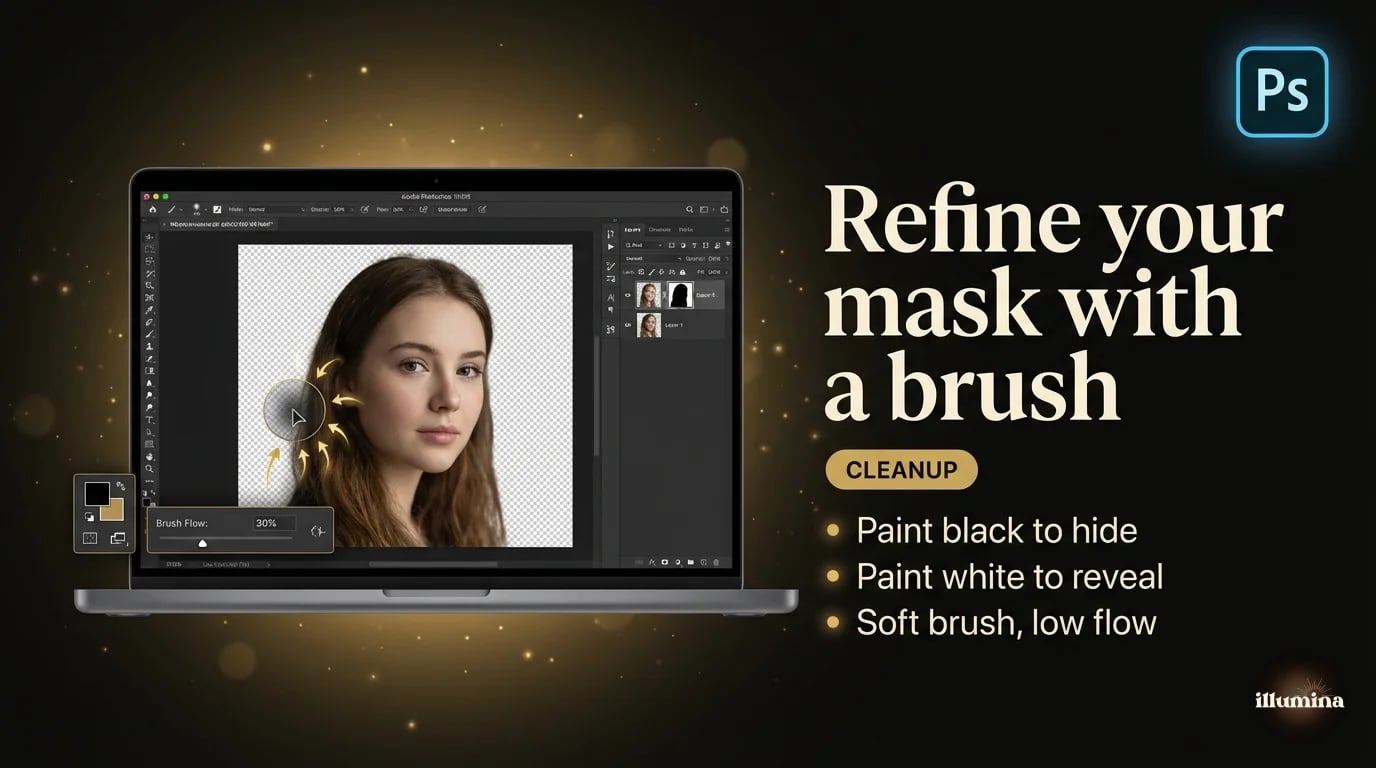
Every cutout needs at least a quick cleanup. The good news: layer masks are fully editable. You don't redo the selection, you just paint.
Click the mask thumbnail in the Layers panel so it's selected (you'll see a thin border around it). Grab a regular brush. Black paint hides pixels. White paint reveals them. That's the whole system. Paint black over stray background bits, paint white over areas of the subject that got accidentally masked out.
For hair edges, I use a soft round brush at about 30-40% hardness with the Flow set to 20-30%. Flow is the key setting here, not opacity. Flow lets you gradually build up the stroke, which gives you way more control along fine edges. Keep opacity at 100% and just vary flow.
X swaps foreground and background colors. When painting a mask, this is how you flip between hiding (black) and revealing (white) without touching the color picker. You'll hit this key fifty times per cutout.
Don't skip the matting commands either. Layer, Matting, Defringe at 1px eliminates the light or dark fringe lines left from the old background. Remove White Matte and Remove Black Matte are single-click fixes for when you know the source had a solid backdrop. They make a noticeable difference.
Checking Your Edges Before Exporting
Before you call a cutout done, check it against multiple backgrounds. Create a solid color layer under your cutout and cycle through black, white, 50% gray, and a color similar to your target background. Edge problems that are invisible on white become obvious on black, and vice versa. I keep a Photoshop action that cycles through four background colors so I can check with one click.
Pay special attention to the hair line, the edges of clothing (especially loose fabric), and the feet/shoes area where shadows often get included in the mask. If you see a faint halo on the dark background check, nudge the mask with Levels (Cmd+L on the mask itself) to tighten the black-to-white transition. A small adjustment goes a long way.
Exporting
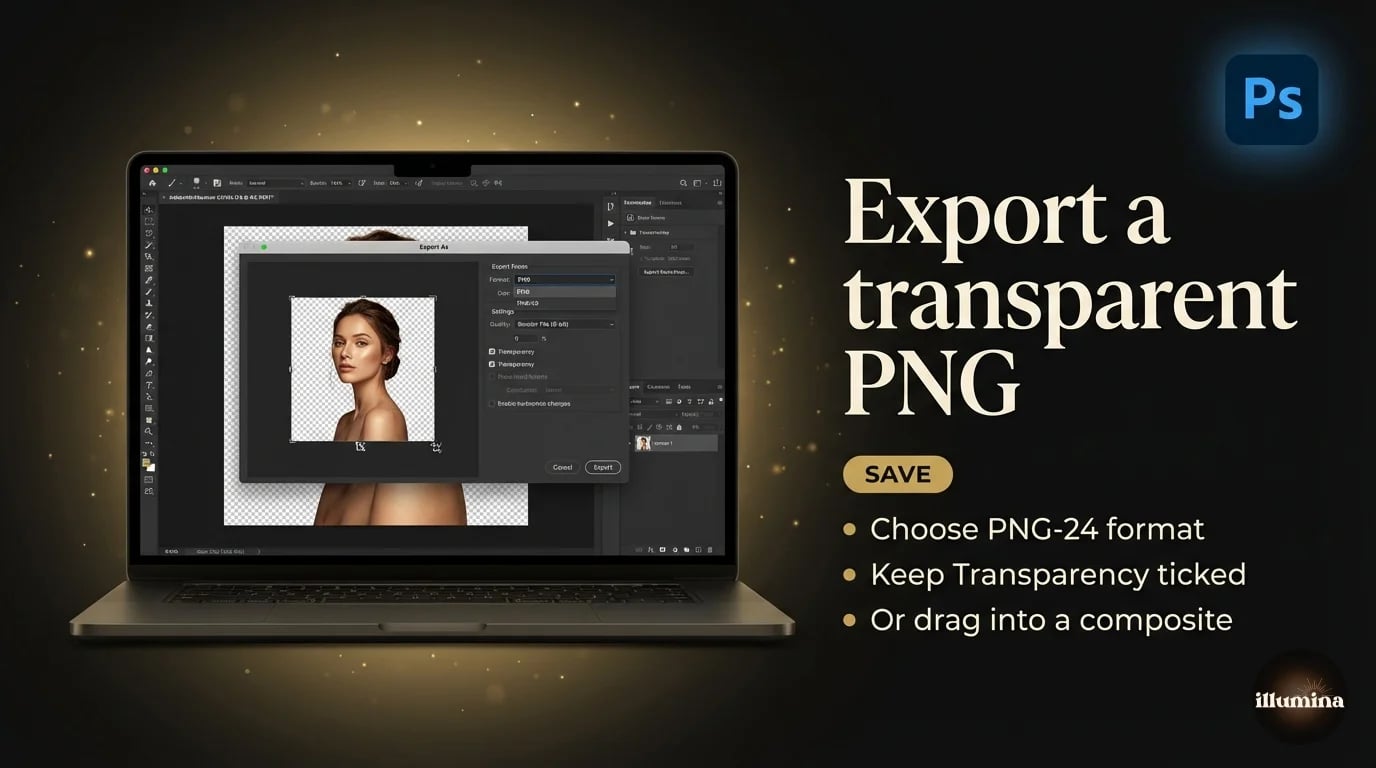
File, Export, Export As. Choose PNG, make sure Transparency is checked, set your target size, and export. PNG-24 is the right choice for photos (PNG-8 drops you to 256 colors, which is fine for logos but wrong for portraits). WebP is an option in newer Photoshop versions and gives smaller files with the same transparency support.
If the cutout is going into another Photoshop document, don't export at all. Just drag the masked layer straight from the Layers panel into the other document. The mask and layer structure carry over intact, which saves time and keeps everything editable.
For more detail on file formats and transparency, see our guide on how to make image backgrounds transparent.
Common Mistakes
White or colored halos. Background pixels bleeding into the edge of your cutout. Fix with Defringe (1px) under Layer, Matting, or enable Decontaminate Colors in Select and Mask.
Missing hair strands. Select Subject cuts conservatively and sacrifices fine detail. Go back into Select and Mask with the Refine Edge brush, or use Channel selections for hair-only masking and combine it with your main mask.
Jagged edges. Usually means the selection was made with hard edge detection and no feather. Apply a tiny Gaussian Blur (0.3-0.5px) directly to the layer mask. Select the mask, go to Filter, Blur, Gaussian Blur. Softens the edge without making it mushy.
Mushy, overblurred edges. The opposite problem. Too much feather or blur. Either duplicate the layer and stack copies to rebuild density, or redo the selection with tighter settings.
Using the Eraser tool instead of a mask. Classic beginner move. The Eraser destroys pixels permanently. If you've already done it, Cmd+Z to undo, then redo the selection and add a Layer Mask instead. Get in the habit of always masking, never erasing.
Keyboard Shortcuts That Speed Everything Up
Background removal in Photoshop involves a lot of repeated actions. These shortcuts cut the time in half once they're in your muscle memory.
Cmd+Shift+I (Ctrl+Shift+I) inverts a selection. You'll use this constantly when you've selected the background but want to mask the subject. Alt-click the mask thumbnail to view just the mask in black and white, which is the best way to spot holes and gaps. Alt-click again to go back to normal view. Backslash (\) toggles the red Quick Mask overlay, which is useful for seeing exactly where your mask edges fall against the subject.
X swaps your foreground and background colors. When you're painting on a mask, X is how you flip between hiding (black) and revealing (white) without reaching for the color picker. I hit this key probably fifty times per cutout.
Cmd+[ and Cmd+] resize your brush without opening the brush panel. Left bracket smaller, right bracket bigger. For mask painting, you're constantly changing brush size as you move from broad areas to fine edges. The bracket keys make this instant.
Cmd+0 fits the image to your screen. Cmd+1 zooms to 100%. When you're checking edges, you want to be at 100% or higher, because edges that look clean at fit-to-screen often reveal problems at actual pixels. Get in the habit of checking your mask at 100% before exporting.
Compositing: What Comes After the Cutout
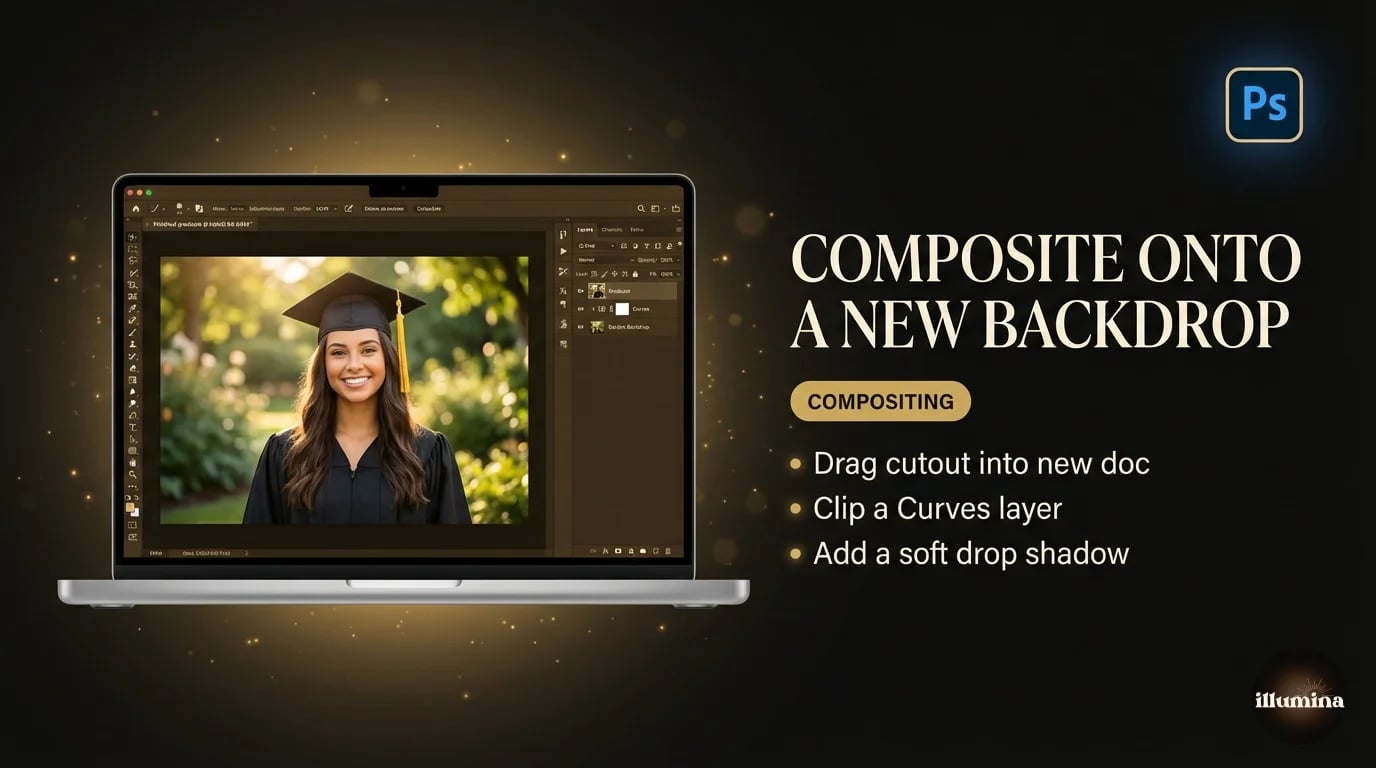
A clean cutout by itself is just the first step. The real point is dropping your subject onto a new background for composites, sports posters, memory mates, or family portraits in scenes that don't exist in real life.
The basic workflow: open your new background as a separate document, drag the masked cutout layer in, use Free Transform (Cmd+T) to scale and position. Clip a Curves or Color Balance adjustment layer to the cutout to match the lighting and color temperature of the new scene. If there's directional light in the background, add a soft drop shadow at low opacity. That's a solid composite in maybe five minutes.
Our guide on how to add a background to any photo walks through the full compositing workflow including color matching and shadow building.
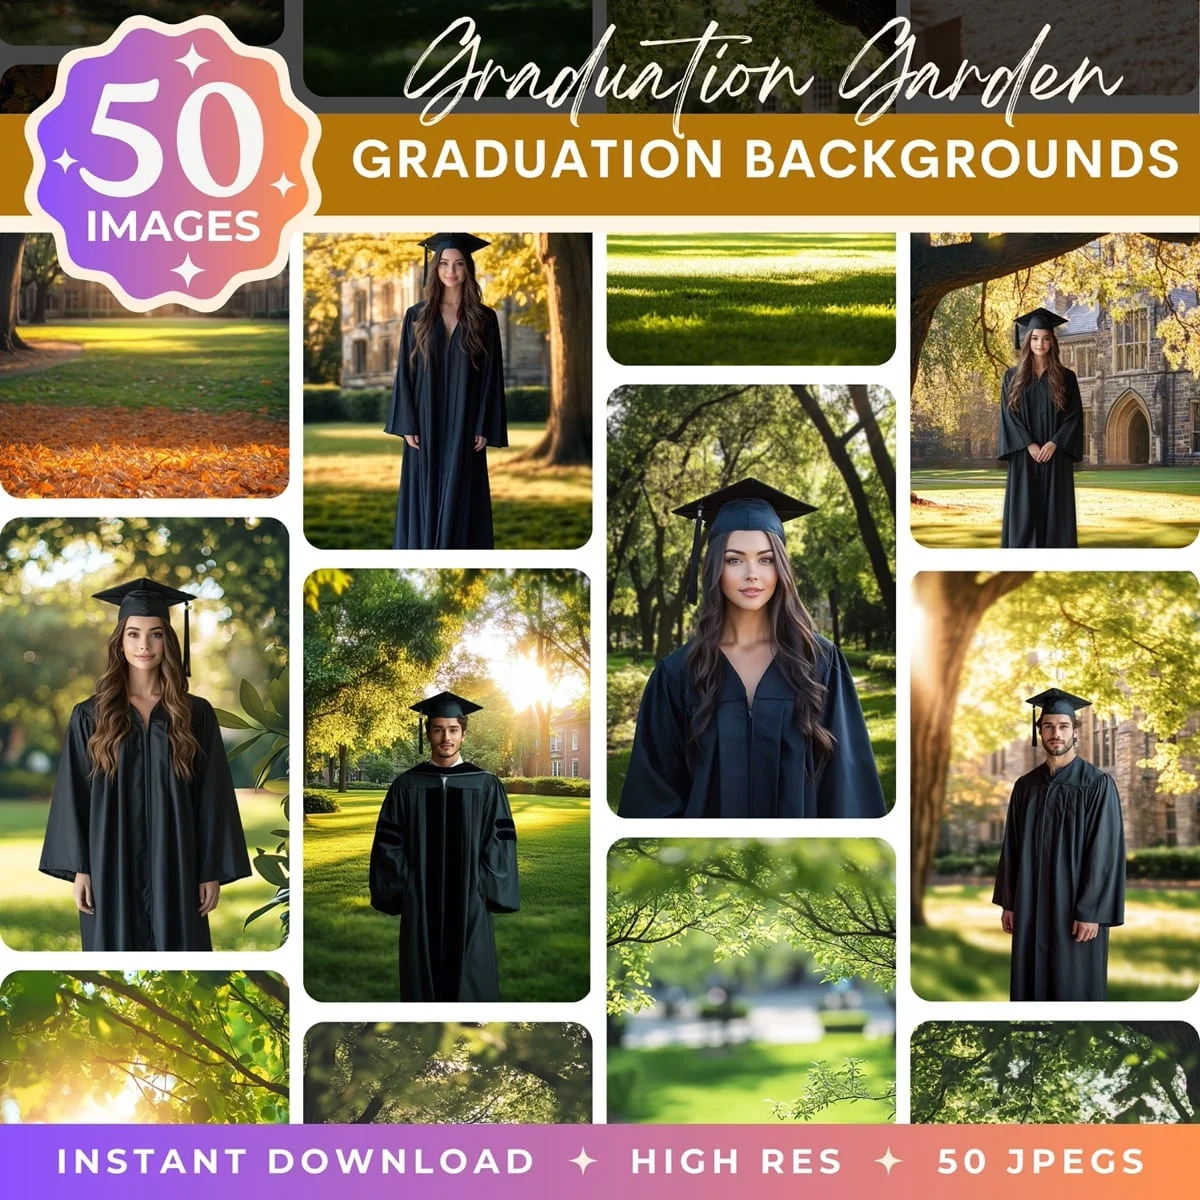
If you need high-resolution backdrops built for portrait compositing, with lighting and perspective designed to match how subjects are typically photographed, that's what we make at Illumina Backdrops. They import into Photoshop as full-resolution layers ready to composite.
Drop your Photoshop cutouts into a professional scene


Photoshop has more background removal methods than any other tool. You don't need to learn all six. Pick up Select Subject for speed, add Select and Mask for hair, and keep the Pen Tool in your back pocket for the occasional precision job. That covers almost everything you'll run into.
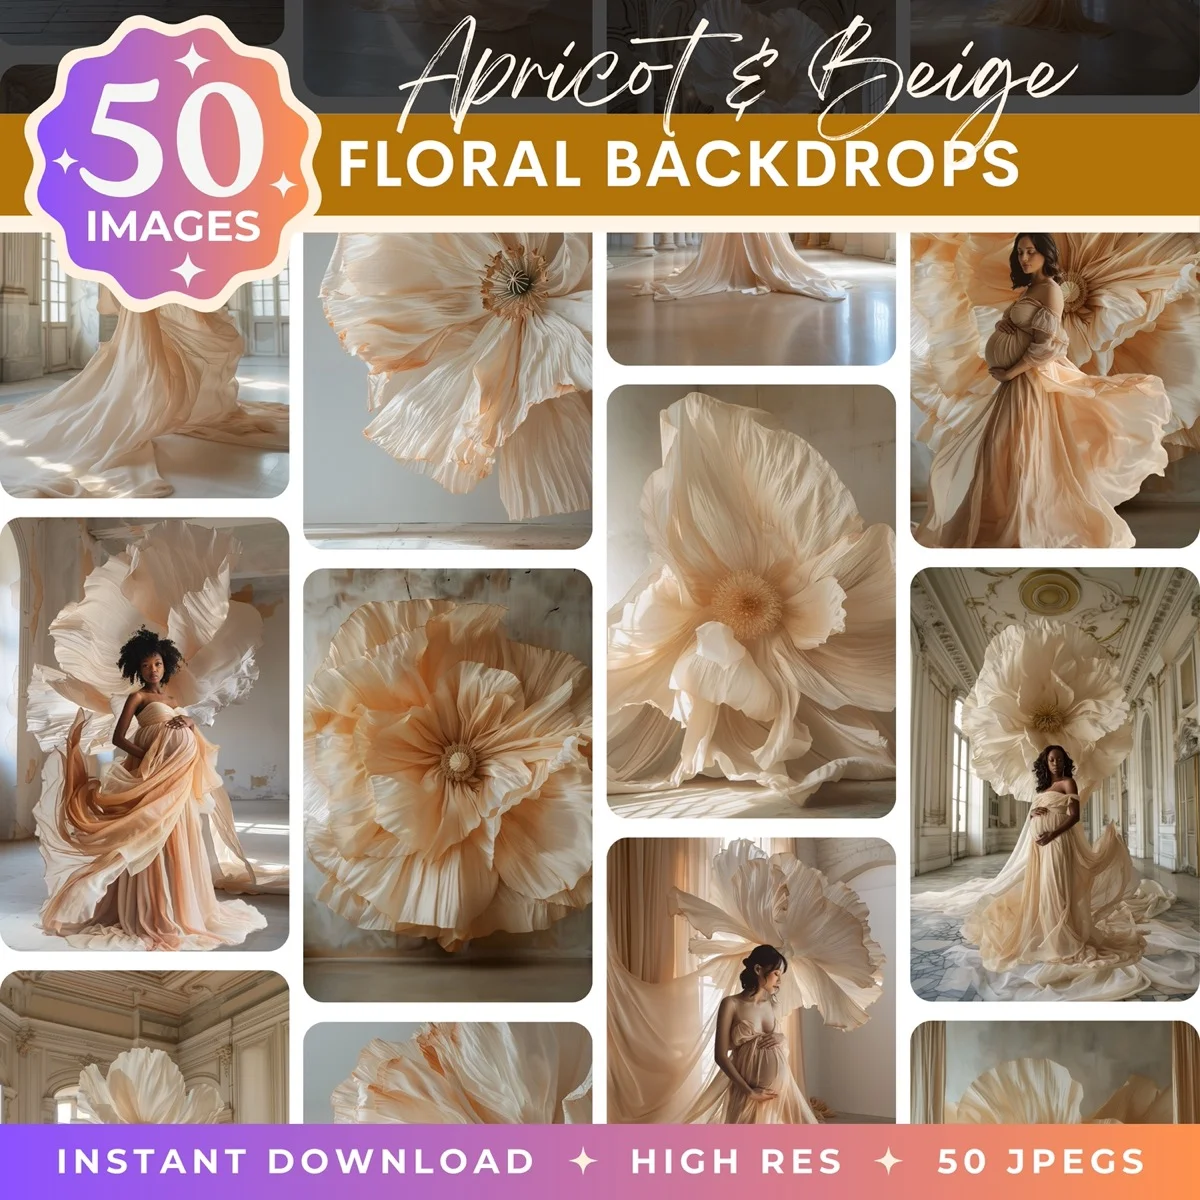
Transform Your Photos
Give Your Photos the Wow Factor
Browse our collection of premium digital photo backdrops. 50 high-resolution print-ready backgrounds in each pack. Instant download.
Browse Backdrops

