The Quick Answer
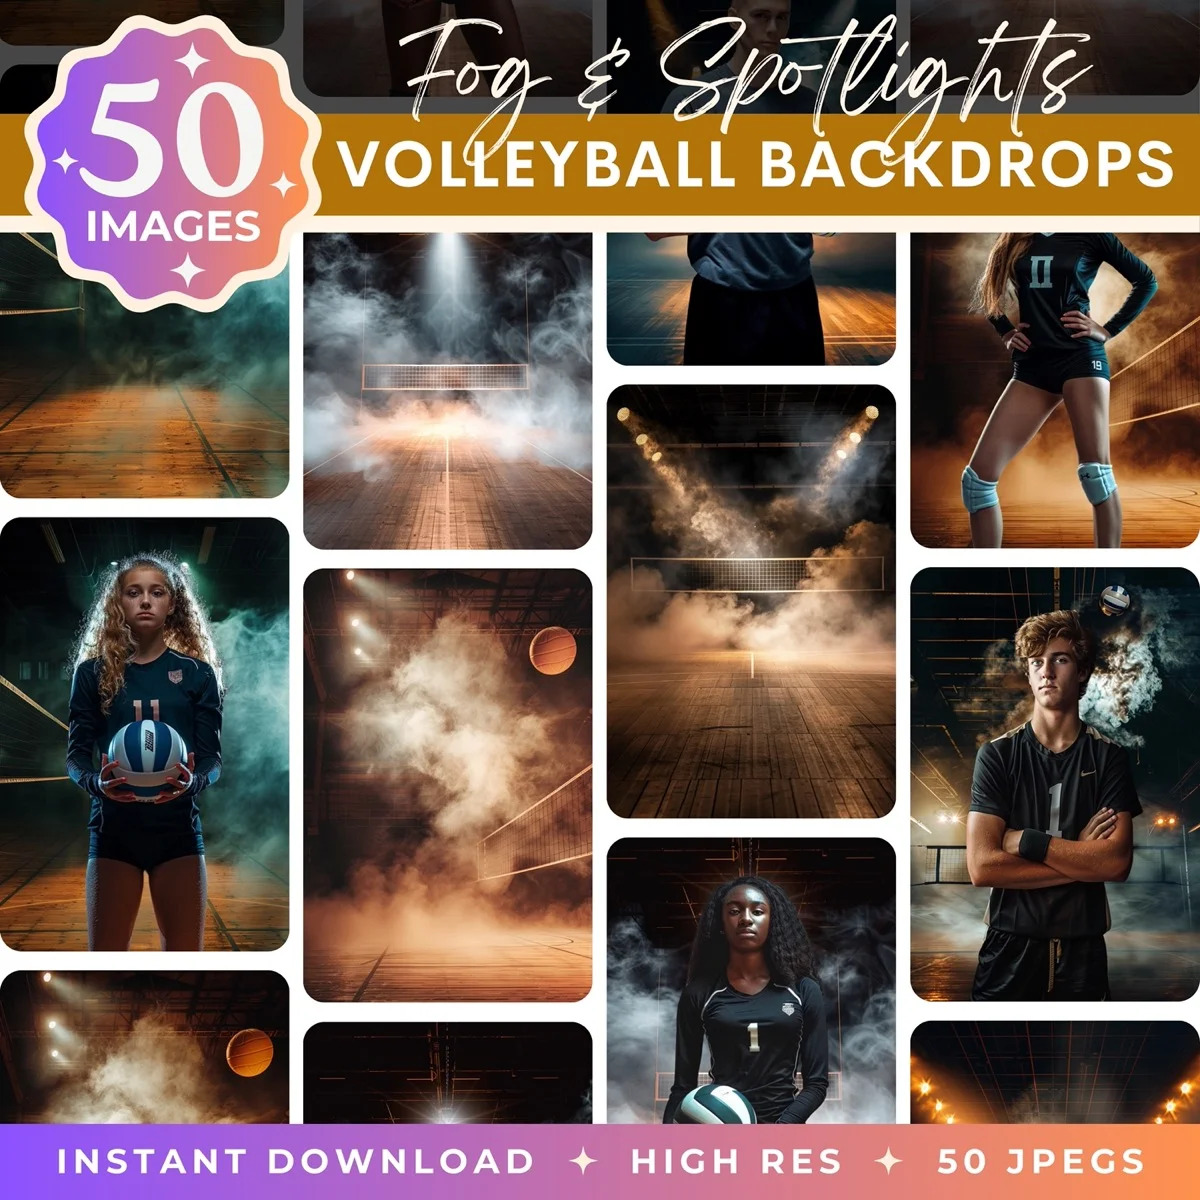
Volleyball photos look best when they capture the intensity of the sport: a mid-spike freeze frame, a diving dig, a team huddled up before a big point. For posed portraits, the net makes a natural prop and framing device, and the gym or court provides instant context. For the studio-composite look that's taken over youth sports photography, shoot each player against a plain backdrop and drop them into a dramatic arena scene with fog and spotlights.
This guide covers individual and team pose ideas, gym and outdoor court locations, action shots worth attempting, the stadium composite workflow for volleyball, and how to handle the challenging lighting you'll find in most school gymnasiums.
Individual Player Portraits
The Spike
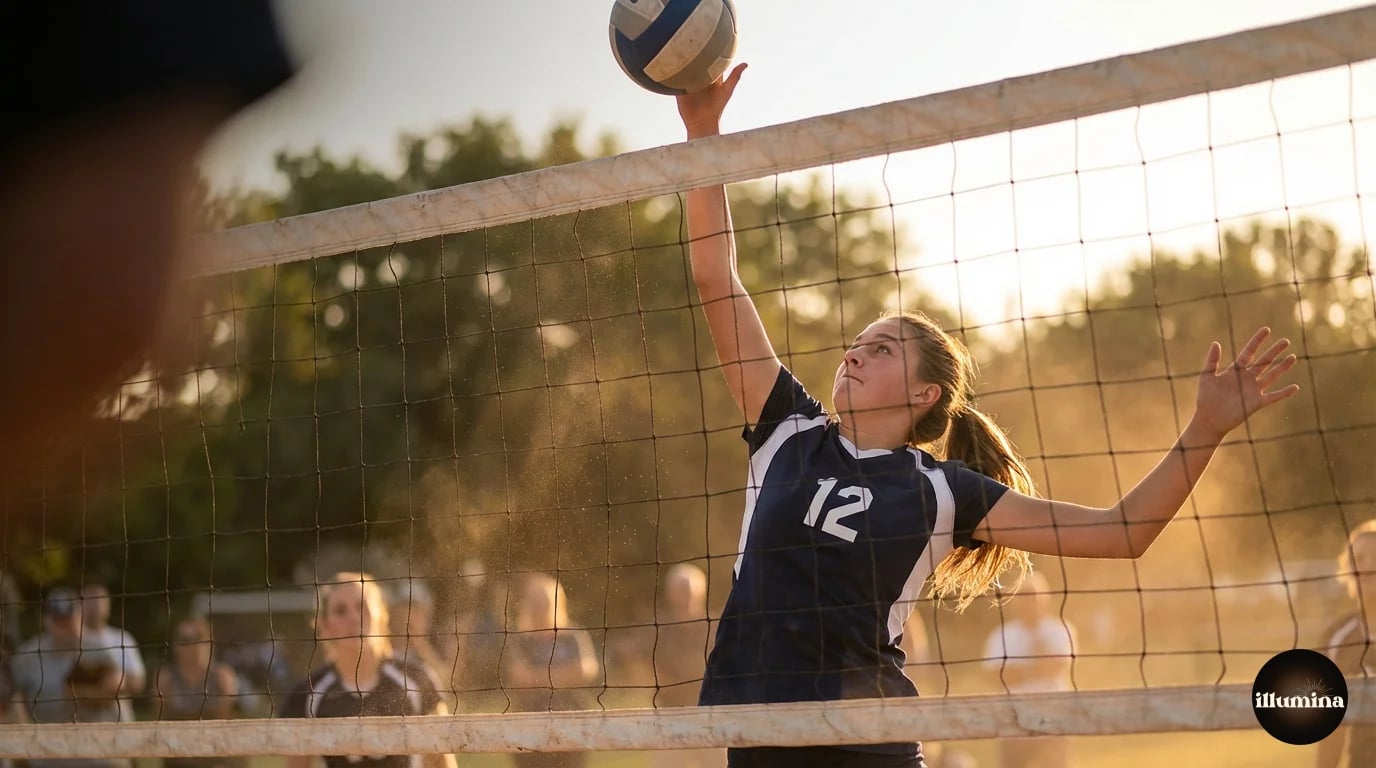
The most dramatic volleyball pose and the one every player wants. The player jumps (or simulates the peak of a jump from a standing position on a box), arm extended high, ball in the other hand tossed slightly above. Shoot from below to emphasize height and power. This is the volleyball equivalent of the baseball batting stance. It's expected, and when it's done well, it looks incredible.
For the actual jump version: have the player do real approach jumps while you shoot in burst mode. You'll need 15-20 attempts to catch the peak with good form, both eyes visible, and the ball in the right position. It's worth the effort because a frozen mid-air spike is the single most impactful volleyball portrait you can take.
The Set
Hands up, fingers spread, ball resting just above the fingertips. This is a quieter, more technical pose that works well for setters. Shoot from eye level or slightly above with the player looking up at the ball. The hand position is what makes it recognizably volleyball, so make sure the fingers are clearly visible and properly positioned.
The Serve
Ball in one hand at head height, serving arm cocked back, eyes focused forward. This works as a static pose and as an action sequence. For the action version, have the player do their actual serve routine while you shoot in burst. The toss, the backswing, the contact point, and the follow-through each produce a different photo, and the contact-point frame is usually the keeper.
The Cross-Armed Captain
Standing at the net, arms crossed, ball tucked under one arm, looking directly at the camera with a game face. This is the leadership portrait. It works especially well for team captains and seniors because the confidence in the pose matches the authority of the role. Shoot from slightly below eye level to add a sense of presence. The net in the background provides sport context without any additional props needed.
The Libero Ready Position
For defensive specialists and liberos, the low ready stance with arms out, body angled forward, and eyes locked on the camera says "I'm the one who keeps the ball off the floor." This pose is distinct from the other positions and gives the libero their own signature shot. Shoot from ground level for maximum impact. The low angle combined with the low body position makes the player look intense and grounded.
The Dig
Low athletic stance, arms together in a platform, body leaning forward. This is the defensive pose and it reads as "ready for anything." Shoot from a low angle to put the viewer at ball level. For action versions, have someone toss a ball just in front of the player and capture them lunging for the dig. The extension and intensity in a real reaching dig is hard to fake in a posed version.
Use the net as a prop in individual portraits. Player gripping the top of the net with one hand, ball in the other. Player looking through the net at the camera. Standing at the net with arms crossed and the net visible behind them. The net instantly identifies the sport without needing a jersey or equipment.
For senior portraits, consider shooting outside the gym entirely. A volleyball player in uniform sitting on the school steps, standing against a brick wall, or walking across campus with a ball under their arm creates a portrait that's about the person, not just the sport. These cross-context photos age well because they capture both the athlete and the student.
Team Photos
Volleyball team photos have a built-in advantage over most sports: the net creates a natural visual structure. Use it.
The Net Photo
Half the team on each side of the net, everyone reaching up to touch the top. This is the most iconic volleyball team photo setup and it never gets old. Shoot from the side so both groups and the net are visible, or shoot from above (if you can get to a balcony or elevated position) for a symmetrical top-down view.
The Huddle
Everyone in a tight circle, hands stacked in the center, shot from above. This is the pre-game ritual that every volleyball team does, and photographing it feels authentic because it IS authentic. Have them do a real cheer with a real count, shoot at the peak energy moment, and you'll get genuine expressions instead of posed smiles.
The Court Lineup
Team lined up along the baseline or sideline, each player in their position's signature pose. Setters with hands up, hitters with arms cocked, libero in a dig stance, middle blockers with hands high. This shows the variety of positions on the team and gives each player their moment within the group shot.
Walking Onto the Court
Team walking from the locker room or entrance toward the camera, in a line or a V-formation. Same concept as the baseball version. Movie-poster energy, minimal direction needed. Tell them to walk slowly and look confident. Shoot from a low angle at the far end of the court.
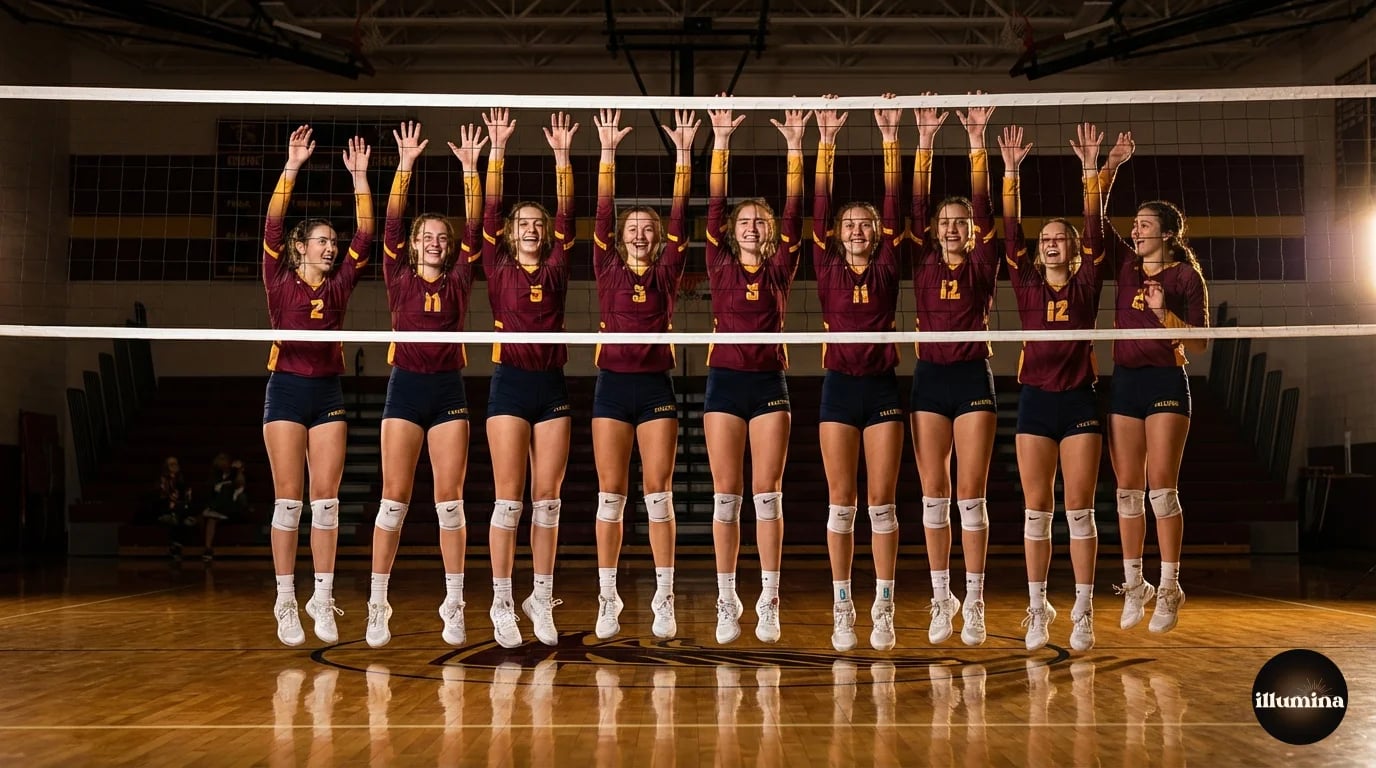
The Celebration Jump
The whole team jumping simultaneously with arms raised. Have someone count to three and everyone jumps at the same time. You'll need burst mode and about five attempts. The one where everyone is airborne at the same moment and at least most of them have their eyes open is the one you keep. It's high energy, it's joyful, and it captures the team spirit better than any lined-up formation.
For the jump shot, use a fast shutter speed (1/500 or faster) to freeze everyone in the air. If you're in a dim gym, crank the ISO. A slightly noisy sharp jump photo is infinitely better than a smooth blurry one where everyone is a smeared vertical streak.
Gym Lighting Challenges
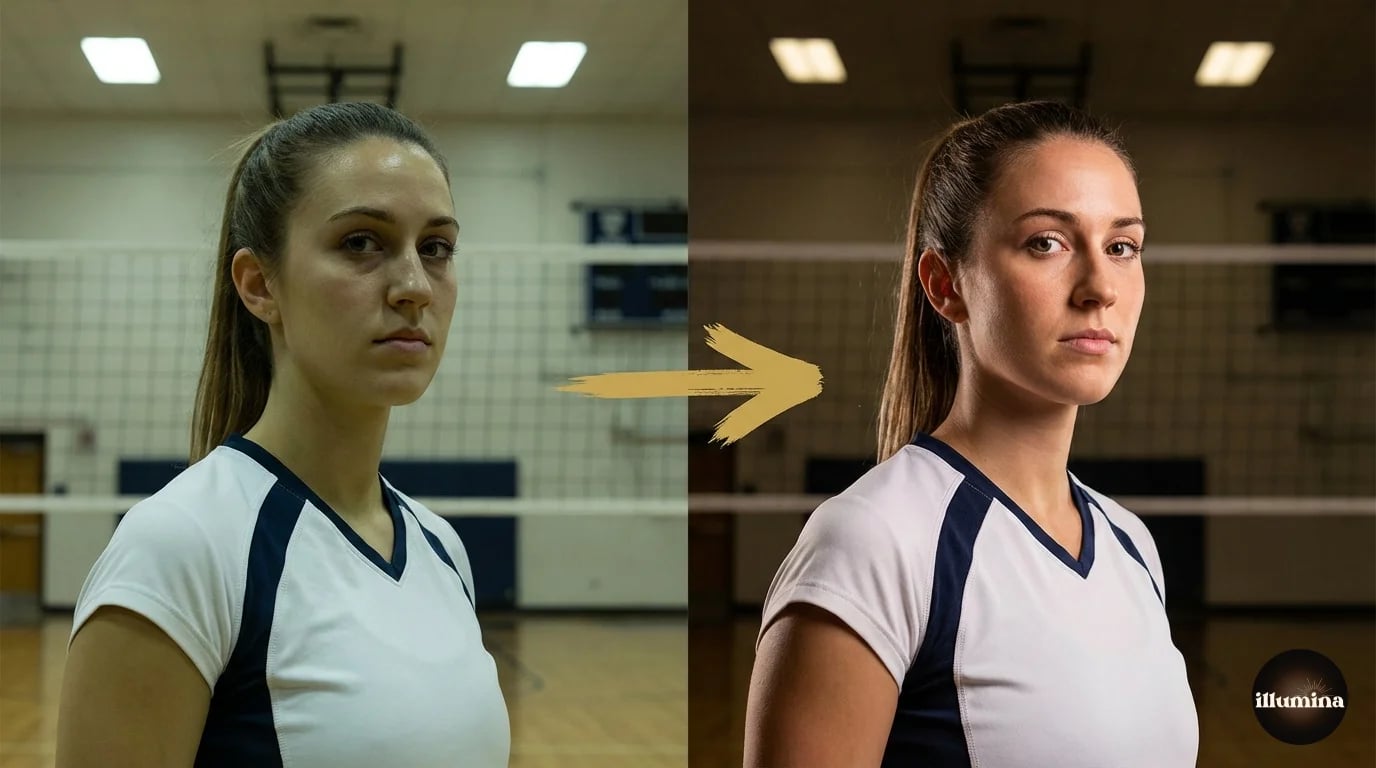
School gymnasiums have the worst lighting in photography. Overhead fluorescent or LED panels that are too high, too harsh, and often a sickly green or yellow color temperature. Here's how to deal with it.
If you can bring your own lights: set up two speedlights or small strobes at about 45 degrees on either side of the court. This overpowers the gym lights and gives you clean, directional light that you control. Set your camera's white balance manually to match your flash (5500K) and the gym lights become a warm or cool background accent rather than the primary light source.
If you can't bring lights: position the player near a window or gym door that lets in natural light. Even a small window can provide enough side light to lift the portrait above the flat gym lighting. Shoot with the window light as your key light and let the gym lights fill from above.
If you're stuck with just gym lights: shoot at a wider aperture (f/2.8-f/4) to let in more light and keep your ISO reasonable. Fix the color cast in post by adjusting white balance in RAW processing. A custom white balance shot (photograph a gray card under the gym lights before the session) will save you significant editing time.
For action shots during games or practice under gym lighting: bump your ISO to 1600-3200 and shoot at 1/500 or faster to freeze motion. The noise from high ISO is better than motion blur from a slow shutter. Modern cameras handle ISO 3200 with minimal visible noise, and a sharp noisy image is always better than a smooth blurry one.
Shoot a gray card under the gym lights before the session. Five seconds of setup gives you a custom white balance reference that fixes the color cast for every image in the set. Without it, you're guessing in post and each frame might need individual correction.
Transform Your Photos
Give Your Photos the Wow Factor
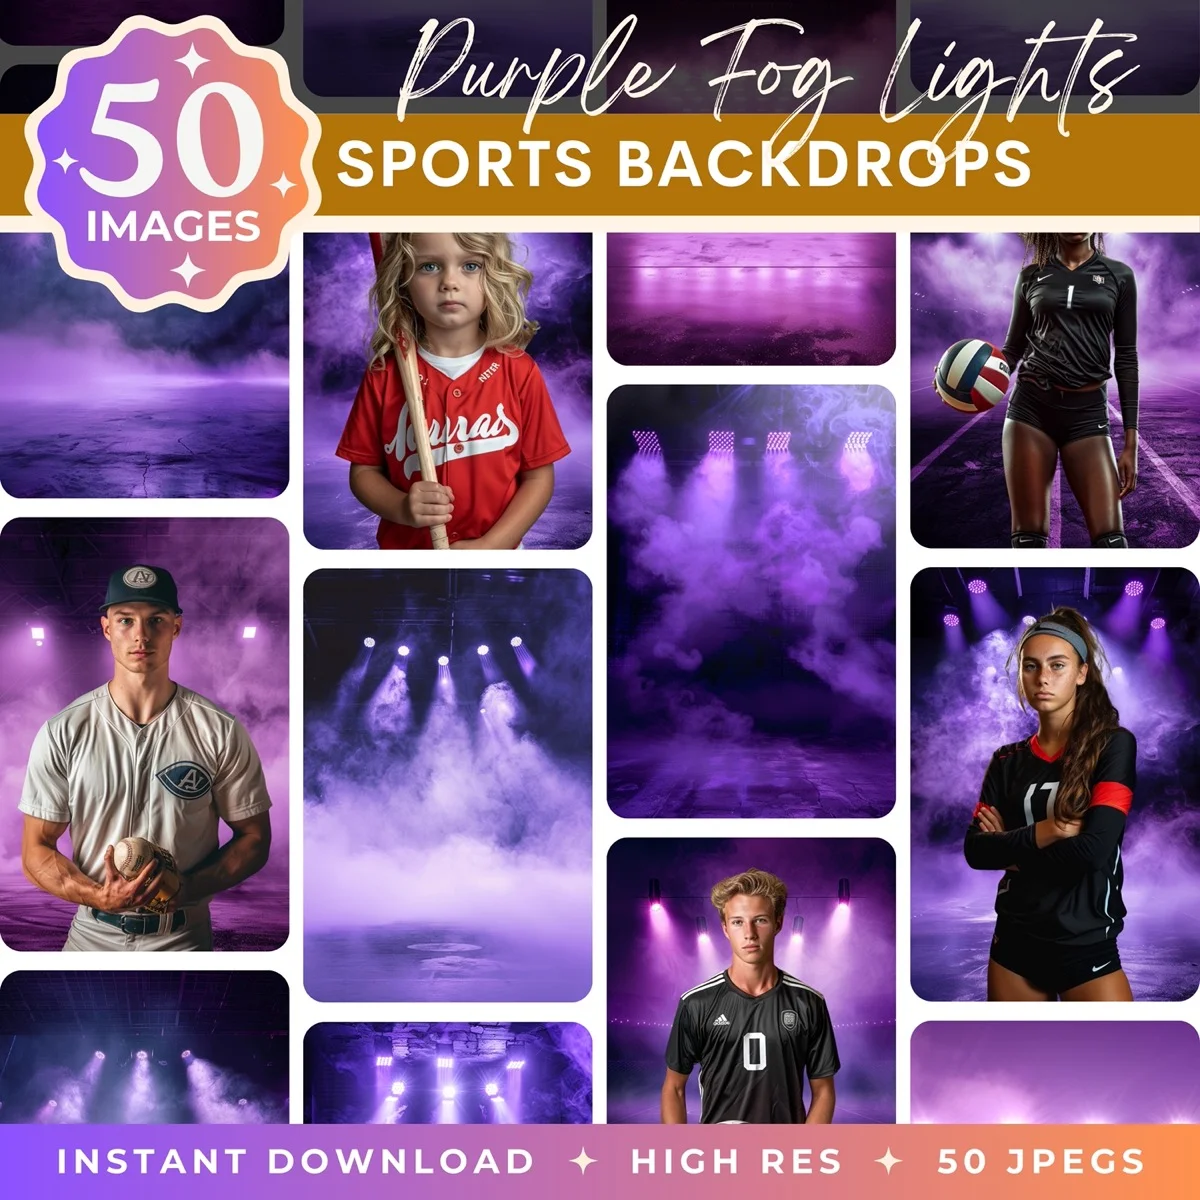
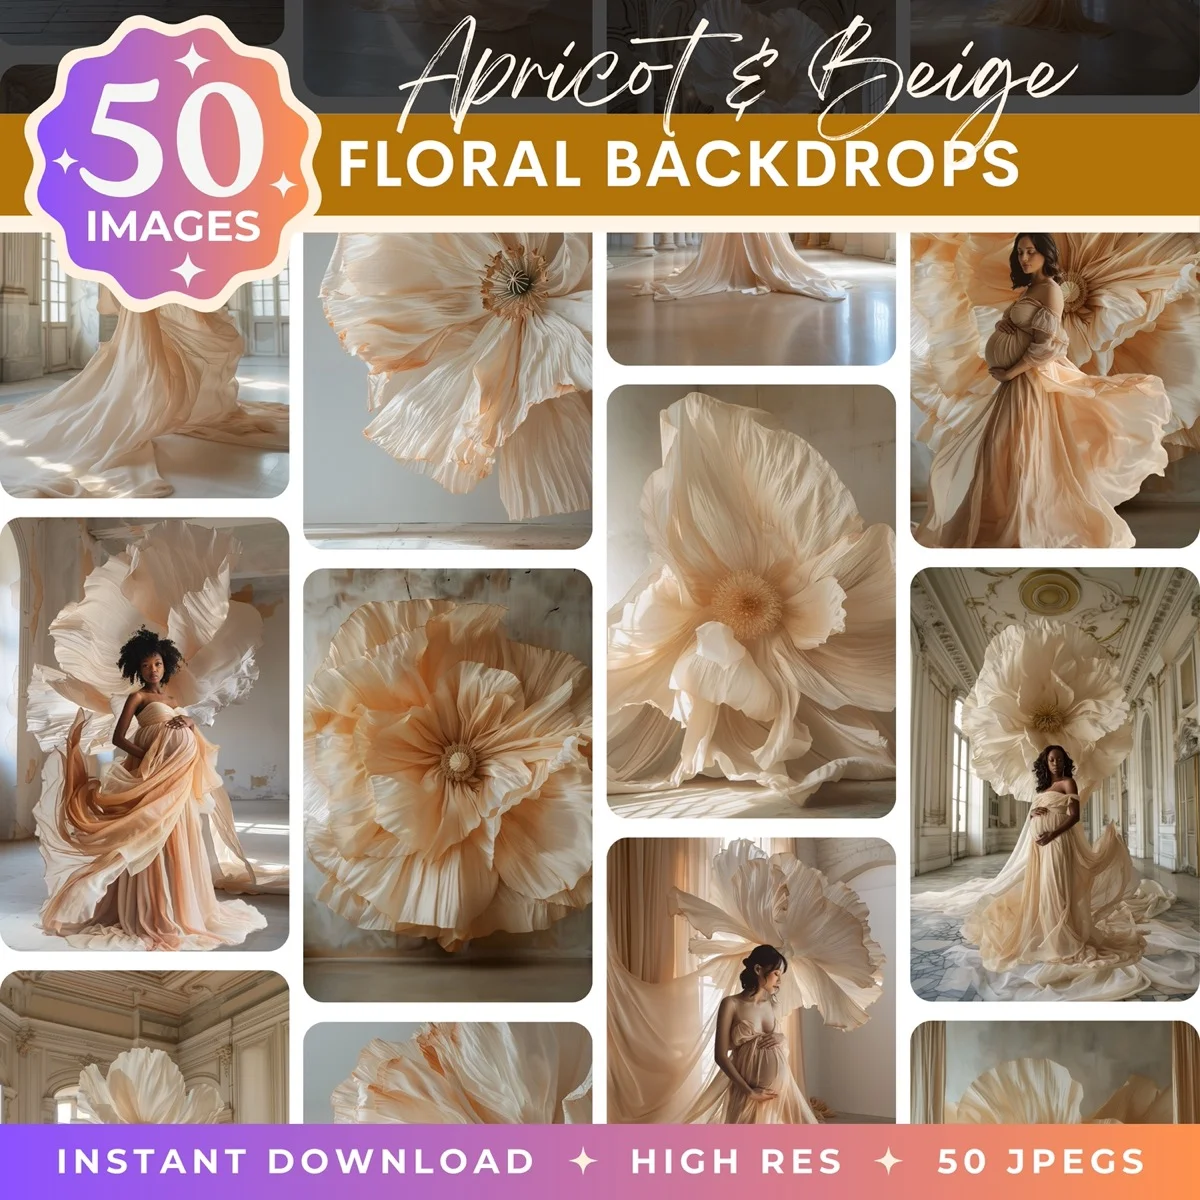
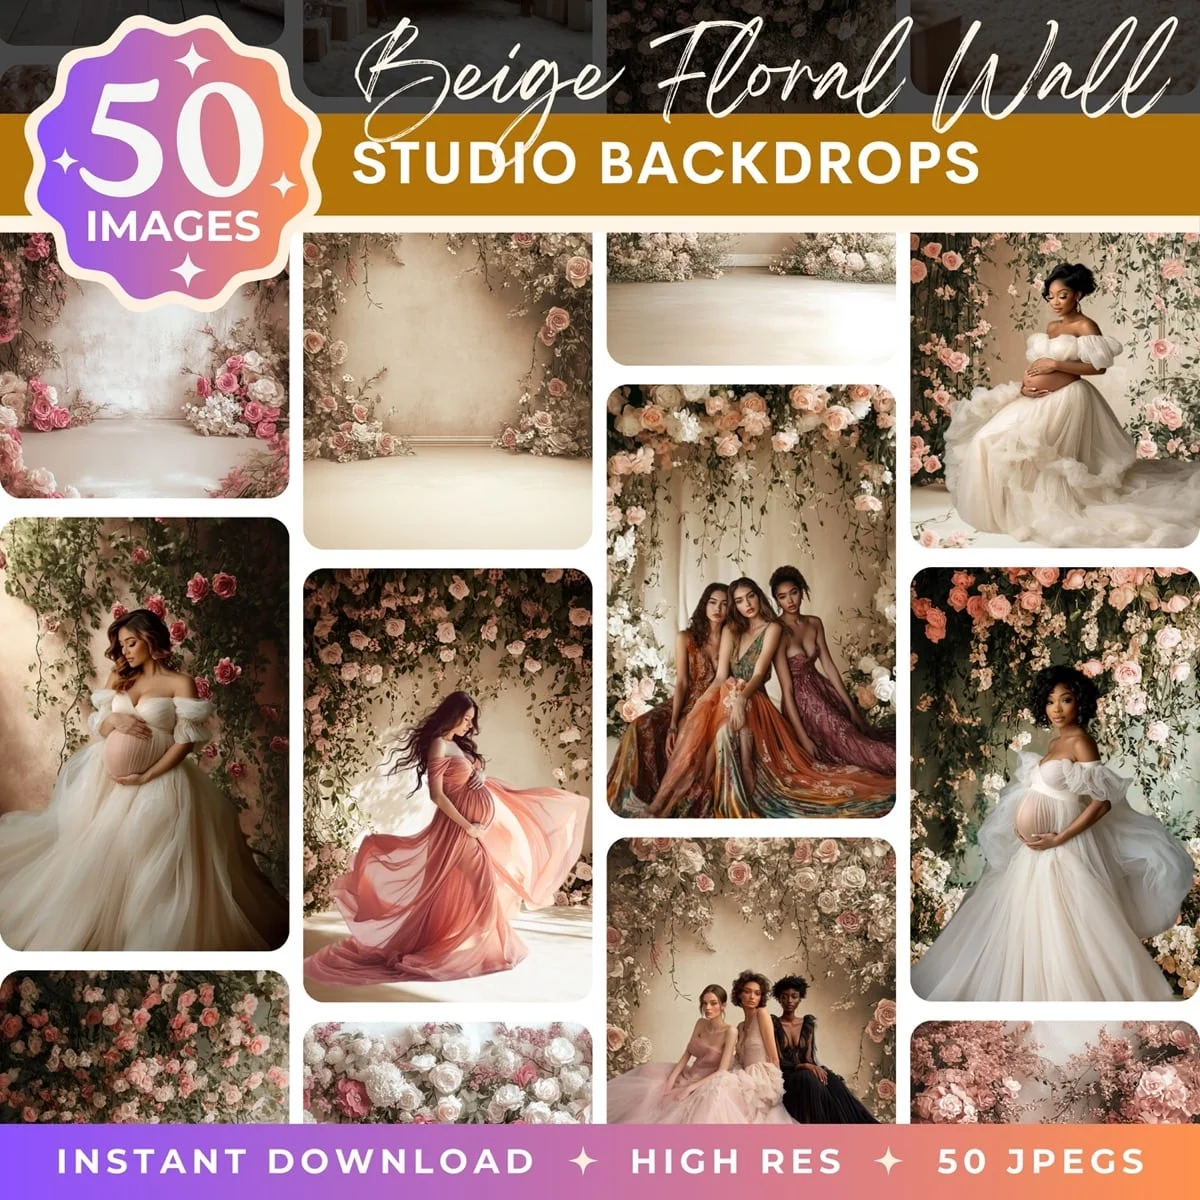
Browse our collection of premium digital photo backdrops. 50 high-resolution print-ready backgrounds in each pack. Instant download.
Browse Backdrops
Outdoor Court Photos
If the team plays on outdoor courts (beach volleyball or outdoor hard courts), the lighting is dramatically better than any gym. Golden hour on an outdoor court is volleyball photography paradise. The warm light, the long shadows, the blue sky background. Outdoor is always worth it if it's available.
Beach volleyball adds sand texture, barefoot action, and a casual energy that gym photos can't match. The sand also kicks up dramatically during digs and dives, which creates stunning action shots if you're shooting in burst mode at low angles.
For outdoor hard courts, the fence around the court can be either a backdrop or a distraction. If it's a clean chain-link fence, shoot through it for a creative foreground element. If it's covered in signage and banners, position yourself inside the fence to avoid it entirely.
Timing outdoor sessions for golden hour gives you the best of both worlds: dramatic warm light plus a natural setting that most indoor volleyball photos can't touch. A player silhouetted against a sunset sky mid-spike is one of those images that looks professional regardless of the camera used. Even a phone can capture a great silhouette if the timing is right.
For beach volleyball specifically, have the players roll in the sand before posed portraits. Sand on their arms, legs, and jersey adds texture and authenticity that a clean studio look can't replicate. It says "this player plays hard" in a way that words don't.
Action Shots Worth Trying
Volleyball is one of the most photogenic sports because the movements are dramatic and vertical. A few specific moments that consistently produce great images:
The block. Two or three players jumping together at the net with arms extended. Shoot from the opposite side of the net looking through the net at their outstretched hands. The net adds texture to the foreground and the synchronized jump looks powerful.
The celebration. The moment after a big point: fist pumps, chest bumps, team rushing together. This happens fast and you need to be ready with your finger on the shutter. The emotional energy in these frames is what makes sports photography special.
The dive. A player fully extended horizontally, reaching for a ball that's about to hit the floor. This is the hardest shot to capture because it happens unpredictably and lasts about half a second. But when you get it, it's the photo that defines the season.
The serve toss. The quiet moment just before the serve: ball suspended at the peak of the toss, server's eyes locked on it, arena silent. It's a pause in the action that creates a different kind of drama from the explosive moments.
For photographers shooting games rather than posed sessions, positioning is everything. The best spot for volleyball action is at the end of the net on the side where your team is hitting. This gives you a direct view of spikes, blocks, and celebrations at the net. The worst spot is behind the baseline, where every shot is the back of someone's jersey.
If the gym allows it, move during the match. Shoot from the net for hitting and blocking during one set, then move to the corner for service and dig shots during the next. Two or three position changes across a match give you enough variety to fill a gallery. If you're stuck in one spot (some gyms restrict photographer movement), the net-end position is the best single choice.
Shutter speed for volleyball action: 1/800 minimum, 1/1000 if your lighting allows it. The ball moves fast and the arm swing on a spike is one of the fastest motions in youth sports. Anything slower than 1/500 and the ball and hand become motion-blurred streaks.
What to Wear and Bring
Full uniform, including warm-ups if they have them. Knee pads should be on for all action and posed shots because they're part of the volleyball look. Some players slide them down to their ankles between plays out of habit. For photos, they need to be up.
Bring multiple balls. At least two, ideally three. Balls roll away, get kicked under bleachers, and generally disappear when you need them. Having extras keeps the session moving. If the balls have the team's logo or the school name, even better. Those details add personalization that generic balls don't.
Hair ties and headbands. Volleyball players spend half their time pushing hair out of their faces during games. For posed portraits, secure the hair so it's not obscuring the face. A clean ponytail or braid looks more polished than loose hair that the player keeps tucking behind their ears between every frame.
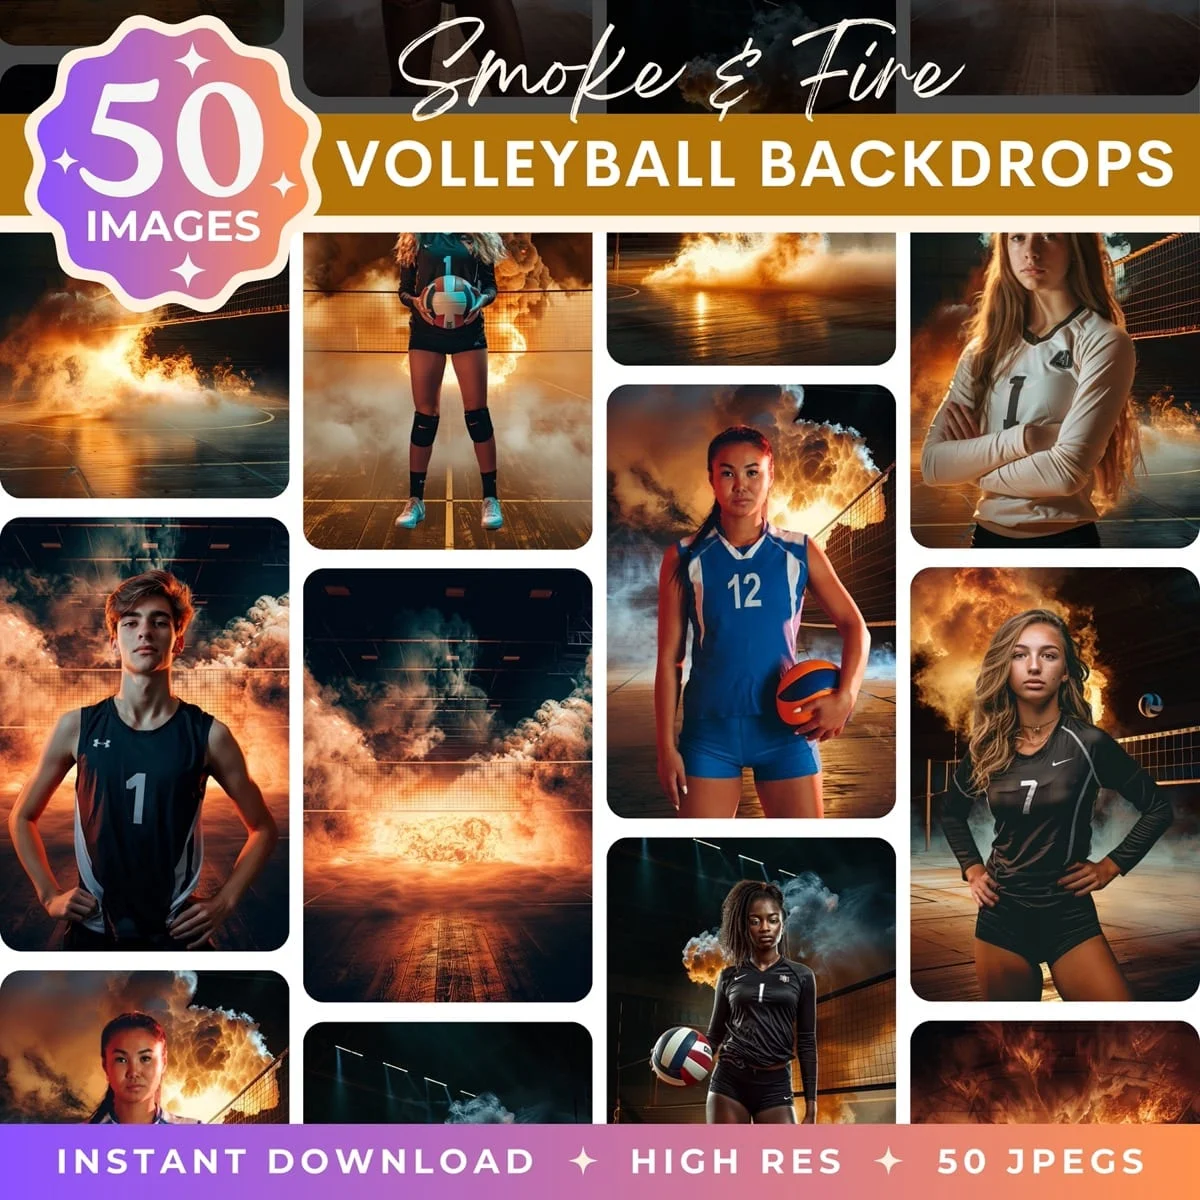
Compositing with Arena Backdrops
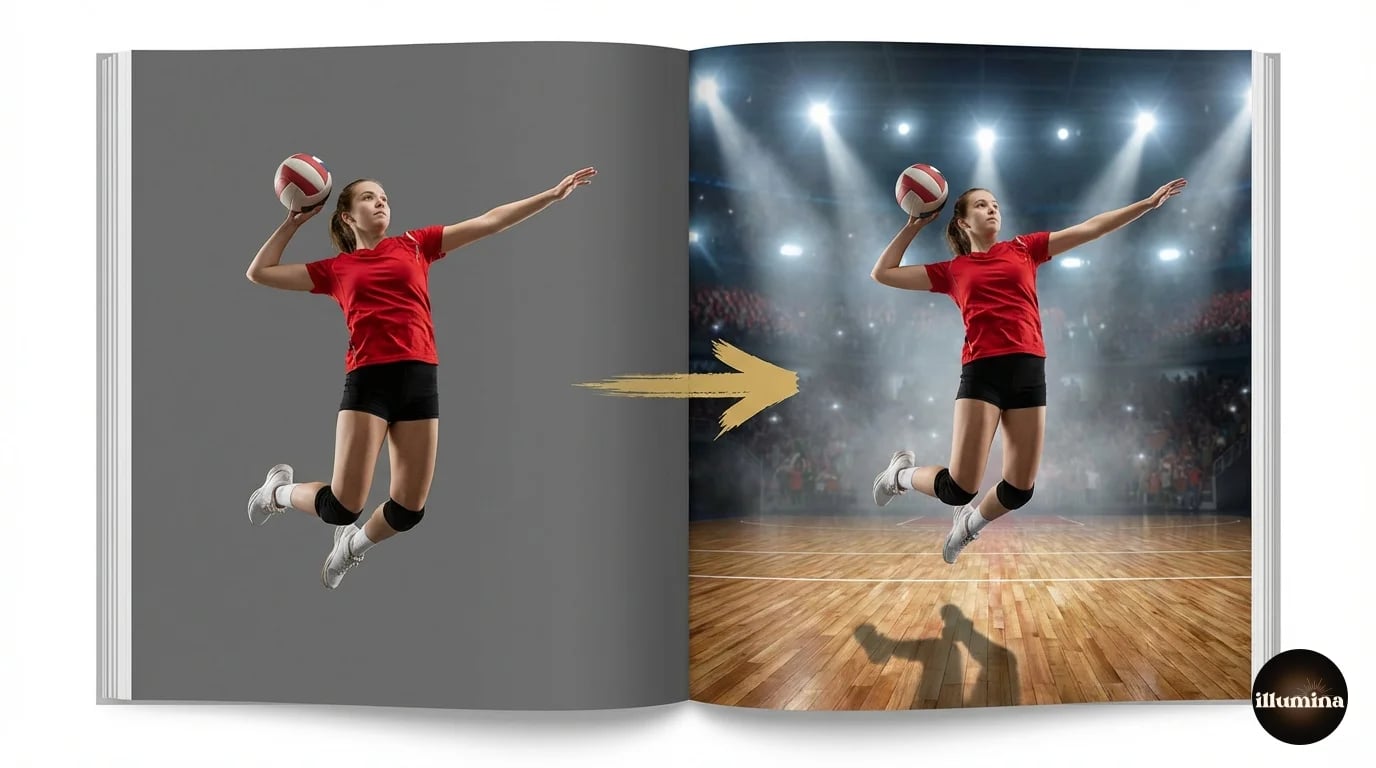
The arena composite look works as well for volleyball as it does for baseball and football. Shoot the player against a gray backdrop in the gym (or any room), remove the background, and drop them into a dramatic arena scene with fog, spotlights, and the kind of production value that no school gym can provide.
For volleyball composites specifically, pay attention to the floor surface in the backdrop. Volleyball is played on hardwood or sport court, not turf or dirt. A football stadium backdrop with grass won't make sense for a volleyball player. Arena scenes with polished floors, indoor lighting rigs, and dramatic side lighting match the sport correctly.
The compositing workflow is the same as any other sport: shoot, cut out, place, color match, add shadow, add effects. Our sports composite guide covers the full process step by step, and our Photoshop background removal guide handles the cutout workflow.
For backdrops designed specifically for sports compositing with the right lighting direction and arena atmosphere, browse Illumina Backdrops.
Match the floor in the backdrop to the sport. Volleyball is played on hardwood or sport court. A grass field or outdoor stadium backdrop immediately looks wrong even if the cutout and color matching are perfect. The surface sells the illusion.
Arena scenes for volleyball portrait compositing

Volleyball photography rewards preparation and timing. Scout the gym lighting before the session, bring your own lights if you can, and know which moments during play produce the best frames. The sport is fast and vertical and dramatic. Your job is to be ready when it happens.
One last thing: talk to the coach before the session. Ask which players are seniors, which positions each player plays, and if there are any team traditions (a specific cheer, a huddle ritual, a handshake) that would make meaningful photos. Coaches know their teams better than you do, and the five minutes you spend asking questions before the shoot will give you ideas you wouldn't have thought of on your own.
Transform Your Photos
Give Your Photos the Wow Factor
Browse our collection of premium digital photo backdrops. 50 high-resolution print-ready backgrounds in each pack. Instant download.
Browse Backdrops