
Quick Answer
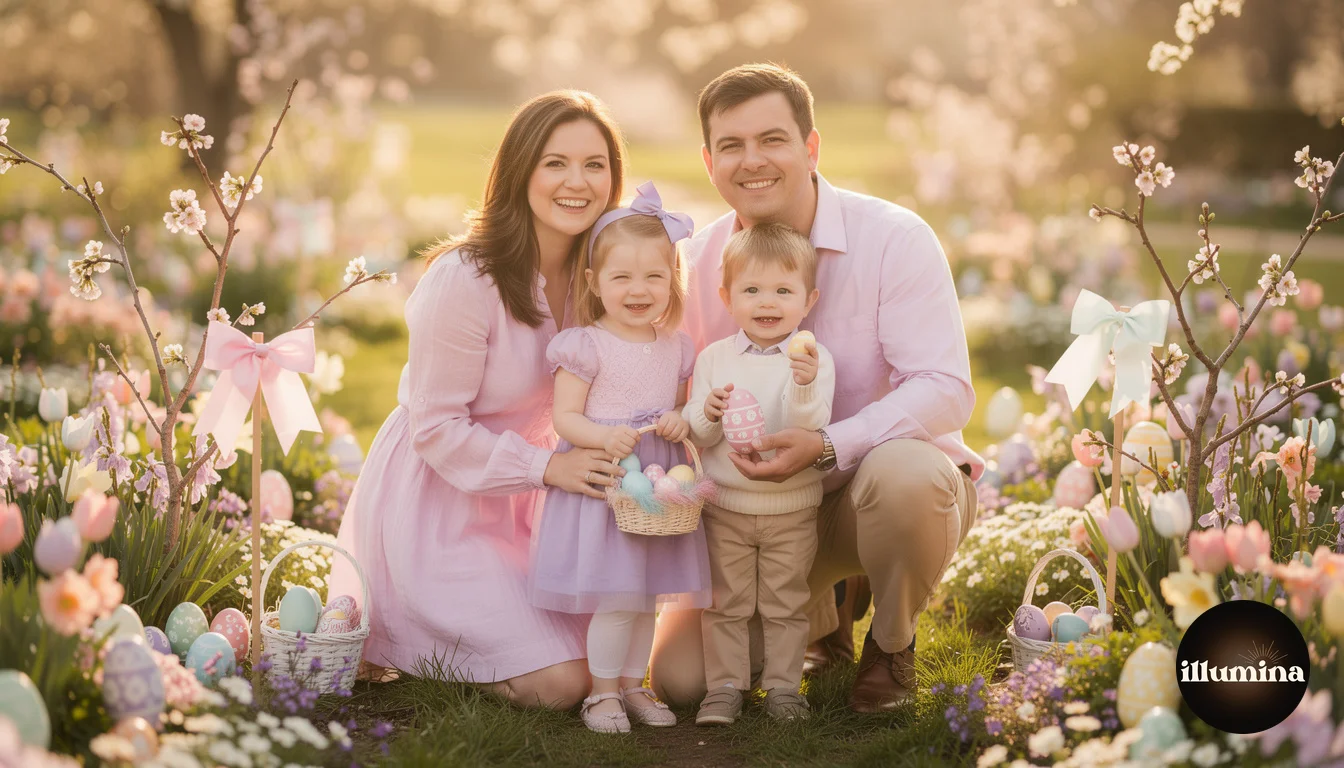
The best Easter photos combine pastel colors, spring flowers, and candid moments with kids. Skip the stiff poses in front of a white wall. Instead, find a patch of green grass, scatter some colorful eggs, hand the kids a basket, and let them explore. Natural light in the morning or late afternoon gives you soft, warm tones that match the Easter palette without any editing. For studio photographers, a spring-themed digital backdrop with soft pastels and floral elements creates the same seasonal feel without depending on weather or location.
This guide covers outdoor and indoor Easter photo setups, posing ideas for families and kids of all ages, prop suggestions that actually photograph well, how to use digital backdrops for Easter mini sessions, and editing tips to nail that pastel spring look.

Why Easter Photos Work So Well
Easter falls right in the sweet spot of spring when everything is blooming, the light is golden, and kids are dressed in their Sunday best. It is one of the few holidays where the entire color palette is inherently photogenic. Pastels, soft greens, warm yellows, and gentle pinks all photograph beautifully in natural light without needing heavy color grading in post.
Unlike Christmas photos where you are fighting harsh indoor lighting and dark backgrounds, Easter photos benefit from being outside. The natural environment does half the work. Green grass, flowering trees, blue sky with soft clouds. It is a photographer's dream palette that requires minimal setup to look polished.
For photographers, Easter also hits at a perfect business timing. It falls between the slower winter months and the busy graduation and wedding season. Easter mini sessions fill a gap in the calendar and attract families who might not book a full session otherwise but want something special for the holiday.
Outdoor Easter Photo Ideas
The Classic Egg Hunt
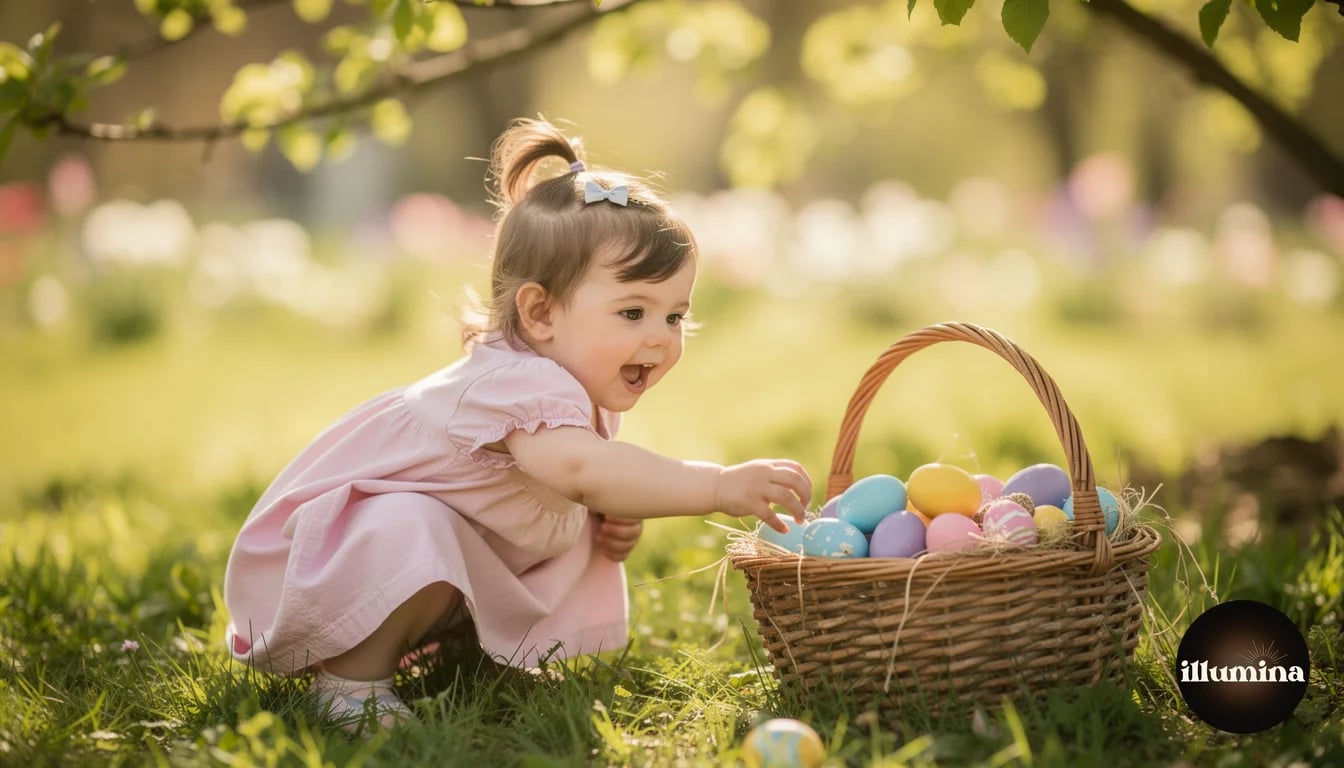
Nothing captures Easter energy like a real egg hunt. Scatter colorful plastic eggs across a grassy area and let the kids loose with baskets. The key is positioning yourself ahead of the action and shooting in burst mode. You want the moment they spot an egg, the reach, the excited face when they pick it up. These candid frames are always the ones parents order prints of because they capture genuine excitement that posed shots cannot replicate.
For the best results, use a longer lens (85mm or 135mm) so you can stay back and let the hunt feel natural. If you get too close with a wide lens, the kids become aware of the camera and the magic breaks. Shoot from a low angle, close to the children's eye level, to make the eggs and grass fill more of the frame and create that immersive feeling.
Hide the eggs in clusters, not scattered randomly. Three or four eggs together in one spot means the child pauses longer when they find them, giving you more frames of that discovery moment. Scattered single eggs lead to a kid sprinting through the yard too fast to photograph.
Garden and Park Settings
A local botanical garden, a park with flowering trees, or even a well-maintained backyard can serve as the perfect Easter backdrop. Look for areas with blooming daffodils, tulips, or cherry blossoms. The natural flowers add color and depth without any props needed.
Position the family near but not directly against the flowers. You want the blooms as background elements with natural bokeh, not as a flat wall of color behind them. A few feet of separation between the subjects and the background creates depth and keeps the focus on the people.
Public parks are free and accessible, but visit during off-peak hours. Early Sunday morning or a weekday afternoon means fewer people in the background and better light. If you are running Easter mini sessions, scout the location a week before to identify the best spots and check the bloom status. Flowers can peak and fade within days.
Porch and Front Steps
The family's own front porch makes an underrated Easter photo location. Dress up the steps with a few potted spring flowers, a small Easter basket, and maybe a decorative bunny. The architecture gives you leading lines and a natural frame, and the family feels comfortable because they are at home.
This works particularly well for families with very young children or babies who might get overwhelmed at a park. Home is familiar territory, and a calm baby makes for better photos than a screaming one at a beautiful location. Comfort beats scenery every time when kids are involved.
Indoor and Studio Easter Photos
Not everyone has access to a blooming garden, and spring weather is unpredictable. Rain on Easter weekend can cancel outdoor plans entirely. Studio sessions give you complete control over the environment, and with the right setup, indoor Easter photos can look just as magical as outdoor ones.
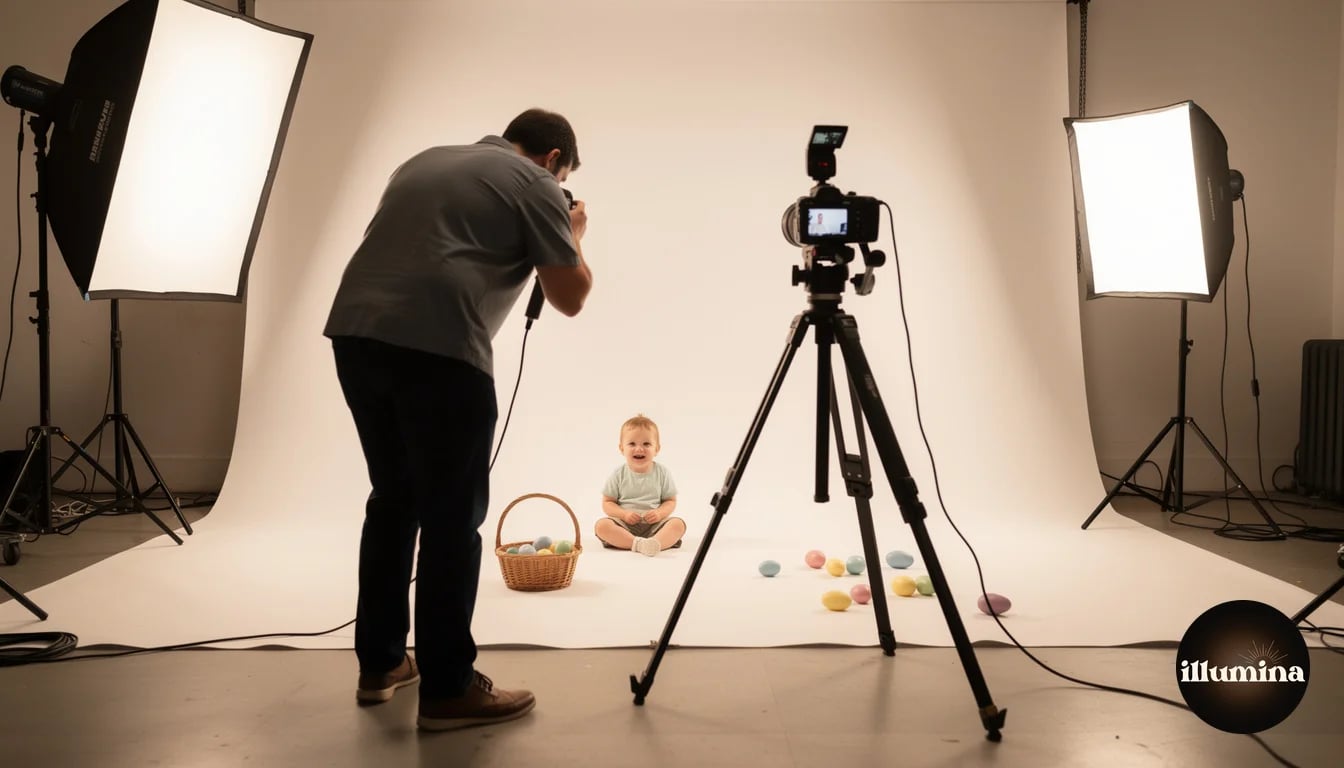
Simple Studio Setups
A white or light gray seamless backdrop with a few Easter props on the floor is all you need. Place a small basket of pastel eggs, a stuffed bunny, and maybe some artificial flowers at the base. Seat the child on a soft blanket or a small wooden crate. Use soft, diffused lighting from one side to create gentle shadows and avoid the flat, clinical look that studio photos sometimes get.
The props should be minimal. Three to five items maximum. Too many props compete with the subject and make the image feel cluttered. A single basket with a few eggs and one stuffed bunny is plenty. The child is the subject, not the Easter display.
Digital Backdrops for Easter Sessions
Digital backdrops let you offer Easter-themed sessions any time, rain or shine. Photograph the subject against a plain studio backdrop, remove the background in Photoshop or Canva, and composite them onto a spring scene with Easter elements. Pastel gardens, flower-filled meadows, decorated porches, and whimsical spring landscapes all work beautifully.
The advantage is variety. With physical sets, you get one look per setup and changing it takes time. With digital backdrops, you can offer each family multiple scenes from the same shooting session. One image on a pastel garden path, another in a wildflower field, a third on a decorated porch. Same session, three completely different final images, and the family feels like they got a full portfolio instead of five shots in front of the same backdrop.
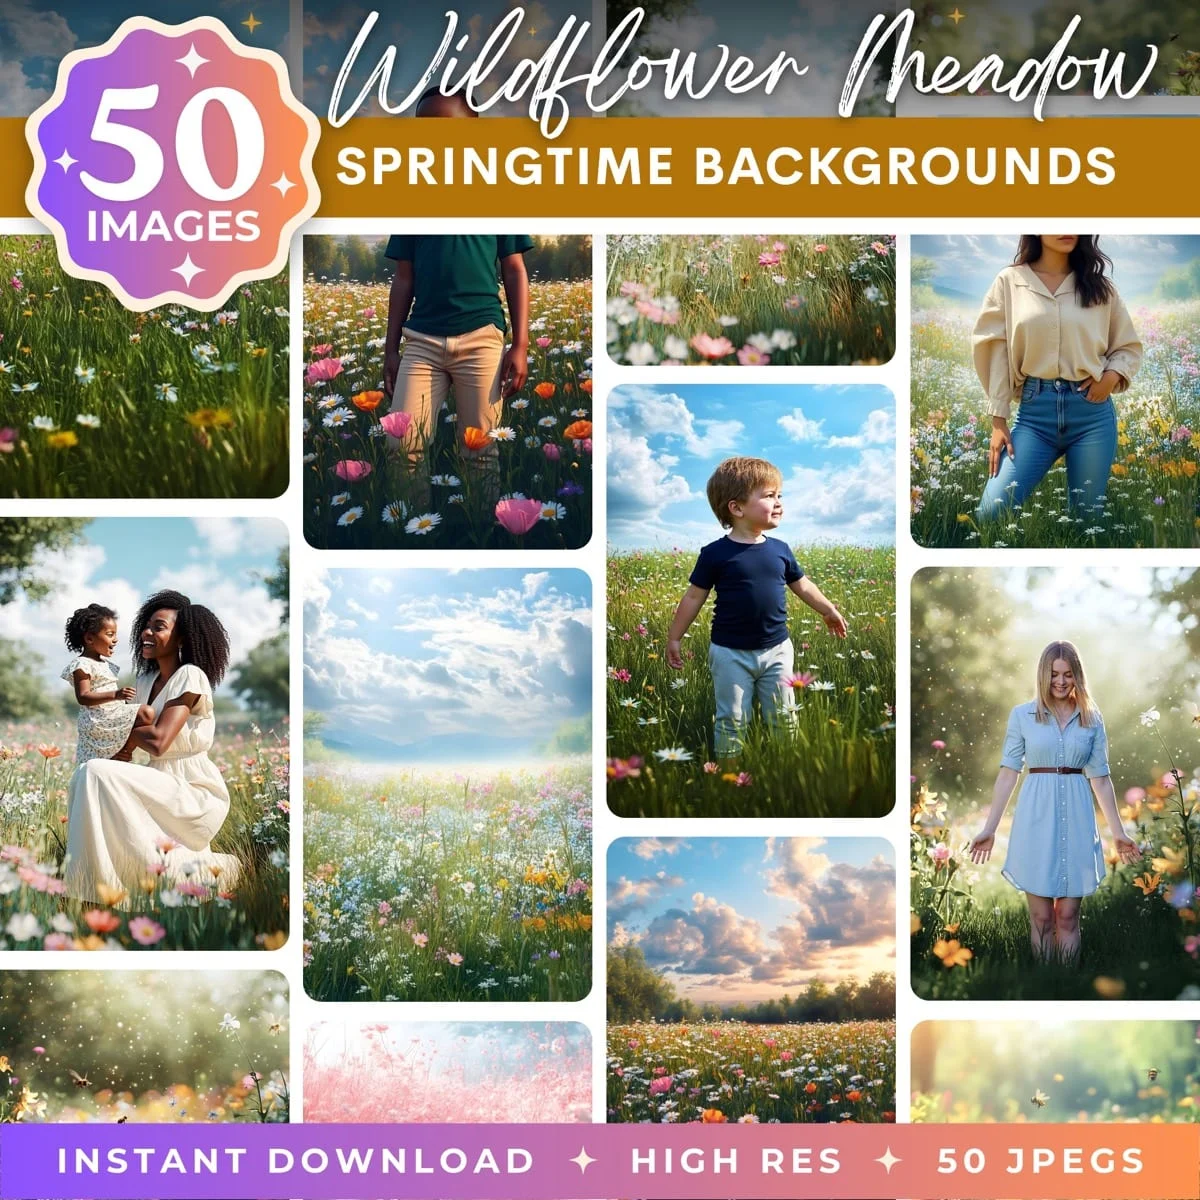
For Easter-specific digital backdrops designed for portrait compositing, check out our Easter Pastels and Wildflower Meadow collections. The scenes are built with lighting and perspective that match studio-lit portraits so the composite looks natural, not pasted on.
Shoot on gray, not white, when compositing. A light gray backdrop is easier to separate from the subject cleanly because there is more contrast at the edges. White backdrops blow out and blend with light clothing (which kids wear a lot at Easter), making selection work harder in post.
Posing Ideas by Age Group
Babies (0-12 Months)
Babies cannot sit up reliably, hold props, or follow directions. That is fine. The photos that parents love most of babies are the simple ones. Lay the baby on a soft blanket surrounded by a few pastel eggs and spring flowers. Shoot from directly above for a flat-lay style portrait. Or prop them in a shallow basket (with a spotter parent just out of frame) for the classic "baby in an Easter basket" shot.
Keep the session short. Ten minutes maximum for babies under six months. They tire fast, and a crying baby in a bunny hat is not the Easter photo anyone wants. Have the props pre-arranged so the baby goes in, you shoot, and you are done before the first meltdown.
Toddlers (1-3 Years)
Toddlers are mobile, curious, and completely uninterested in sitting still. Use that energy instead of fighting it. Hand them an egg and let them examine it. Give them a basket and point them toward some hidden eggs. Let them toddle through the grass while you shoot from ahead. The candid, motion-filled frames are always better than the stiff "look at the camera" shots that toddlers refuse to cooperate with anyway.
Bubbles work magic with this age group. Blow bubbles near the child and you get wide eyes, reaching hands, and genuine delight. The bubbles also catch the light beautifully and add a whimsical element to the image. Keep a bottle in your pocket for every toddler session.
Kids (4-10 Years)
This is the easiest age for Easter photos. Kids this age understand directions, can hold poses briefly, and still get genuinely excited about egg hunts and Easter activities. Start with a few directed poses (family group shot, individual portrait with bunny ears) and then let them play while you shoot candids. The first five minutes give you the safe shots, the next ten give you the real ones.
Have them interact with each other if there are siblings. Whispering secrets, comparing eggs they found, helping the younger one find an egg. Interaction between kids creates storytelling images that are far more interesting than two kids standing side by side smiling at the camera.
Families
For the full family shot, keep it relaxed. Sitting on a blanket works better than standing in a line. Have everyone close together with some physical connection, an arm around a shoulder, a child on a lap, holding hands. The tighter the group, the more intimate the photo feels. Loose, spread-out family arrangements look disconnected on camera even if the family is close in real life.
Take the formal group shot first (everyone looking at camera, smiling), then immediately do a candid version. Tell them to look at each other, tickle the youngest, or have a group hug. The candid version almost always ends up being the one they frame.
Transform Your Photos
Give Your Photos the Wow Factor
Browse our collection of premium digital photo backdrops. 50 high-resolution print-ready backgrounds in each pack. Instant download.
Browse Backdrops


Props That Photograph Well
Not all Easter props are created equal on camera. Here is what works and what to skip.
Pastel-colored eggs in a woven basket. Classic for a reason. The colors photograph beautifully and the basket gives kids something to hold, which calms fidgety hands. Use real dyed eggs or high-quality plastic ones. Dollar store eggs with visible seams and uneven color look cheap in close-ups.
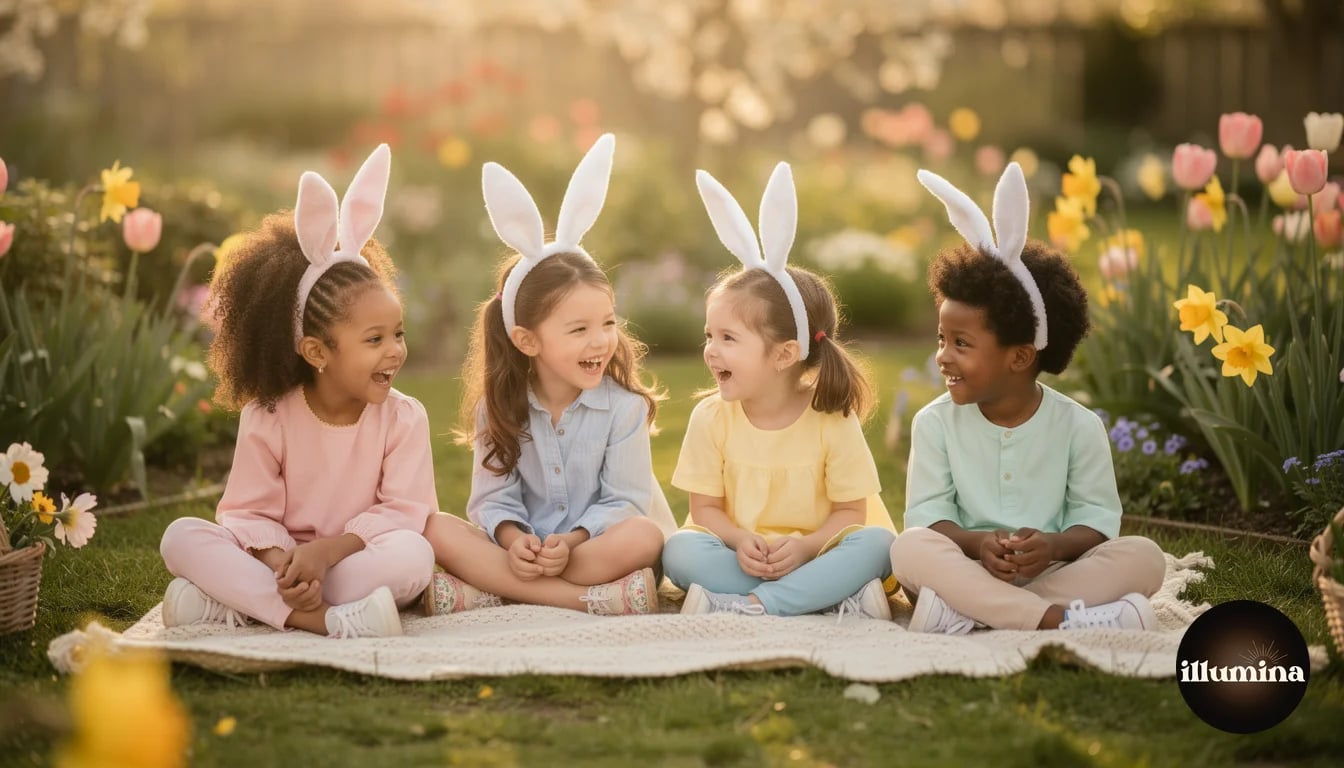
Bunny ears headbands. Universally cute on kids and adults. Get the soft plush kind, not the stiff plastic ones. They are more comfortable (so kids keep them on longer) and they photograph with better texture. Buy several pairs so the whole family can wear them for one shot.
Fresh flowers. A small bunch of tulips, daffodils, or baby's breath adds color and a natural spring element. Hand a single flower to a toddler and watch them examine it. That moment of curiosity is a frame worth keeping.
Spring dresses and bow ties. What the subjects wear matters as much as the props. Pastel colors, light fabrics, and spring-appropriate outfits complete the Easter look. Send a what-to-wear guide to clients before the session: soft colors, no logos or busy patterns, coordinate but do not match exactly.
Skip the giant inflatable bunnies, oversized chocolate eggs, and novelty costumes. They dominate the frame, date the photo, and distract from the subject. The props should support the photo, not star in it.
Lighting for Easter Photos
Easter photos look best in soft, warm light. Avoid harsh midday sun which creates deep shadows under eyes and makes everyone squint. The ideal windows are the first two hours after sunrise and the last two hours before sunset. This golden hour light wraps around faces, warms skin tones, and creates a gentle glow that matches the soft Easter aesthetic perfectly.
On overcast days, you actually have an advantage. Cloud cover acts as a giant softbox, diffusing sunlight evenly across the scene. No harsh shadows, no squinting, and you can shoot at any time of day. Overcast light is flat but consistent, and a slight warmth boost in editing brings back the golden feel.
For indoor studio sessions, a large softbox or a window as your main light source works well. Position it at 45 degrees to the subject for soft, dimensional lighting. Add a reflector on the opposite side to fill shadows. Easter photos should feel light and airy, so expose slightly brighter than you normally would. Clipping whites is fine in this context because it adds to the ethereal spring feeling.
Running Easter Mini Sessions
Easter mini sessions are a strong revenue opportunity. The format is the same as any seasonal mini: a fixed location, fixed setup, and short time slots booked back to back. For Easter specifically, here is what works.
Set up a simple Easter scene that does not need to change between families. A patch of grass (real or artificial) with scattered eggs, a basket, and a backdrop (physical or digital). Each family gets 15-20 minutes. You shoot the family group, individual kids, and candids. Move to the next family. Ten families in an afternoon at $125-175 each is $1,250-1,750 for about three hours of work plus editing.
Announce sessions 4-6 weeks before Easter. Post a sample image (from last year or a styled test shoot) with pricing and booking info. Easter is not as competitive as Christmas minis, so you do not need to book as far in advance, but earlier is always better for filling slots.
For more on running efficient mini sessions, our spring mini session guide covers the full workflow from pricing to delivery.
Offer a "no bunny ears" option. Some families love the bunny ears look, others find it cheesy. Ask during booking or at the start of the session. Having the option makes your minis appealing to a wider range of clients, including the minimalist crowd who want spring portraits without the overt Easter theme.
Editing Easter Photos
Easter photos benefit from a light, airy editing style. Lift the shadows slightly, warm the white balance, and desaturate just a touch to push colors toward pastels rather than full saturation. The goal is soft and dreamy, not punchy and contrasty.
A common mistake is pushing greens too far toward teal or yellow in editing. Spring grass should look like spring grass: a fresh, natural green. If your preset makes the grass look like astroturf or swamp water, dial it back. Natural colors with slightly lifted blacks and warm highlights is the sweet spot for Easter editing.
For composite work with digital backdrops, color matching the subject to the backdrop is essential. The subject's lighting temperature needs to match the backdrop's ambient light. If the backdrop is warm golden hour and your subject was lit with cool daylight, the composite will look off even if the selection is perfect. Adjust the subject's color temperature and tint to match the backdrop before finalizing. Our background replacement guide walks through the full process.
Batch editing is your friend for mini sessions. Create a single preset that nails the Easter look on one image, then sync it across the entire session. Individual adjustments should take 15-30 seconds per image, not minutes. If you shot with consistent lighting (which you should have if your setup stayed the same), the preset will carry most of the session with minimal tweaking.
DIY Easter Photos at Home
Not every Easter photo needs a professional photographer. Parents can capture beautiful Easter memories with a phone and a few simple techniques.
Find the best light in your house. Usually it is the largest window that does not get direct sun. Place your child near that window, facing toward it so the light falls on their face. This single change, moving from overhead room lighting to window light, transforms phone photos from flat snapshots to portraits with depth and dimension.
Get low. Most parents photograph kids from adult standing height, which means you are always shooting down at them. Kneel or lie on the ground to shoot at the child's eye level. This perspective feels more intimate and makes the child the center of the world in the image, not a small figure in a big room.
Use portrait mode on your phone for individual shots. The artificial background blur is not perfect, but it separates the subject from a cluttered home background and focuses attention on the child. For group shots, switch back to standard mode so everyone stays sharp.
The backyard egg hunt is the easiest DIY Easter photo opportunity. Hide eggs in the grass, give the kids baskets, and follow them with your phone camera. Shoot continuously. Out of fifty frames, five will be keepers, and those five will be the ones you actually print and frame.
Pastel spring scenes for Easter portrait compositing


Easter photos do not need to be complicated. A blooming location, a few pastel props, and willing subjects are all it takes. Whether you are a professional running mini sessions or a parent with a phone in the backyard, the spring light and colors do most of the heavy lifting. Keep the setup simple, let kids be kids, and shoot more frames than you think you need. The best Easter photos are the ones where everyone forgot the camera was there.
Transform Your Photos
Give Your Photos the Wow Factor
Browse our collection of premium digital photo backdrops. 50 high-resolution print-ready backgrounds in each pack. Instant download.
Browse Backdrops

