The Quick Answer
Upload your image to remove.bg or Canva, hit "Remove background," and download it as a PNG. That's it. You'll get a clean cutout you can layer onto any backdrop, logo, or design. If you need better edges around hair or tricky shapes, Photoshop's Select Subject with Refine Edge is still the best, or you can use the iPhone Photos app's Lift Subject feature for quick mobile work.
The one thing that trips people up is the file format. Save as PNG, not JPEG. JPEG can't store transparency, so your cutout ends up inside a white box. I've watched photographers do everything right and then lose the transparency at the save step. The rest of this guide covers every method, the mistakes to watch for, and what to do once you've got your transparent file.
What a Transparent Background Is
It's not a color. It's the absence of anything. When Photoshop, Canva, or PowerPoint hits a transparent area, there's nothing to draw, so whatever's behind the image shows through. That's why a logo with a transparent background sits cleanly on top of a photo instead of floating in a white square.
In your editor, transparency shows up as a gray-and-white checkerboard. That checkerboard isn't part of the file. It's just the software's way of saying "nothing here." If you see it, you're on the right track.
If you haven't removed the original background yet, start with our guide on how to remove the background from any photo. That covers the cutout step in detail. This guide picks up from there: making sure your cutout is properly transparent and saved in a format that won't flatten it.
Free Online Tools (Fastest Option)
If you need one transparent image and don't plan to make this a regular thing, web tools are the fastest path. Upload, click a button, download. No software needed.
The ones that consistently work well right now are remove.bg, Canva's Background Remover, Adobe Express, Photoroom, and Pixlr. They all run AI segmentation and handle most photos in a couple seconds. The real test is hair and soft edges. The better tools handle those gracefully. The cheaper ones leave a chunky outline that looks like someone traced around the subject with a fat marker.
For the best result, start with a sharp, well-lit photo where the subject stands out from the background. A kid in a red sweater against a green wall? Easy. A blonde toddler on a beige couch? Much harder. These tools are good but they're not doing magic. If the source photo is blurry or low-contrast, the cutout will be rough no matter what tool you use.
When you download, pick PNG. Not JPEG, not "default." PNG-24 with transparency. WebP also works and gives you smaller files, but PNG is the safe universal choice.Always work from a copy of your original. Once you save over the source as a transparent PNG, the background is gone forever. Keep the original untouched and save the cutout as a separate file.
Which Free Tool Should You Pick?
They all do roughly the same thing, so I'll keep this short. If you're doing one image and want the best automatic result with hair, remove.bg is hard to beat. It's purpose-built for background removal and nothing else, and it handles flyaway strands better than most competitors. The downside is resolution: the free version caps your download at a lower resolution than the original. You'll need to pay for HD.
Canva's Background Remover is built right into the editor, which is convenient if you're already designing in Canva. It's not quite as good on tricky hair edges, but for anything with clean outlines it works fine, and you can drop the cutout straight into a Canva design without downloading and re-uploading. If you're making a flyer or social post, that matters more than edge quality.
Photoroom is worth trying if you do a lot of product photos. It's fast, handles batch processing, and produces clean edges on hard objects. Adobe Express is decent but slower. Pixlr gives you a full editor alongside the background remover, which is useful if you want to do some manual cleanup afterward.
None of these tools are great at semi-transparent subjects. Veils, glass, smoke, lace, sheer fabric. For those you need Photoshop or a similar layer-based editor. The AI just doesn't know what to do when part of the subject is supposed to be see-through.
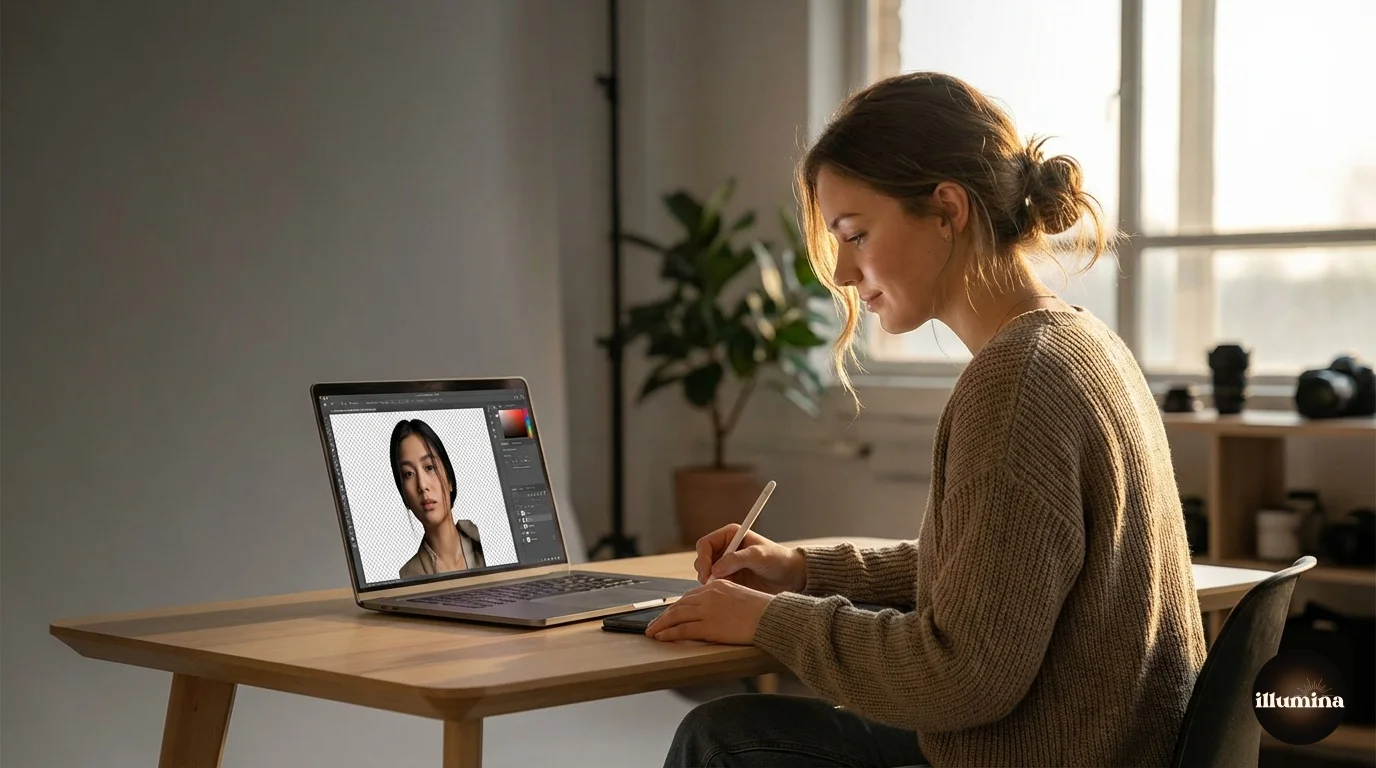
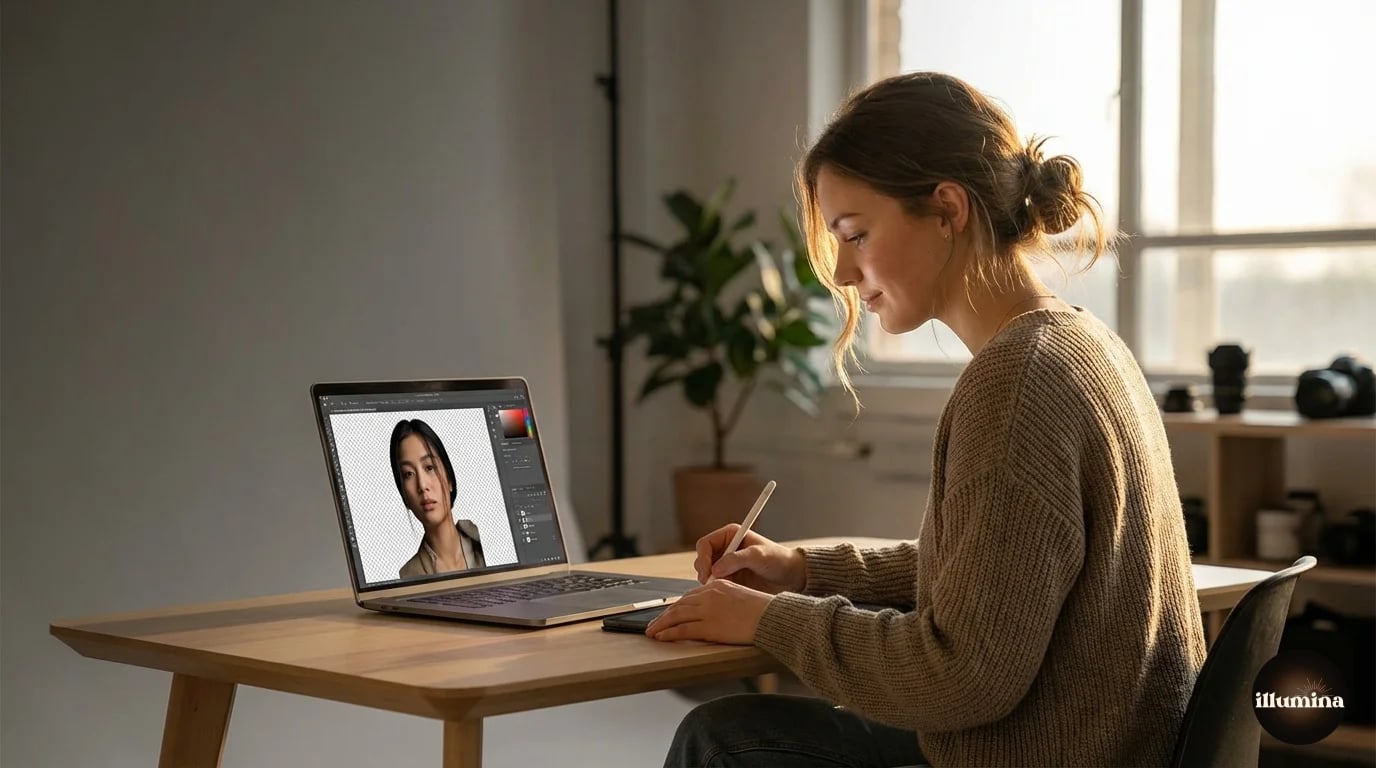
In Photoshop
Photoshop is overkill for most people. But if you already have it, the control you get over edges is unmatched. And the workflow has gotten noticeably easier in the last couple of versions.
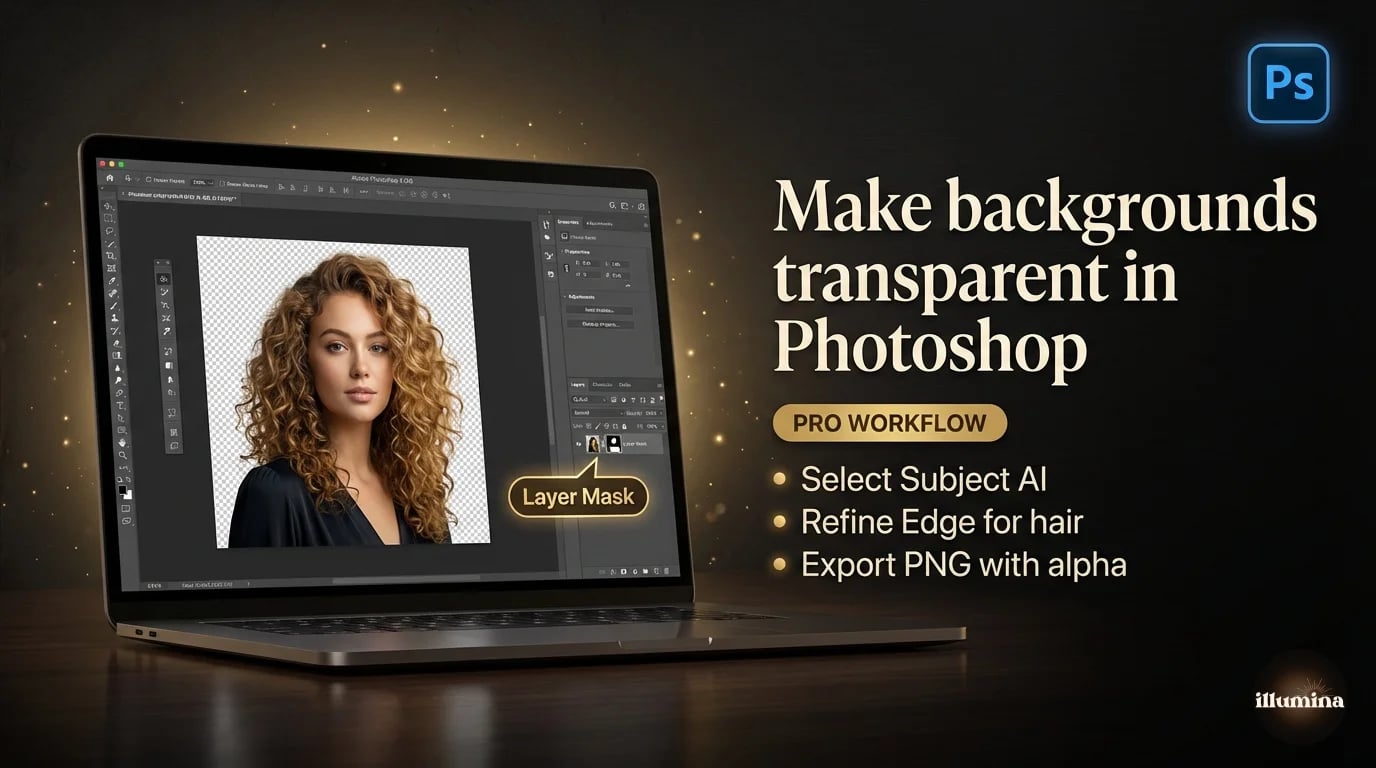
Select Subject (One Click)
Go to Select, then Subject. Photoshop's neural filter grabs the main subject in about a second. You'll see the marching ants. Click the layer mask icon at the bottom of the Layers panel and you're done. Background gone, checkerboard visible.
For portraits in decent light, this is all you need most of the time. I'd say it handles about 70% of my portrait work without any cleanup. The mask is non-destructive too, so if it misses a spot, you can fix it later without starting over.
Refine Edge (For Hair)
When Select Subject chops off hair or leaves rough edges, go into Select and Mask. Use the Refine Edge brush along the hair line. Photoshop rebuilds the selection to catch wispy strands that the initial pass missed. Set the output to "New Layer with Layer Mask" and you've got a much cleaner cutout.
Pen Tool (For Precision)
Hard edges, product shots, anything that needs to look magazine-perfect. The Pen Tool is slow and tedious, but the edges are so clean they look like vector art. I only reach for it when a client is going to zoom to 400% on print work. For everything else, Select Subject gets you there faster.
In Canva
Canva is the right pick if you don't own Photoshop and want something fast. The Background Remover works in one click and handles most photos well.
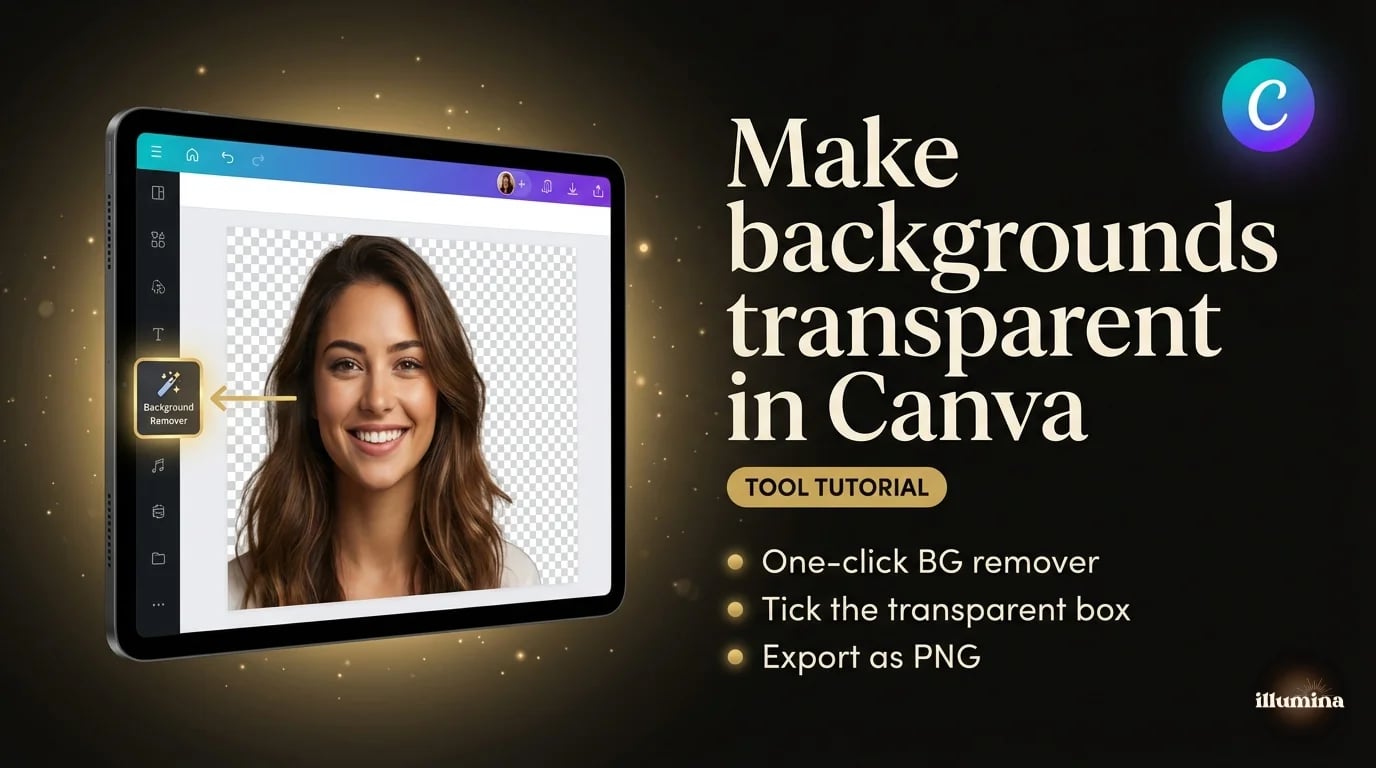
Open Canva, create any blank design, drag your image in, click it, then go to Edit Image and find Background Remover. Click it, wait a couple seconds, done. To save with transparency, click Share, Download, choose PNG, and here's the part everyone misses: tick the "Transparent background" checkbox. If you forget that box, Canva exports with a white background even though the editor shows the checkerboard. I've seen this catch people over and over.
Canva Free gives you a limited number of removals per month. Canva Pro is unlimited. If you're only doing this occasionally, free is fine.
The Transparent Background Checkbox
I'm putting this in its own section because it catches so many people. When you download from Canva, the default export does NOT include transparency, even if the editor shows the checkerboard. You have to manually expand the download options and tick "Transparent background" before clicking the download button. If you skip this step, you get a PNG with a white background. It looks wrong, and you'll think the tool didn't work, when really you just missed a checkbox.
Other tools like Photopea and Pixlr don't have this issue because they export transparency by default when there's no background layer. But Canva adds a white canvas behind everything unless you specifically tell it not to. I've seen professional designers get tripped up by this. Just check the box.
Transform Your Photos
Give Your Photos the Wow Factor
Browse our collection of premium digital photo backdrops. 50 high-resolution print-ready backgrounds in each pack. Instant download.
Browse Backdrops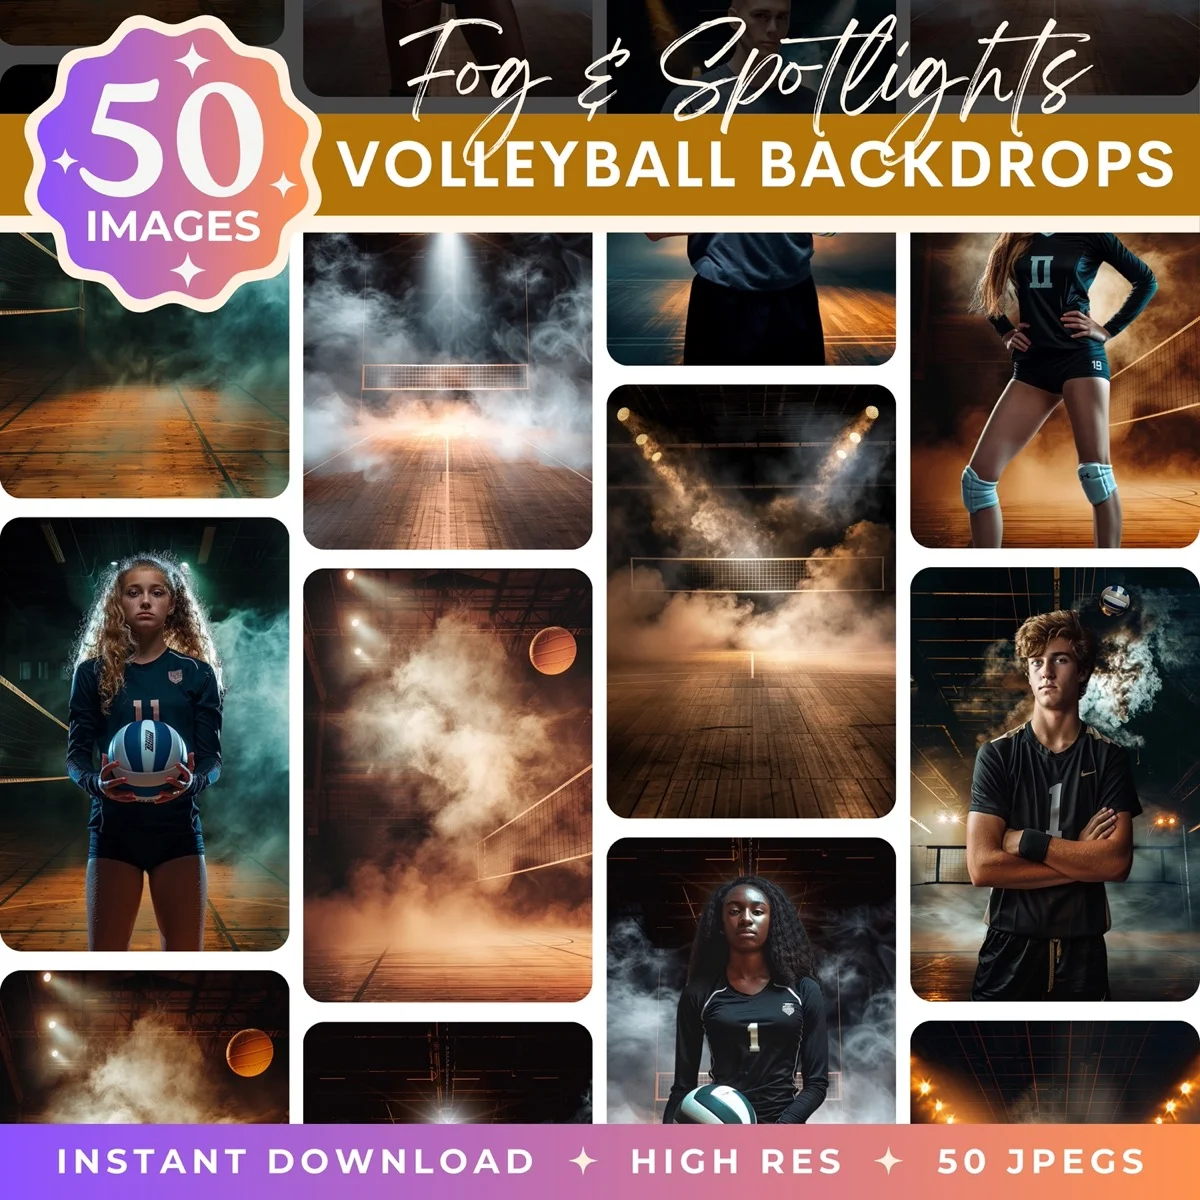
On iPhone or iPad
This one's underrated. The Lift Subject feature built into iOS Photos (since iOS 16) is surprisingly good for how simple it is.
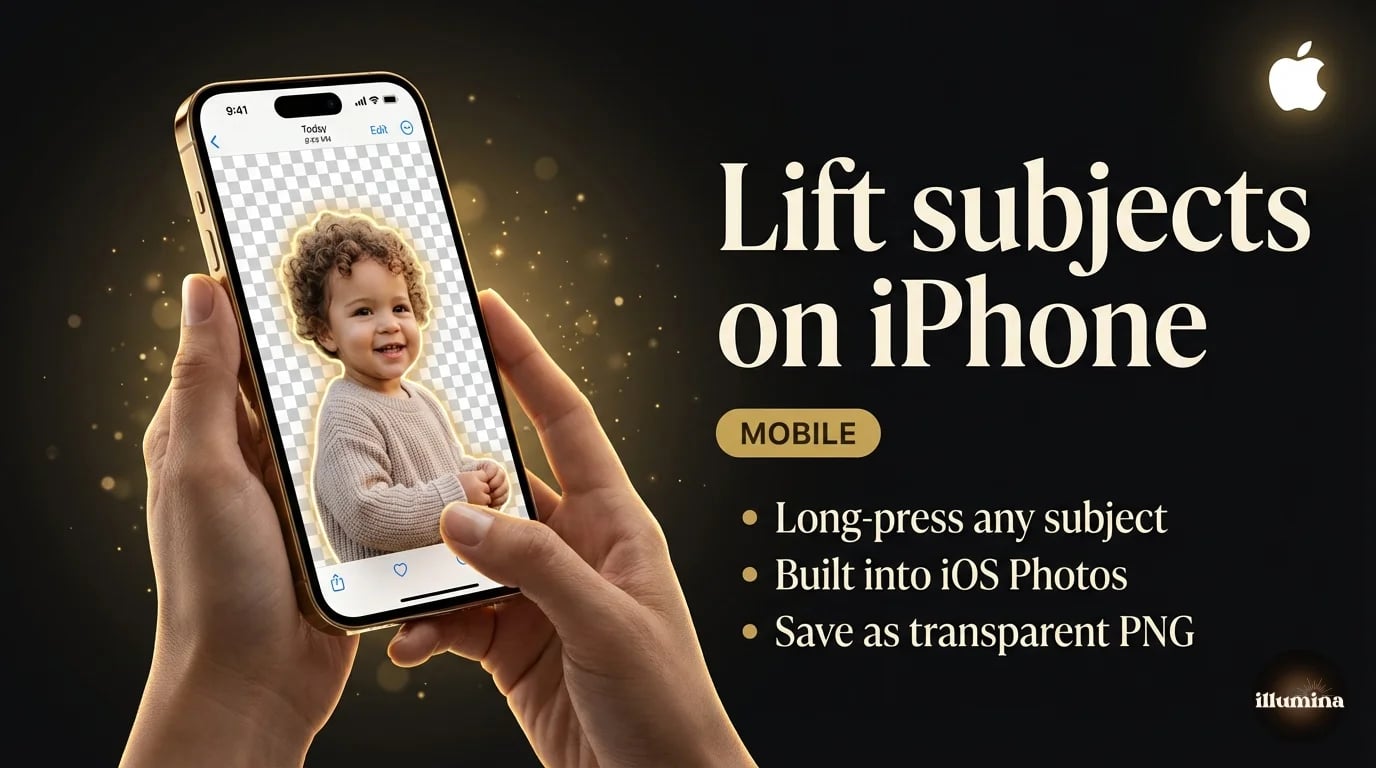
Open any photo in the Photos app. Press and hold on the subject for about a second. You'll see a glowing outline trace around them as iOS isolates the cutout. From there you can tap Copy (paste into Messages, Notes, wherever) or tap Share and save it to Files as a transparent PNG.
It's perfect for quick stickers, reaction images, or pulling a transparent portrait of your kid for a birthday card. The edges aren't Photoshop quality, but for casual use they're more than good enough. No upload, no waiting, no internet required.
JPEG can't store transparency. Full stop. If you save your cutout as a JPEG, the editor fills the transparent area with white. Always check the format dropdown before you click save.
When Free Tools Aren't Enough
Free tools hit a wall in a few specific situations. If you need to process more than a handful of images, you'll run into per-day limits or start paying per image, at which point Photoshop's subscription is usually cheaper per-cutout. If your subject has wispy hair against a complex background (think: curly-haired kid at a park), free tools will chop off strands that Photoshop's Refine Edge can preserve. And if you need to output at the original resolution without downsampling, many free tools won't do that on the free tier.
The sweet spot is using free tools for quick one-offs (social posts, internal presentations, birthday cards) and Photoshop for client work, print, or anything where edge quality matters at full zoom. I'd say 80% of the transparent background work most people do can be handled by a free tool. It's the other 20% where Photoshop earns its subscription.
For a deep dive into every Photoshop method, including Channels, Blend If, and advanced masking techniques, see our dedicated guide on how to remove backgrounds in Photoshop.
PNG vs JPEG vs WebP
This is where people lose their transparent background without realizing it. Everything looks right in the editor, the checkerboard's there, you hit save, and then... white box. Why? Because the file got saved as a JPEG.
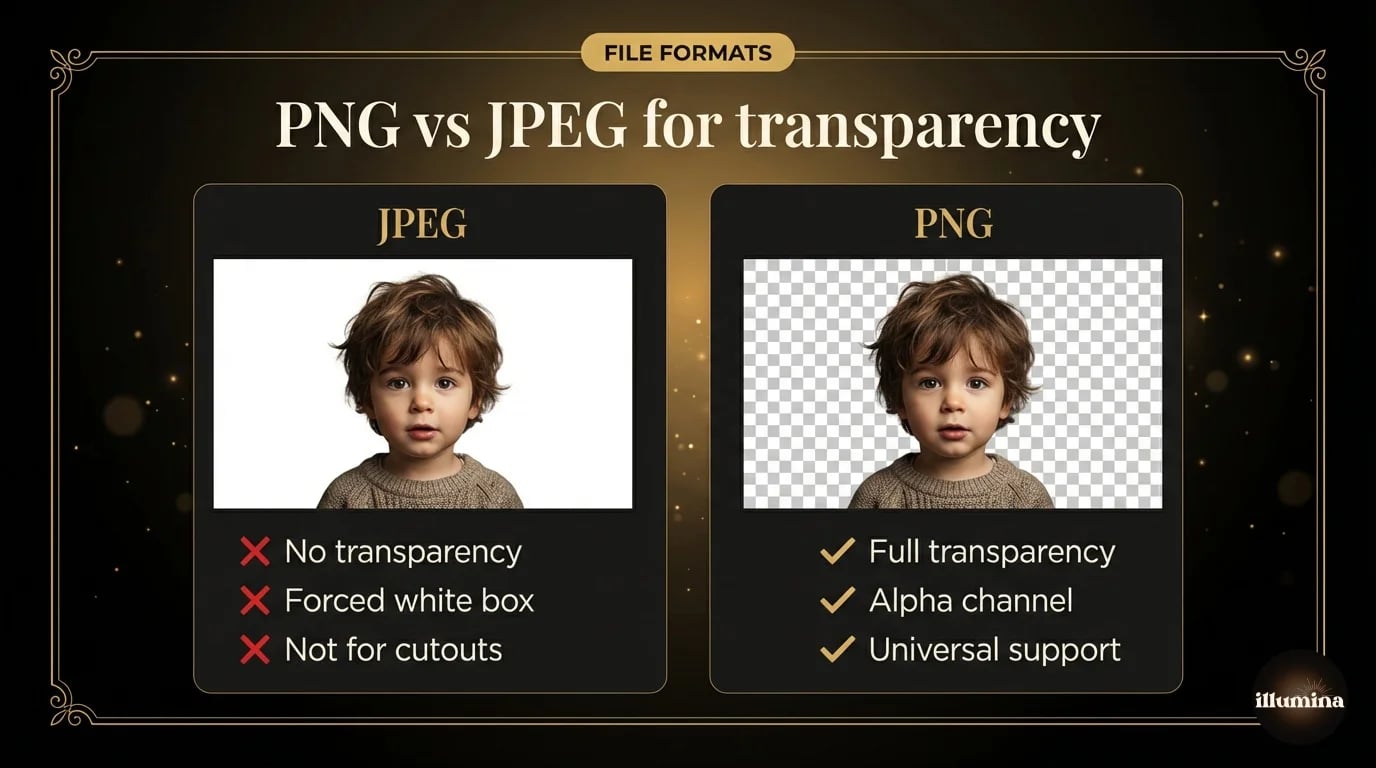
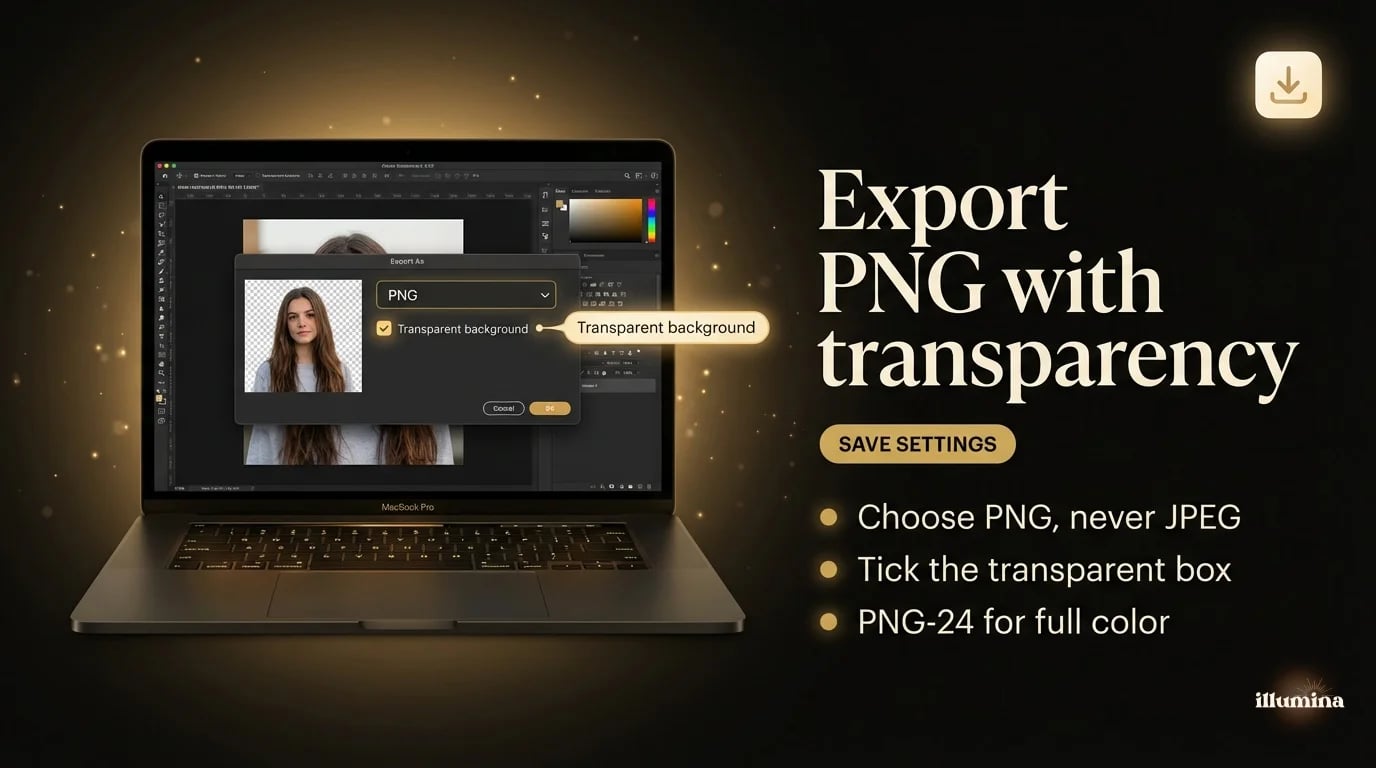
JPEG can't store transparency. Full stop. It's a photo compression format with no concept of an alpha channel. When you save a transparent image as JPEG, the editor fills the empty space with white. Your careful cutout is now sitting in a rectangle.
Use PNG. It's universally supported and preserves transparency perfectly. PNG-24 for full color images (which is the default in most tools). WebP is a newer option that produces smaller files with the same transparency support. If you're uploading to a website you control, WebP is the better choice. If you're sharing the file with someone who might open it in older software, stick with PNG.
Batch Processing: Removing Backgrounds at Scale
If you need to make ten or fifty images transparent, clicking through a web tool one at a time gets old fast. There are a few ways to speed this up.
Photoroom and remove.bg both offer batch processing through their paid tiers. Upload a folder, wait, download a zip. The quality is usually identical to single-image mode. For product photographers who shoot fifty items in a session, this alone is worth the monthly cost.
In Photoshop, you can record an action that runs Select Subject, adds a layer mask, and exports as PNG, then batch it across a folder using File, Automate, Batch. The results vary more than a dedicated AI tool because Select Subject was designed for one-at-a-time use, but for consistent studio shots against a clean backdrop, it works well.
Canva doesn't have true batch processing for background removal. You can add multiple images to a single design and remove backgrounds one at a time, but there's no "select all and remove" option. For volume work, Canva isn't the right tool.
If you're doing this for a business regularly (product listings, team headshots, marketing materials), the economics usually point toward a dedicated AI tool with batch support rather than manual work in Photoshop. My tipping point was around 20 images per week. Below that, one-at-a-time in Canva or Photoshop is fine. Above that, batch tools pay for themselves in time saved.
Mistakes That'll Cost You
Saving as JPEG. I know I keep saying it. Everyone does it at least once. Check the format dropdown.
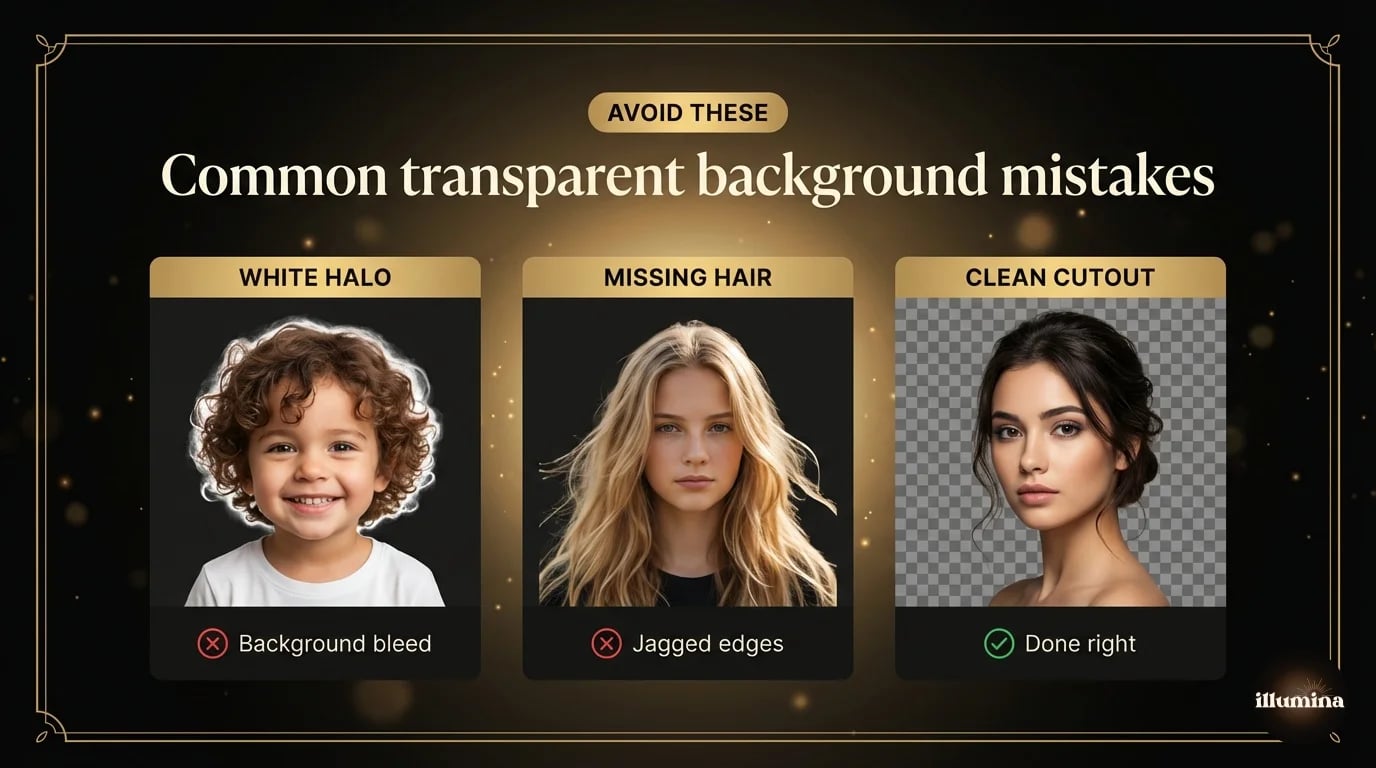
White halos around the subject. That faint light outline you see when you drop the cutout onto a dark background? It's background pixels that bled into your selection. In Photoshop: Layer, Matting, Defringe at 1 pixel. In other tools, re-run the cutout with something that handles edges better.
Missing wisps of hair. The cutout looks obviously "cut out" because the fine strands got chopped. Fix in Photoshop with Select and Mask, or switch to a tool with better edge AI. For Canva users, this is a real limitation, and it's the main reason photographers still open Photoshop for portrait work.
Forgetting Canva's transparent checkbox. The download dialog has it buried in a dropdown. The image looks transparent in the editor but exports with a white background. Every. Single. Time. someone new to Canva hits this.
Starting from a bad source photo. No tool can rescue a blurry, low-contrast image. If the source is bad, the cutout will be bad. Start with the sharpest, best-lit version you have.
One more thing: always work from a copy. Once you save over the original as a transparent PNG, the background is gone forever. Keep the source photo untouched and save the cutout as a separate file.
A Note on Resolution
This comes up more than it should. If you upload a 6000x4000 pixel photo to a free tool and it gives you back a 1200x800 cutout, you've lost resolution. Some tools downsample on the free tier and charge for full-res output. Others (like Photoshop and Photoroom) always keep the original resolution.
If you're going to print the composite or use it at large scale, check the output dimensions before you start building. Discovering your cutout is 1200px wide after you've spent twenty minutes compositing it into a 6000px backdrop is not a fun moment. Ask me how I know.
What to Do With Your Transparent Image
The cutout on its own isn't the goal. The goal is to put it somewhere new. Drop your subject onto a different background, layer it with other graphics, build a composite, design a card with your family in a scene that never existed in real life.
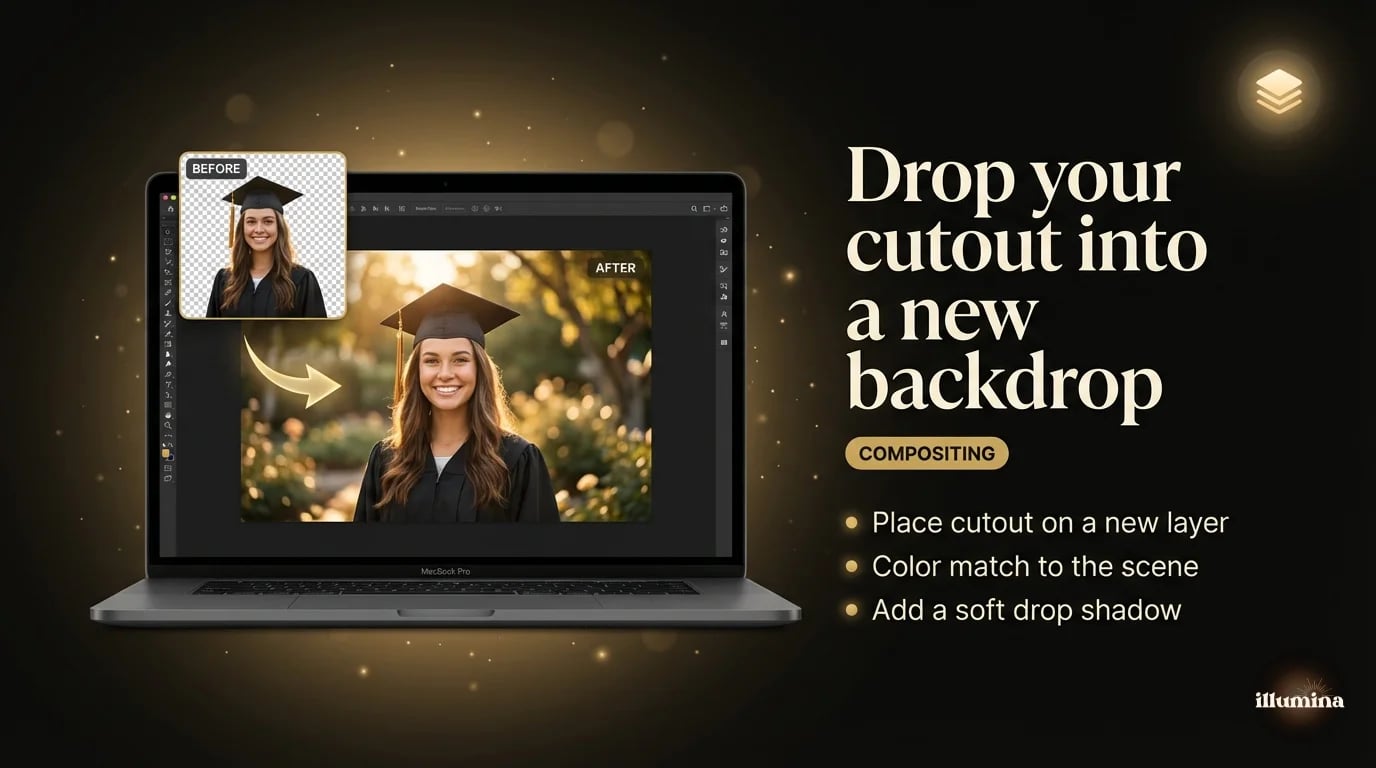
This is what portrait photographers do every day. Shoot a family against a plain studio backdrop, cut everyone out, and drop them into a snowy forest or an elegant parlor. It's called compositing, and it's behind a lot of the striking portrait work you see online. We cover the full workflow in our guide on how to add a background to a photo, including color matching so the subject doesn't look pasted on.
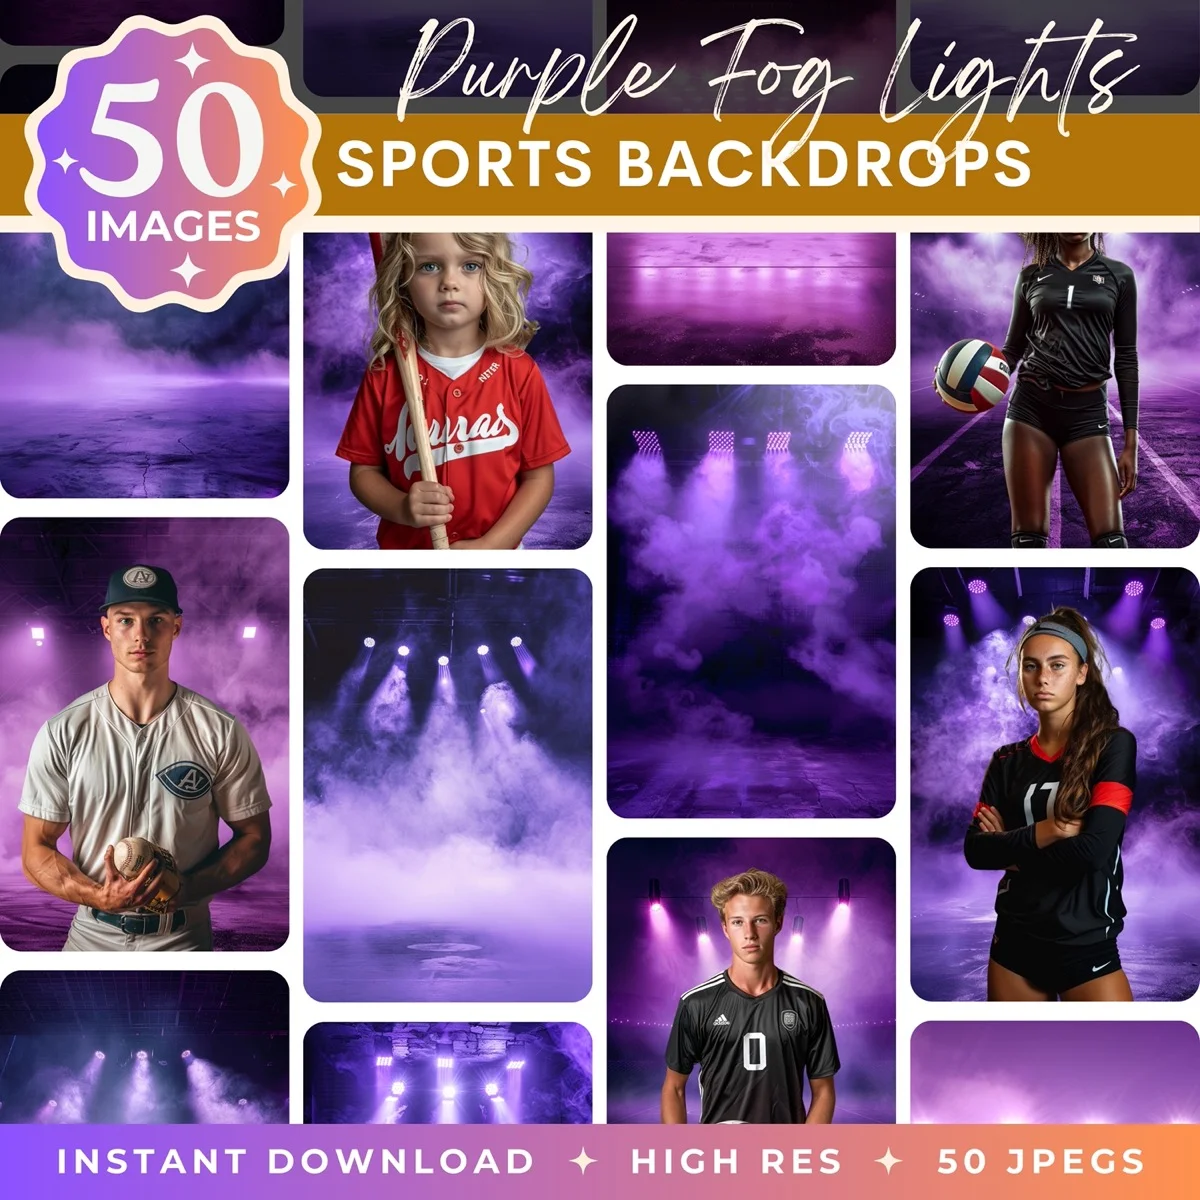
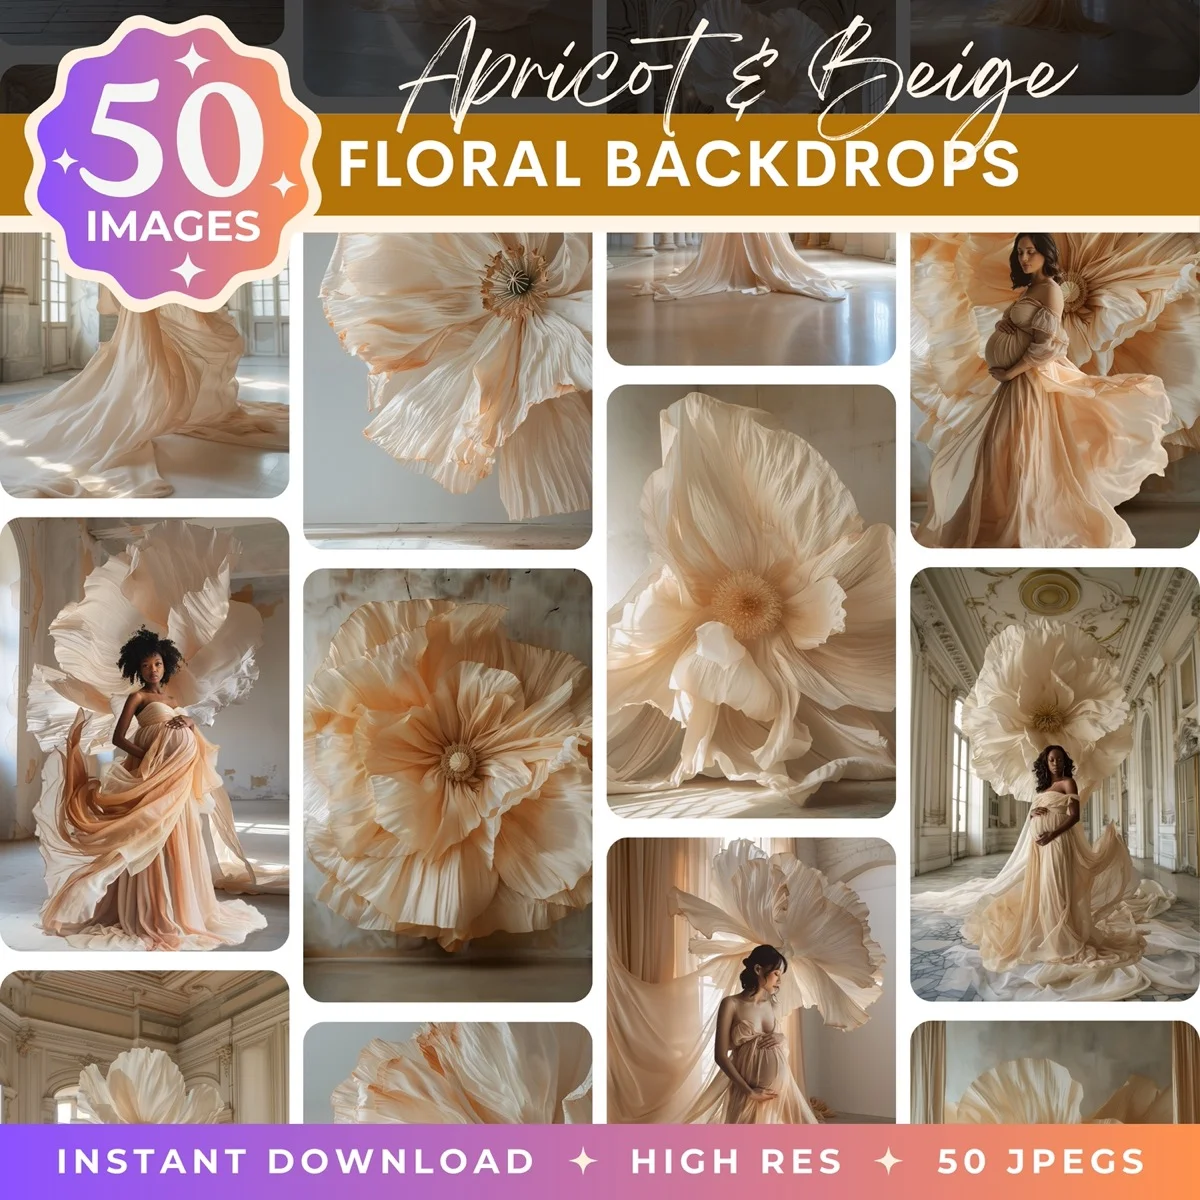
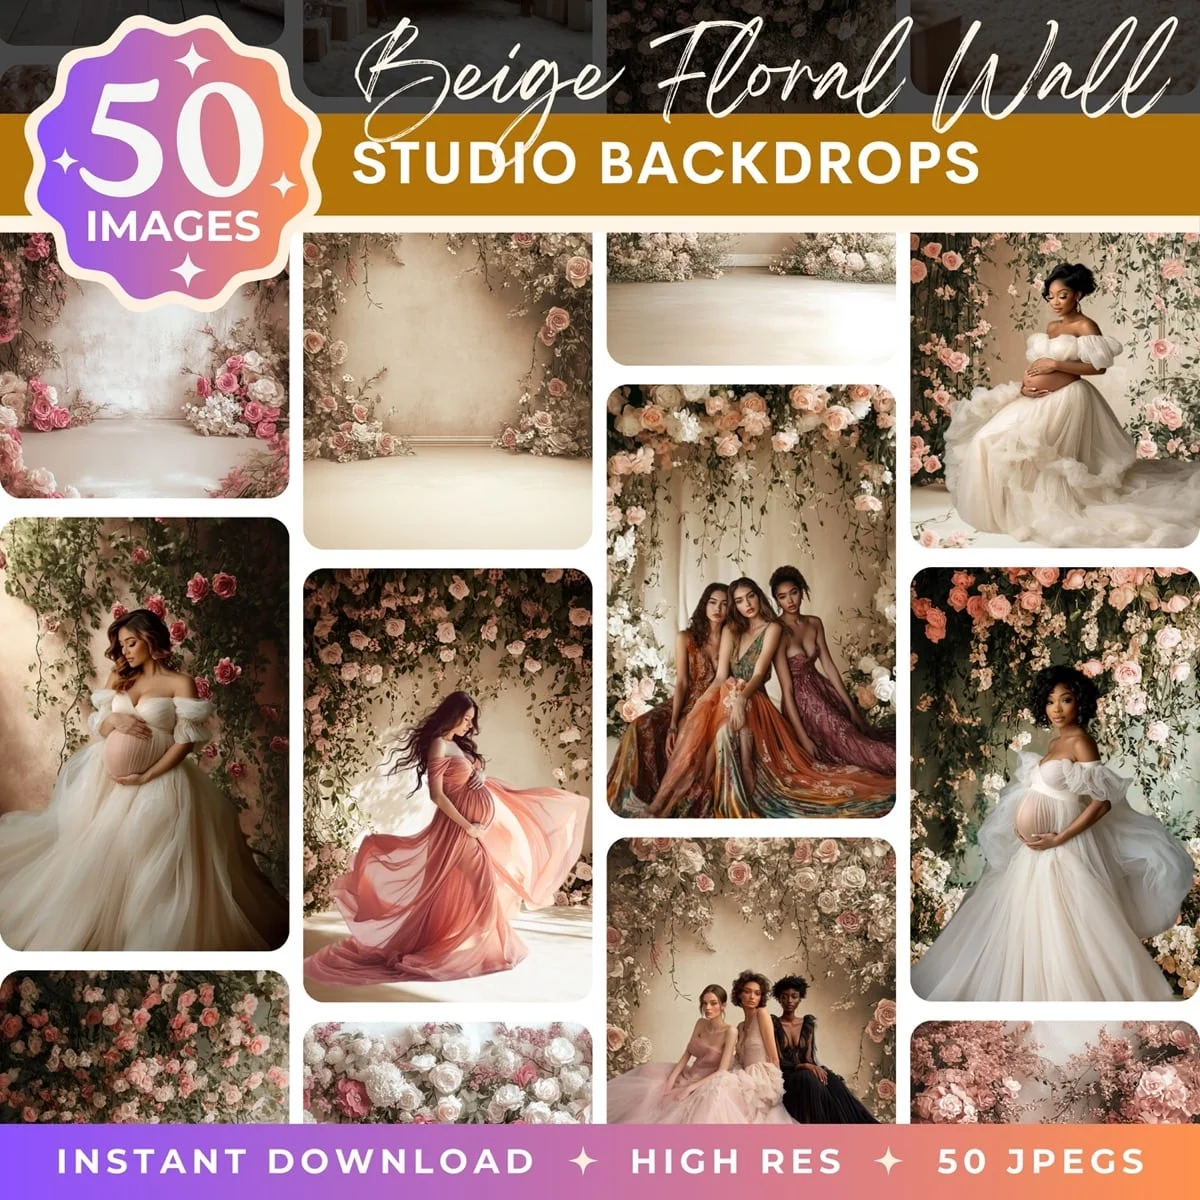
If you're looking for backdrops built specifically for this kind of work, with lighting and perspective that matches how portrait subjects are typically shot, that's what we make at Illumina Backdrops. They import into Photoshop, Canva, or any editor that handles PNG layers.
High resolution backdrops to drop your transparent cutouts into
Getting a transparent background right is a small technical step, but it opens up a lot. Nail the cutout, save it as a PNG, and you can drop your subject into any scene you want.
Transform Your Photos
Give Your Photos the Wow Factor
Browse our collection of premium digital photo backdrops. 50 high-resolution print-ready backgrounds in each pack. Instant download.
Browse Backdrops

