

The Quick Answer
Shoot against a plain backdrop (gray is the most versatile), light the subject from the same direction as the light in your target backdrop, and leave plenty of space around the body for clean masking. That's it. The rest is details, and the details matter, but if you nail those three things, your composites will look natural regardless of what software you use for the cutout and placement.
This guide covers everything that happens before you open Photoshop or Canva: choosing and setting up backdrops, lighting to match your target scenes, camera settings, posing for composites, and the common shooting mistakes that make composites fail no matter how good the editing is.
Choosing Your Backdrop
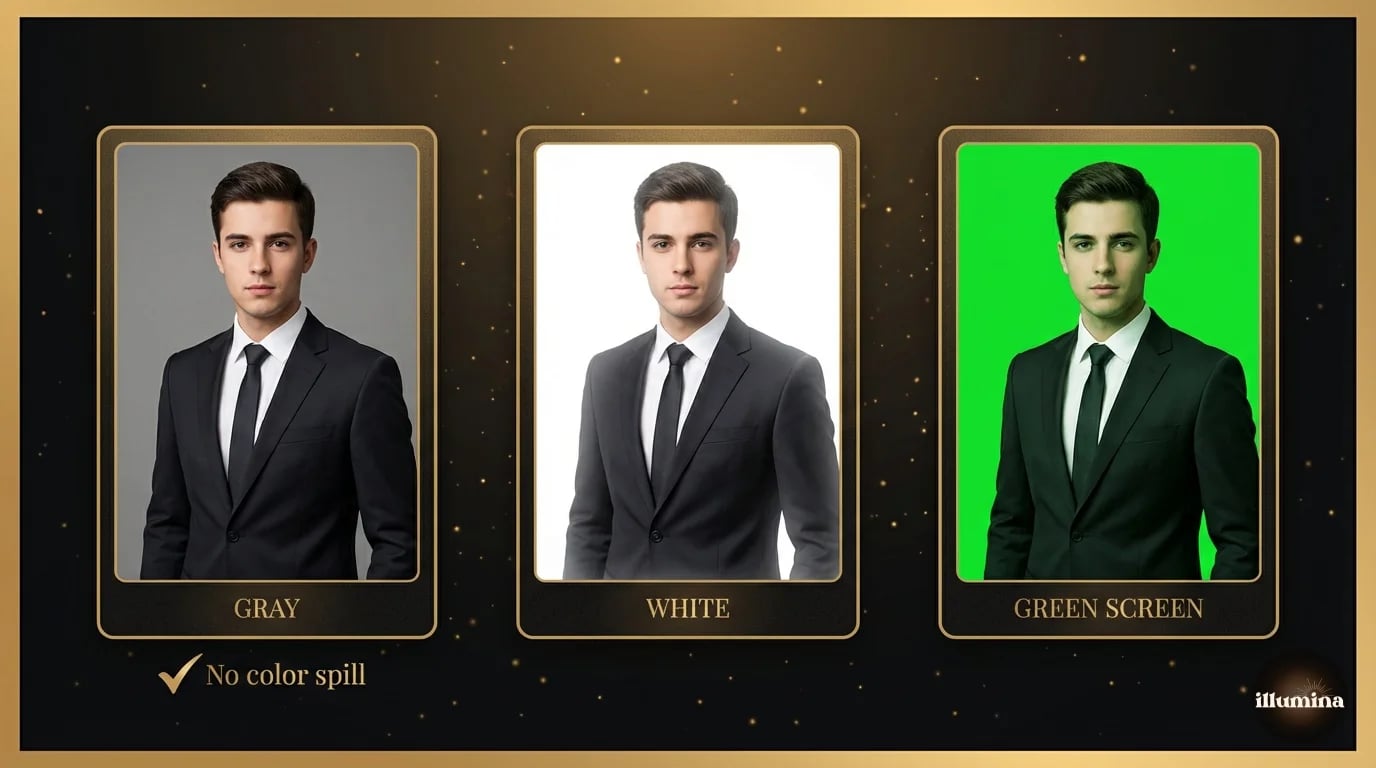
You have three main options: gray, white, or green. Each has trade-offs.
Gray
My default choice for most composite work. Gray doesn't cast color onto the subject's skin or clothing. It works for every skin tone. It provides enough contrast for the AI selection tools (Select Subject, Background Remover) to detect the edge cleanly. And it works for both light and dark target backdrops because it's neutral.
The shade of gray matters. A mid-gray (about 50% brightness) is the most versatile. Too light and it approaches white, creating bright spill on the edges. Too dark and you lose edge definition on dark hair and dark clothing. If you can only buy one backdrop, buy a medium gray seamless paper roll or collapsible muslin.
White
White works well when your target backdrop is bright (outdoor scenes, light interiors, high-key studio looks). The edge detection is clean because there's maximum contrast between any subject and a pure white background. The downside: white reflects light back onto the subject, creating a bright rim around the edges that's hard to remove. This "white spill" is most visible on dark clothing and dark hair.
If you use white, place the subject at least six feet from the backdrop to minimize spill. The further away, the less reflected light hits them.
Green Screen
Green screen gives you the cleanest automatic extraction because chroma keying (removing a specific color) is more precise than luminance-based selection. Video editors use green screens for this reason. For still photography, the advantage is smaller because modern AI selection tools work well on any solid color.
The problem with green: it reflects. Green light bounces off the backdrop onto the subject's skin, creating a green color cast that's difficult to remove, especially on reflective surfaces like helmets, glossy fabrics, and jewelry. If you use green, light the backdrop separately from the subject and keep them as far apart as the room allows.
Gray is the safest choice for beginners. No color spill, works with every target backdrop, and modern AI tools handle the extraction well. Save green screen for video work where chroma keying is essential.
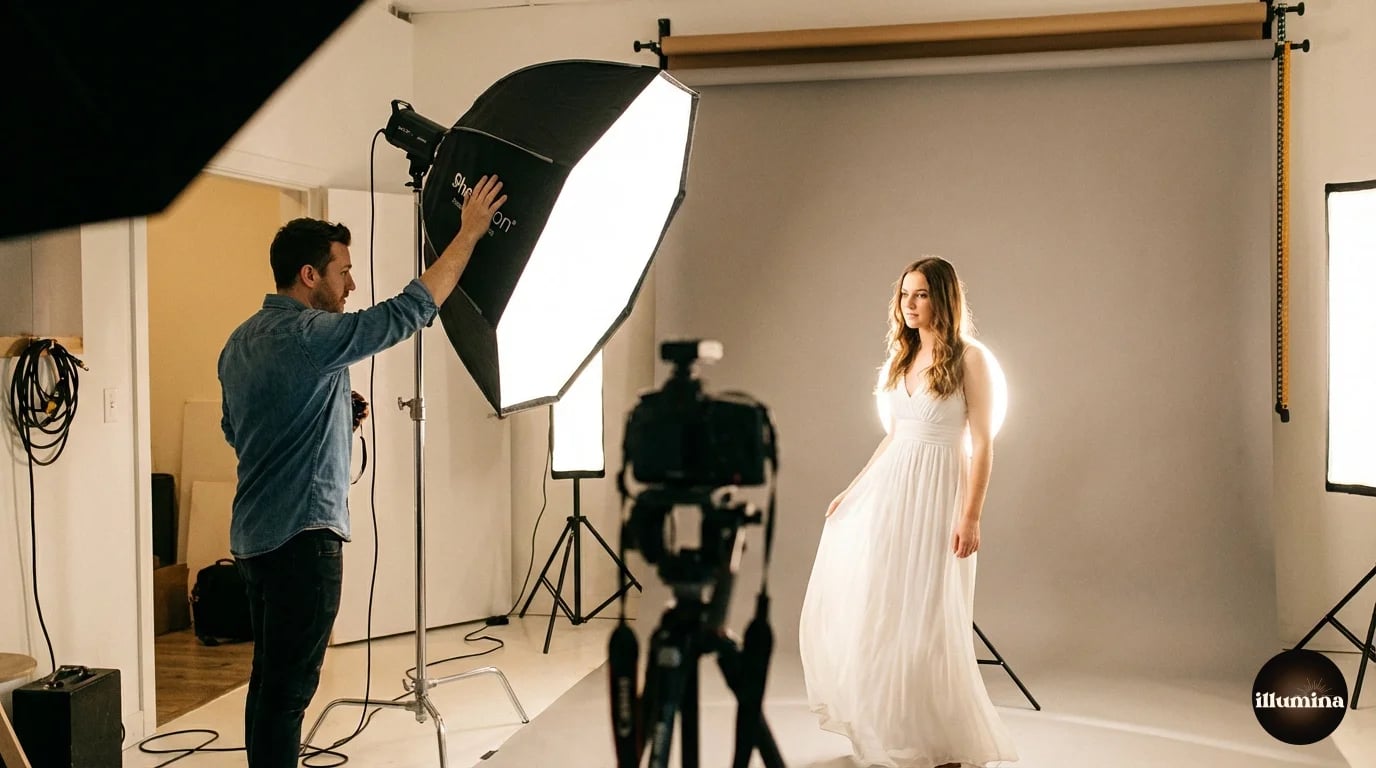
Lighting: Match the Target Backdrop First
This is the most important section in this guide. Your studio lighting needs to simulate the lighting in the backdrop you're going to composite onto. If the lights don't match, the composite looks fake regardless of how clean your cutout is.
The Process
Pick your target backdrop before you shoot. Open it on your phone or tablet and study the light. Ask three questions: Where is the main light coming from? (Left, right, above, behind?) How hard or soft is the light? (Sharp shadows = hard light, gradual shadows = soft light.) What color temperature is the light? (Warm golden = tungsten/sunset, cool blue = overcast/fluorescent.)
Then set up your studio lights to match. If the backdrop has a strong light from the upper left with hard shadows, put your key light upper left and use a bare bulb or small modifier for hard shadows. If the backdrop has soft diffused light from a window on the right, put a large softbox on the right. If the backdrop is an outdoor golden hour scene, add a warm gel (CTO) to your lights.
You don't need to match perfectly. Close is enough. The viewer's eye is forgiving about small inconsistencies in light quality. What it's not forgiving about is direction. If the backdrop light comes from the left and your subject is lit from the right, the composite will never look right.
A Basic Three-Light Setup
This covers most composite scenarios and matches the majority of backdrop scenes.
Key light at 45 degrees, camera left or right, slightly above the subject's head. This is your main directional light. Use a softbox or umbrella for softer light, a bare reflector for harder light. Match the modifier to the backdrop's light quality. If you're not sure what the backdrop's light quality is, go with a medium softbox. It's a safe middle ground that works with most scenes.
One thing I've learned from doing this for a while: it's easier to add drama in post than to remove it. If you light the subject with relatively soft, even lighting, you can darken and add contrast in Photoshop to match a moody backdrop. But if you light with harsh, contrasty light and the backdrop turns out to be soft and airy, you're stuck. Start softer than you think you need, and adjust in post.
Rim light behind the subject on the opposite side from the key, at about head height. This creates a bright edge along the subject's outline that separates them from the backdrop visually. Rim light also makes masking easier because the bright edge gives the selection tools a clear boundary.
Fill light or reflector at low power, opposite the key, at about chest height. This opens up the shadows so the dark side of the face isn't completely black. For dramatic backdrops (stadiums at night, moody sports scenes), use minimal or no fill. For bright, airy backdrops (gardens, outdoor scenes), use more fill.
Add a rim light. Always. The bright edge it creates along the subject's outline is the single most helpful thing you can do for clean masking. Without it, the subject's edge blends into the backdrop and the selection tools have to guess where the person ends and the background begins.
Camera Settings
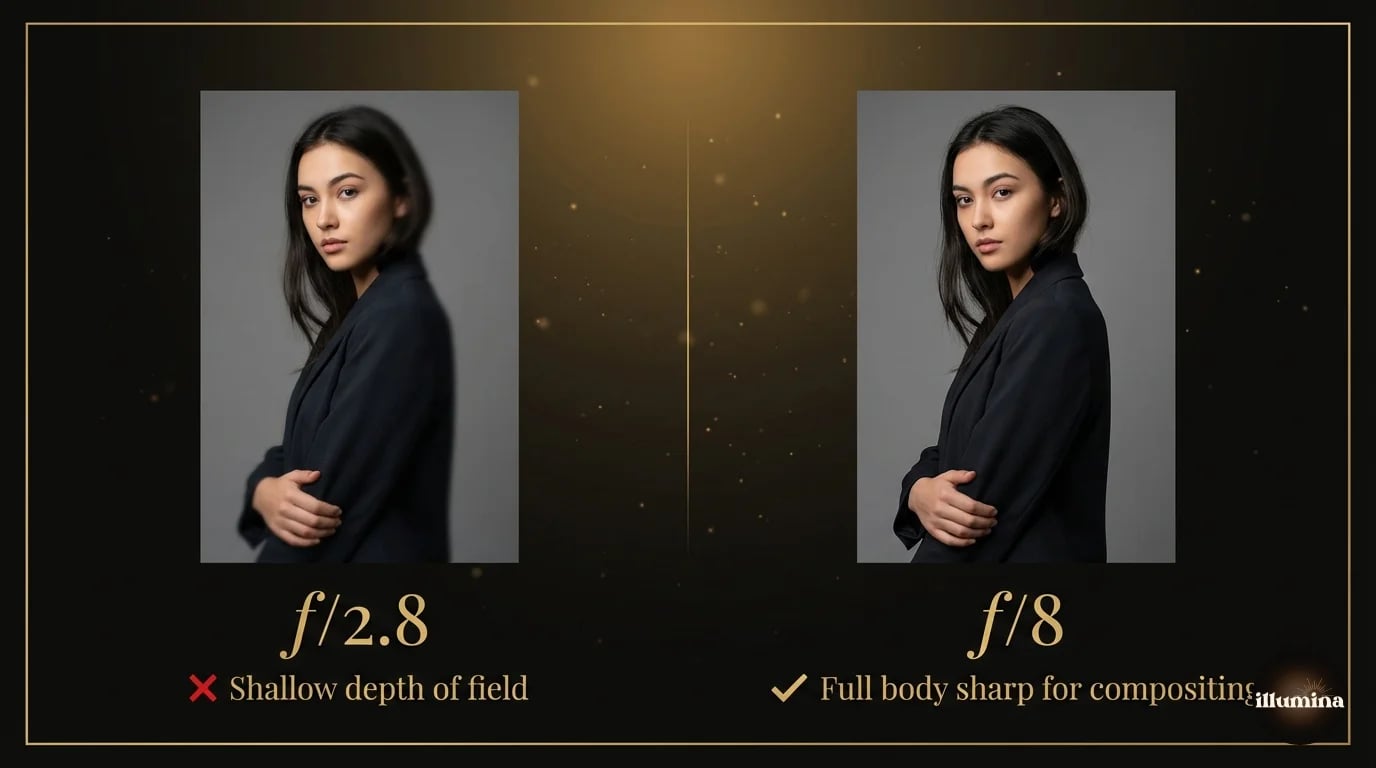
Aperture: f/8 to f/11 for composites. You want the entire subject sharp from front to back. Shooting at f/2.8 gives you a shallow depth of field that blurs parts of the subject at different distances from the camera, and that mismatch looks wrong when the backdrop is uniformly in focus. Stop down and keep everything crisp.
Shutter speed: at or above your flash sync speed (usually 1/160 to 1/250). If you're using continuous lighting instead of flash, keep the shutter fast enough to avoid motion blur on action poses.
ISO: as low as your lighting allows. ISO 100-400. Higher ISO introduces noise that complicates masking because the selection tools interpret noisy edges as detail rather than background.
White balance: set it manually to match your light source. Auto white balance can shift between frames, which means two photos from the same session have slightly different color casts. That inconsistency makes batch processing harder because each image needs individual color correction.
Shoot RAW. Always. The extra data in RAW files gives you much more flexibility in post to adjust exposure, white balance, and color without degrading quality. JPEG throws away data at capture that you might need later when matching the subject to a backdrop with different lighting characteristics.
Transform Your Photos
Give Your Photos the Wow Factor
Browse our collection of premium digital photo backdrops. 50 high-resolution print-ready backgrounds in each pack. Instant download.
Browse Backdrops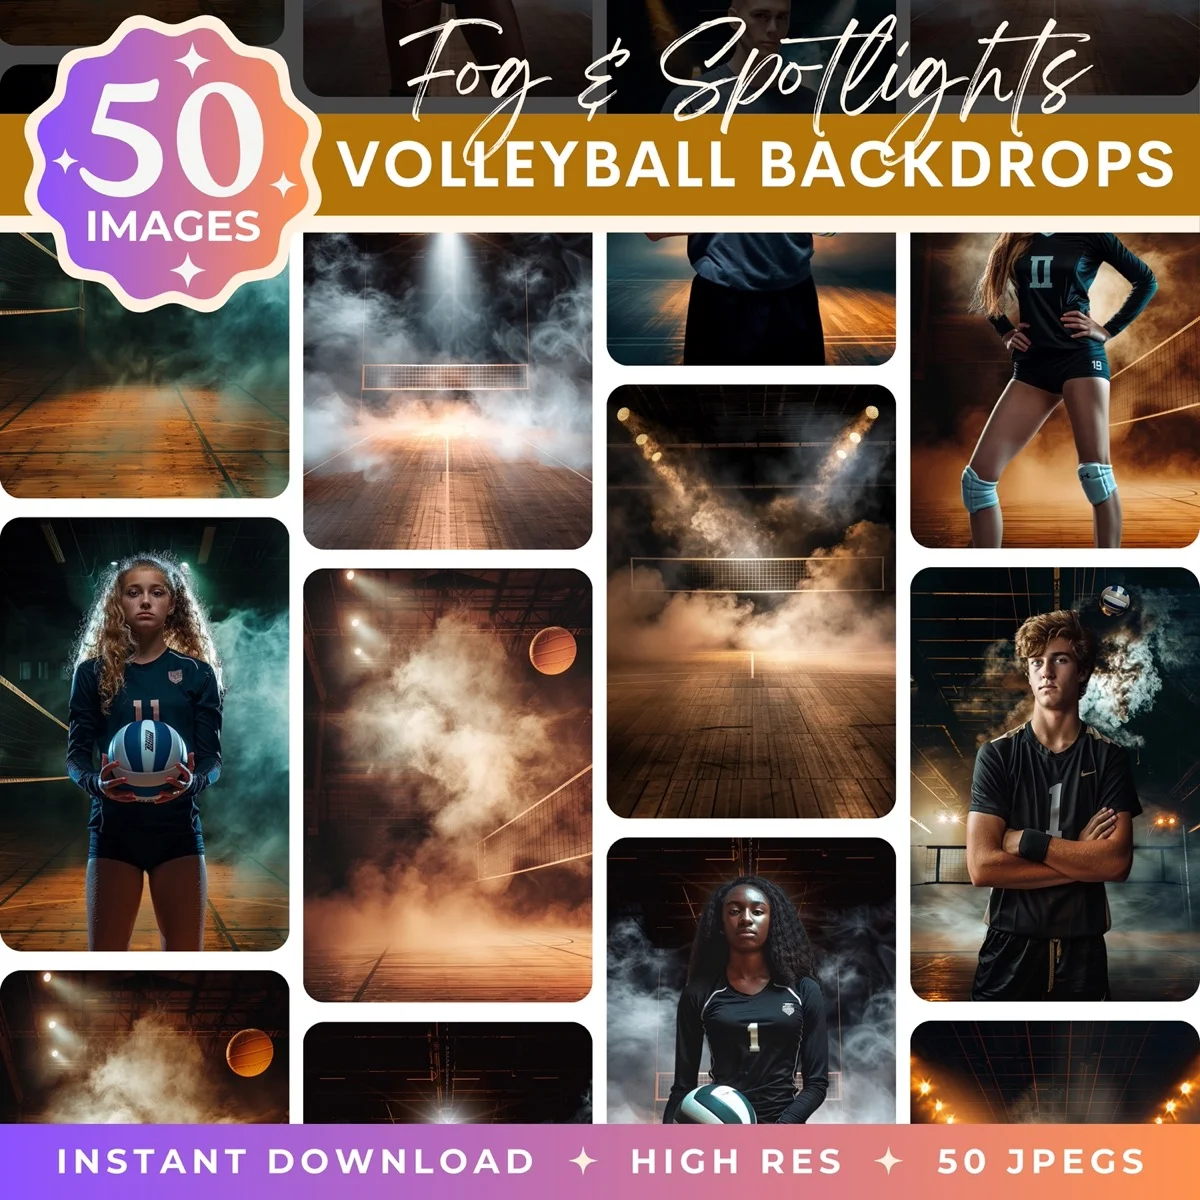


Posing for Composites
Compositing creates specific requirements that regular portraiture doesn't. If you pose for composites the same way you pose for standard portraits, you'll run into problems.
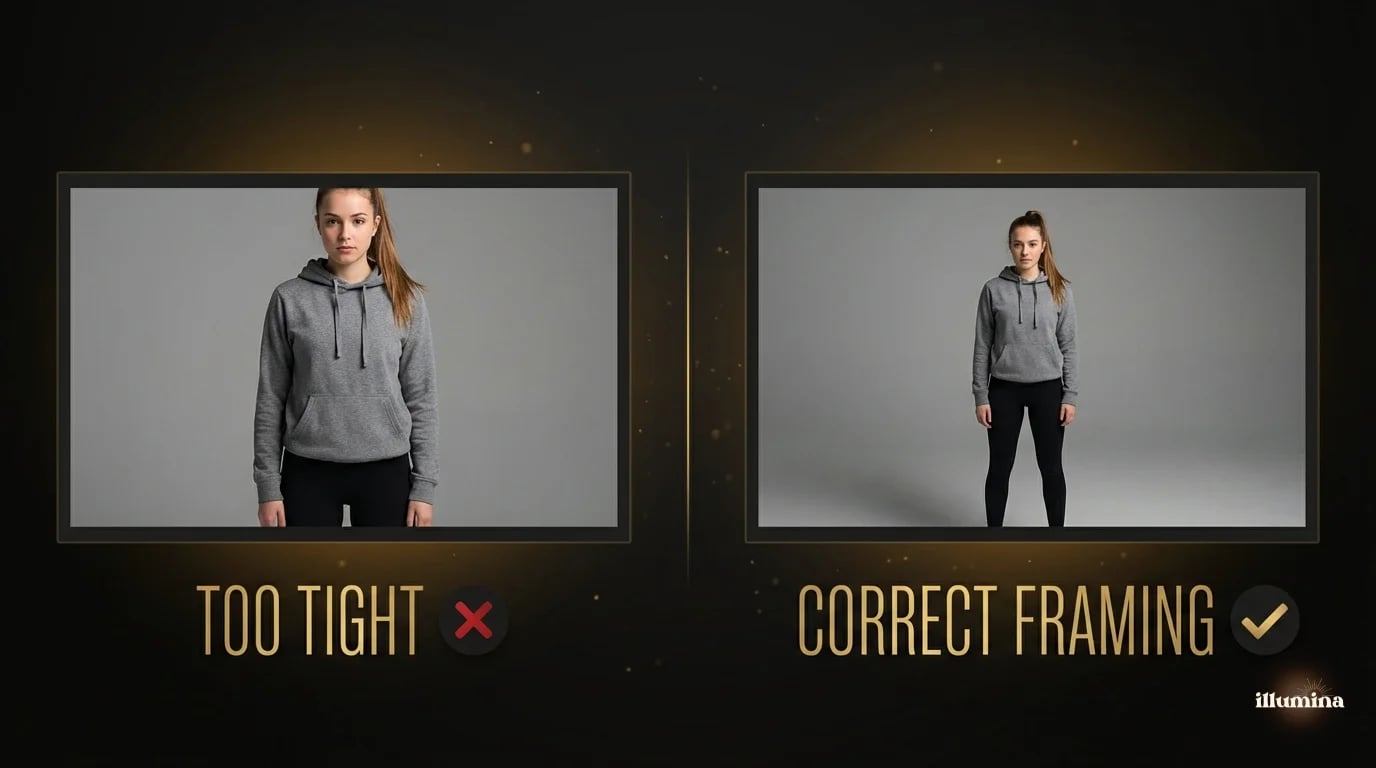
Full Body, Full Space
Include the entire body from head to feet, with at least a foot of backdrop visible on all sides. You can always crop in, but you can't add body or backdrop that was cut off at the edge of the frame. Arms cropped at the elbow, feet cut off at the ankle, the top of a hat hitting the frame edge. All of these create compositing problems that range from annoying to unsolvable.
Limbs Away from Body
Arms and legs that press against the torso create ambiguous edges that confuse selection tools. A hand resting flat against the hip looks fine in a regular portrait but creates a masking nightmare because the tool can't tell where the arm ends and the body begins. Have the subject keep their elbows slightly away from their sides and their legs slightly apart. This creates clear outlines around every limb.
Interaction with Props
If the subject is holding equipment (bat, ball, guitar, tools), the prop should be clearly separated from the body where possible. A bat resting against a shoulder with the handle overlapping the player's neck means you're manually masking that junction. A bat held at arm's length with daylight between the bat and the body is a clean selection every time.
Feet and Ground Contact
Photograph the feet and the ground plane clearly. Where the feet meet the ground is where you'll need to paint a shadow in the composite, and if the feet are cut off or obscured, the shadow looks wrong. For standing poses, shoot from eye level or slightly below so the feet are visible and the floor line is clear. For sitting or kneeling poses, make sure the contact point with the ground is visible.
Shoot a clean frame of just the empty backdrop. Before the subject steps in, take one photo of the empty backdrop with the same lighting. This "plate shot" is useful for patching areas where the masking tool grabs part of the backdrop along with the subject. You can clone from the clean plate to fix edge issues.
Tethered Shooting
If your camera supports tethering (most DSLRs and mirrorless cameras do), connect it to a laptop and review images on the larger screen in real time. The benefit for composite work specifically is that you can check edges, lighting direction, and framing on a monitor rather than squinting at the camera's LCD.
Lightroom and Capture One both support tethered capture. As each frame lands on the laptop, you can zoom to 100% on the subject's edges and immediately see whether the masking will be clean. A bright rim on the left shoulder? Visible. A shadow falling on the backdrop behind the feet? Visible. These problems are obvious on a 15-inch screen and invisible on a 3-inch camera LCD.
Even if you don't tether, review a test frame at full zoom on the camera LCD before shooting the full session. Check the edges specifically. Are they clearly defined against the backdrop? Is there color spill? Are the shadows on the backdrop far enough away from the subject that they won't be included in the selection? Five minutes of checking at the start prevents an hour of fixing in post.
Common Shooting Mistakes
Shooting too close to the backdrop. When the subject is right against the backdrop, their body casts shadows on it, creating dark patches that confuse edge detection. Keep at least four to six feet between the subject and the backdrop. The more distance, the cleaner the extraction.
Wrinkled or uneven backdrop. A wrinkle creates a line that the selection tool interprets as an edge. Iron or steam fabric backdrops before the session. For paper rolls, roll out a fresh section if the current one is scuffed or wrinkled. A clean, even backdrop saves more time in post than any other single preparation step.
Mismatched light direction. I keep saying it because it's the most impactful mistake and the easiest to prevent. Check the backdrop before you set up your lights. Five minutes of planning prevents hours of trying to fix a composite that looks wrong for a reason the viewer can feel but can't articulate.
Over-lighting the backdrop. If the backdrop is brighter than the subject, you get white spill and blown-out edges. Light the subject, not the backdrop. The backdrop should be evenly lit but not glowing. If you're using a separate backdrop light, keep it at least two stops below the key light.
Shooting at too wide an aperture. f/1.8 portraits look gorgeous on their own. In a composite, the shallow depth of field means the back of the subject is soft while the backdrop is sharp, which looks physically impossible. Use f/8-f/11.
Not shooting enough variations. In a regular portrait session, ten good frames is a success. For compositing, you want options. Shoot every pose from at least two angles and with at least two expressions. The backdrop might look better with the subject facing left than right, and you won't know until you try the composite. More options in the camera means fewer compromises in post.
Special Considerations by Subject Type
Sports Athletes
Full uniform, all equipment visible. Action poses (mid-swing, mid-kick, mid-throw) look more dynamic than static standing poses. Shoot in burst mode for action and pick the peak frame. Light from above and to the side to match stadium lighting. Our sports composite guide covers the full workflow from studio to finished poster.
Families and Groups
Keep everyone on the same focal plane (same distance from the camera) so they're all equally sharp. Stagger heights with stools or boxes if needed, but keep the distance consistent. Light the group evenly. A single softbox that lights one person beautifully will leave the person on the far side in shadow. Use wider light sources or add a second fill for groups.
For families with young children, shoot each person individually against the same backdrop with the same lighting, then composite them together onto the new background. Trying to get a toddler, a baby, and two adults to all cooperate simultaneously in a studio is a recipe for frustration. Individual shots composited together look identical to a group shot and give you total control over positioning, expression, and scale.
Products
Product compositing follows the same rules but with more precision. Light the product from the same angle as the target scene, use a tripod for consistency across a product line, and shoot at f/11-f/16 for maximum sharpness. Even small shadows and reflections matter on products because viewers examine product photos more closely than portraits.
For e-commerce sellers, consistency across a product line matters more than any single perfect shot. Use a tripod, mark your light positions with tape on the floor, and shoot every product from the same angle at the same settings. When all the cutouts are placed on the same backdrop, the consistent lighting makes the product page look cohesive and professional. Inconsistent lighting across products makes the page look amateurish, even if each individual photo is technically good.
For the full compositing workflow after the shoot, see our Photoshop background removal guide and Canva compositing guide. For backdrops designed to match studio lighting, browse Illumina Backdrops.
Professional scenes designed to match studio-lit portraits


The best composites start with the best source images. Spend the time getting the shoot right and the editing becomes the easy part. Match the light, keep the subject clean against the backdrop, and give yourself options. Everything downstream, the cutout, the placement, the color matching, depends on what you captured in the camera.
Transform Your Photos
Give Your Photos the Wow Factor
Browse our collection of premium digital photo backdrops. 50 high-resolution print-ready backgrounds in each pack. Instant download.
Browse Backdrops

