

In this guide
- The Quick Answer
- Method 1: The Built-In Lift Subject Feature
- Method 2: Remove Background in the Photos Editor (iOS 18.1+)
- Method 3: Third-Party Apps
- How to Save as a Transparent PNG
- Making Stickers from Your Cutouts
- Compositing on iPhone
- Which iPhones Support This?
- When to Use Your Phone vs. a Computer
- Common Mistakes
The Quick Answer
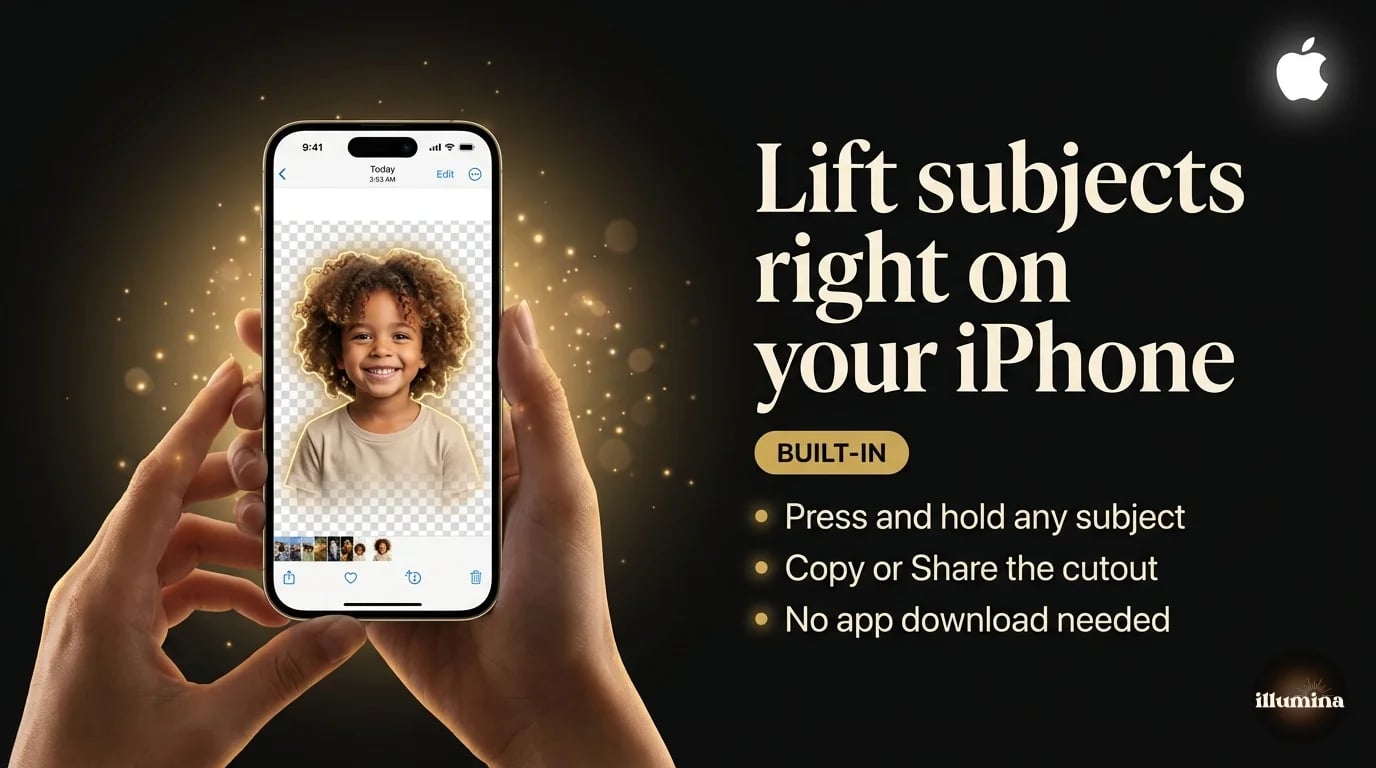
Open any photo in the iPhone Photos app, press and hold on the subject, and wait for the glowing outline to appear. Tap Copy or Share, and you've got a transparent cutout. No app needed, no upload, no internet connection. This has been built into iOS since version 16, and it works on iPads too.
If you need more control over the cutout edges or want to process multiple images, there are free apps and web tools that do it better. This guide covers the built-in iOS method in detail, the best third-party apps for more demanding work, how to save your cutout correctly as a transparent PNG, and what to do when the built-in tool doesn't cut it.

Method 1: The Built-In Lift Subject Feature
This is the method most people don't know exists. Apple added it quietly and didn't make a big deal about it, so millions of iPhone users are still manually cropping photos when they could be doing this instead.
How to Do It
Open the Photos app and find the image you want to cut out. Tap to open it full screen. Now press and hold your finger directly on the subject (the person, pet, or object you want to isolate). After about a second, you'll see a glowing white outline trace around the subject, and the background will subtly dim. That's iOS telling you it's identified and isolated the subject.
Once the outline appears, you have two options. Tap Copy to copy the transparent cutout to your clipboard, then paste it into any app (Messages, Notes, Mail, Pages, Keynote, Instagram DMs, whatever accepts images). Or tap Share to open the share sheet, where you can save it to Files as a PNG, send it via AirDrop, or drop it into any other app.
That's it. No app to download, no account to create, no ads to sit through. The cutout is transparent (no white background) and it's ready to use immediately.
This works in Safari too. If you're looking at an image on a website, press and hold the subject and the same Lift Subject option appears. You don't have to save the image to your camera roll first.
What It Works Well On
People. The feature was trained primarily on human subjects and it handles them well. Single person against a reasonably clean background, family groups, kids, portraits. It also does a decent job with pets (dogs and cats especially), food on plates, products on solid backgrounds, and flowers.
The edges are clean enough for social media, stickers, cards, and casual compositing. For most of what people use their phones for, the quality is more than acceptable.
Where It Struggles
Hair. Specifically fine, wispy, flyaway hair against a busy background. iOS tends to chop off the outer strands rather than preserve them, which leaves a slightly harsh edge around the head. For a text message sticker, you'll never notice. For a large print or a detailed composite, it's visible.
Multiple overlapping subjects. If two people are hugging or standing very close, iOS sometimes grabs both when you only wanted one, or it grabs one and clips the other person's arm off. There's no way to refine the selection on-device. You get what you get.
Semi-transparent objects. Glass, veils, sheer fabric, smoke. The algorithm treats everything as either "subject" or "background" with no in-between. Anything that should be partially transparent gets either fully included or fully removed.
Low contrast scenes. A person wearing a dark jacket against a dark wall. A white cat on a white couch. If there isn't enough color or brightness difference between the subject and background, the AI can't find the edge and either grabs too much or too little.
Method 2: Remove Background in the Photos Editor (iOS 18.1+)
Starting with iOS 18.1, Apple added a more direct background removal option inside the Photos editing tools. Open a photo, tap Edit, then tap the magic wand icon for auto adjustments. You'll see a "Remove Background" option that strips the background and replaces it with either white, black, or a solid color of your choice.
This is slightly different from Lift Subject because it modifies the photo in place rather than creating a clipboard cutout. It's useful when you want to clean up a photo's background before posting it somewhere, rather than extracting the subject for use in another project.
The edge quality is similar to Lift Subject since it uses the same underlying AI. The advantage is that you can see the result immediately in the editor and undo it if it looks wrong, whereas Lift Subject gives you the cutout without a preview of how it'll look against different backgrounds.
Method 3: Third-Party Apps

If the built-in tool doesn't cut it (literally), several free apps do a better job on difficult images.
PhotoRoom
PhotoRoom is probably the best background removal app on iPhone right now. The AI is aggressive on edges (in a good way), it handles hair better than iOS's built-in tool, and it gives you options to replace the background with solid colors, templates, or your own images. The free version adds a small watermark. The paid version removes it and adds batch processing.
What I like about PhotoRoom is the instant preview. You see the cutout against a white, black, or colored background the moment it processes, so you can immediately tell if the edges are clean or if you need to try a different source photo. The built-in iOS tool doesn't give you that preview, which means you sometimes don't realize the cutout is rough until you've already pasted it somewhere.
For product photographers and small business owners who need clean cutouts for listings, PhotoRoom is worth the subscription. It's faster and more accurate than doing it manually, and the built-in templates save time on social media graphics.
remove.bg
remove.bg has an iOS app that works well for one-off removals. Upload a photo, get a cutout back in about two seconds. The edge quality is consistently good, especially on hair. The free version limits you to lower resolution downloads. For full-res output, you pay per image or subscribe.
Canva
Canva mobile has a background remover built into the editor. It's not as specialized as PhotoRoom or remove.bg, but if you're already designing in Canva (which a lot of people are on their phones), it's convenient to remove the background and drop the cutout straight into a design without switching apps.
Remember to tick the "Transparent background" checkbox when you download from Canva, or you'll get a white background instead of transparency. This catches people constantly.
Shortcuts App (Advanced)
If you want to automate background removal, Apple's Shortcuts app has a "Remove Background" action you can chain into workflows. You can build a shortcut that takes a photo, removes the background, saves the transparent PNG to a specific folder, and does it all with one tap. It uses the same AI as the built-in Photos feature, so the quality is identical, but the automation is useful if you're doing this repeatedly.
How to Save as a Transparent PNG
This is the step that trips people up. You've made the cutout, it looks transparent on screen, but then you paste or save it and it has a white background. Why?
When you use Lift Subject and tap Copy, the clipboard holds a transparent image. But not every app knows how to handle transparency. If you paste into an app that doesn't support alpha channels (some social apps, some email clients), it fills the transparent area with white. The image is fine. The app is the problem.
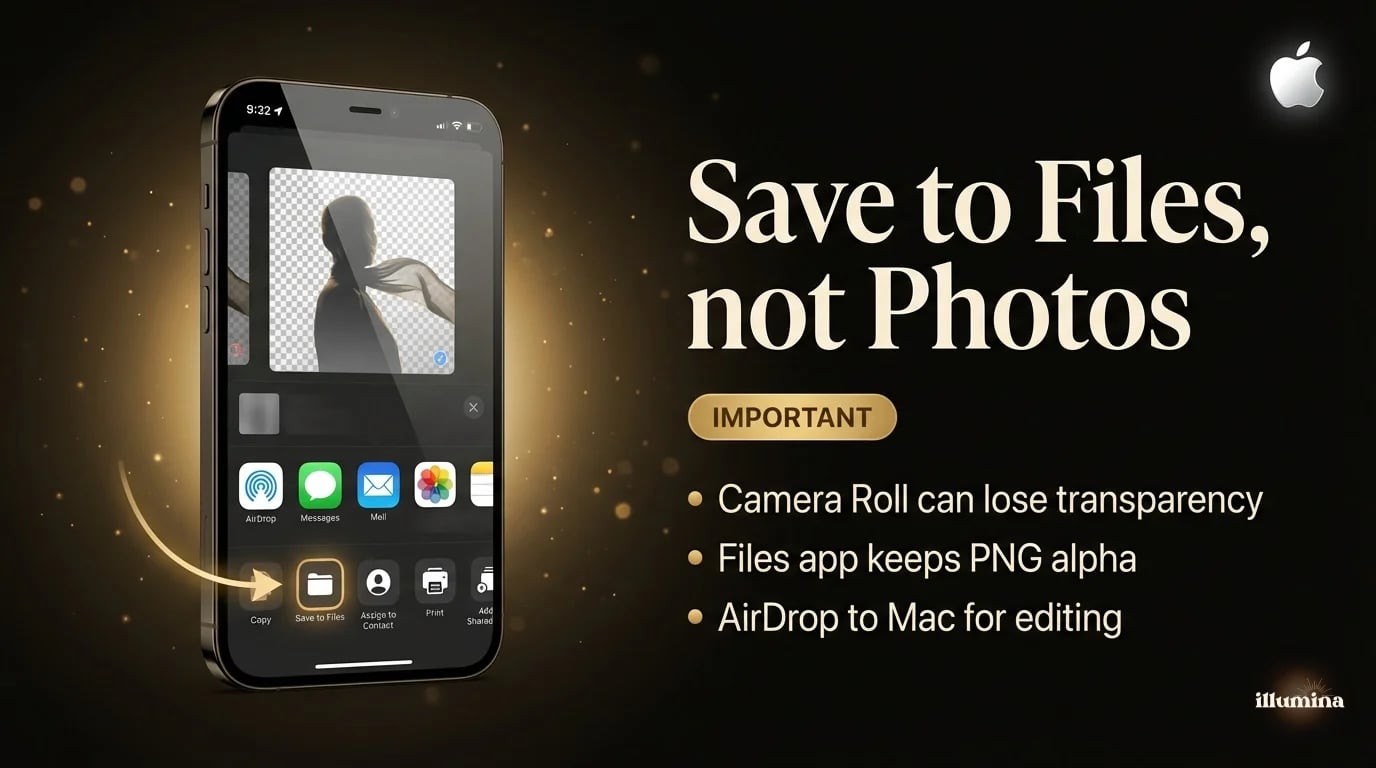
To guarantee you keep the transparency, save the cutout to the Files app instead of the Photos app. Here's why: when you save a transparent image to the Photos app (Camera Roll), iOS sometimes converts it to JPEG, which can't store transparency. When you save to Files, it stays as PNG with the alpha channel intact.
The workflow: Lift Subject, tap Share, tap Save to Files, choose a folder, save. The file will be a PNG with a transparent background that you can import into any editor, send to a computer, or upload to a design tool.
Save to Files, not Photos. The Camera Roll can silently convert your transparent PNG to a JPEG with a white background. Files preserves the transparency every time.
Transform Your Photos
Give Your Photos the Wow Factor
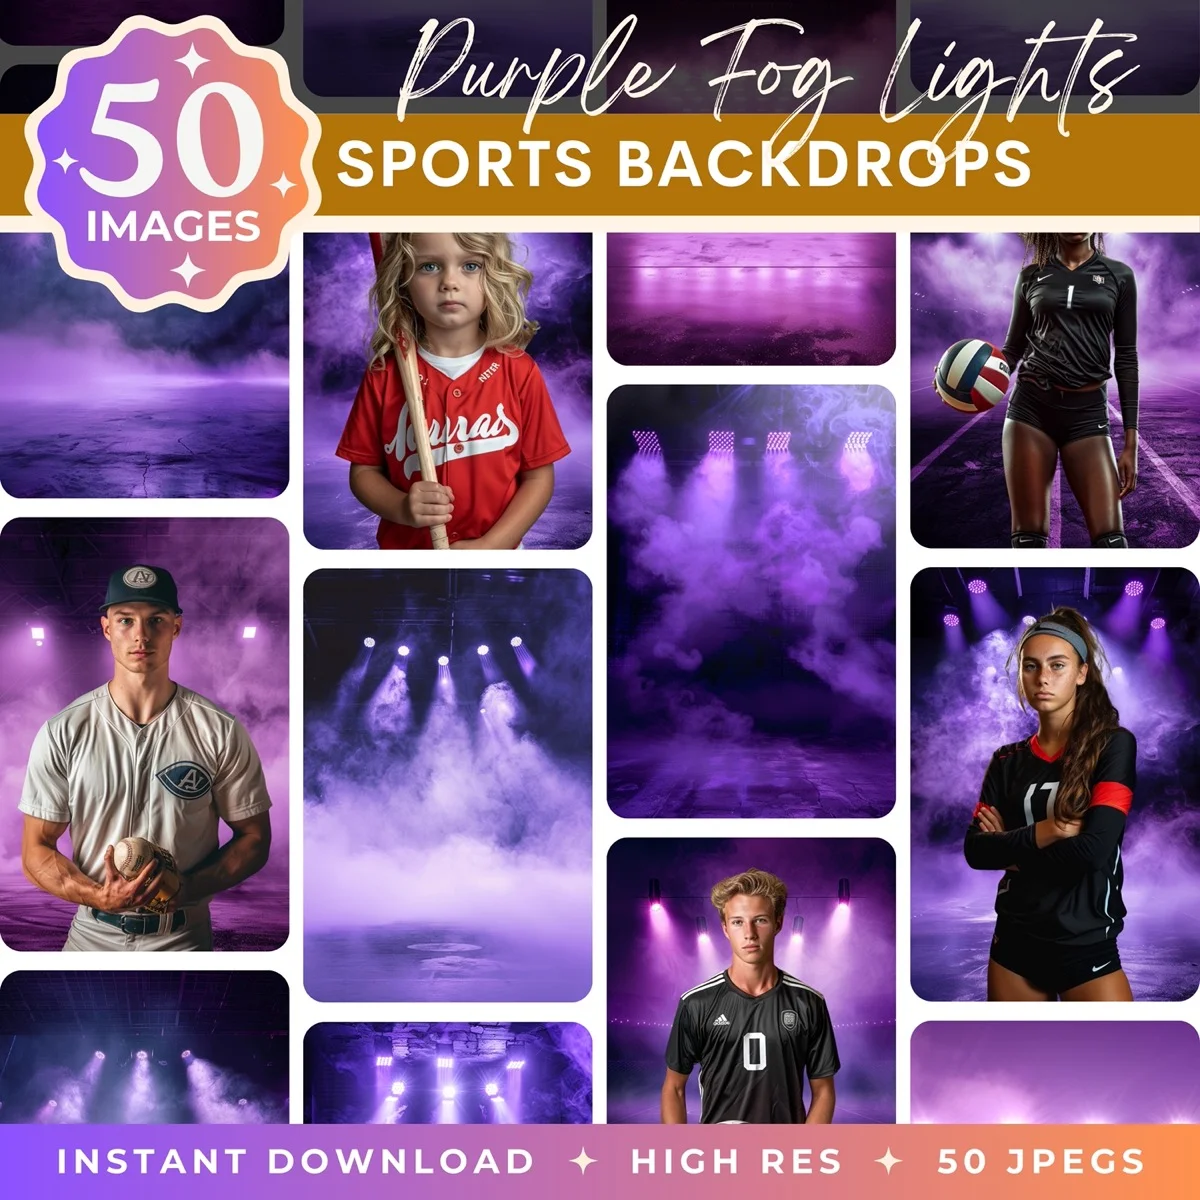
Browse our collection of premium digital photo backdrops. 50 high-resolution print-ready backgrounds in each pack. Instant download.
Browse Backdrops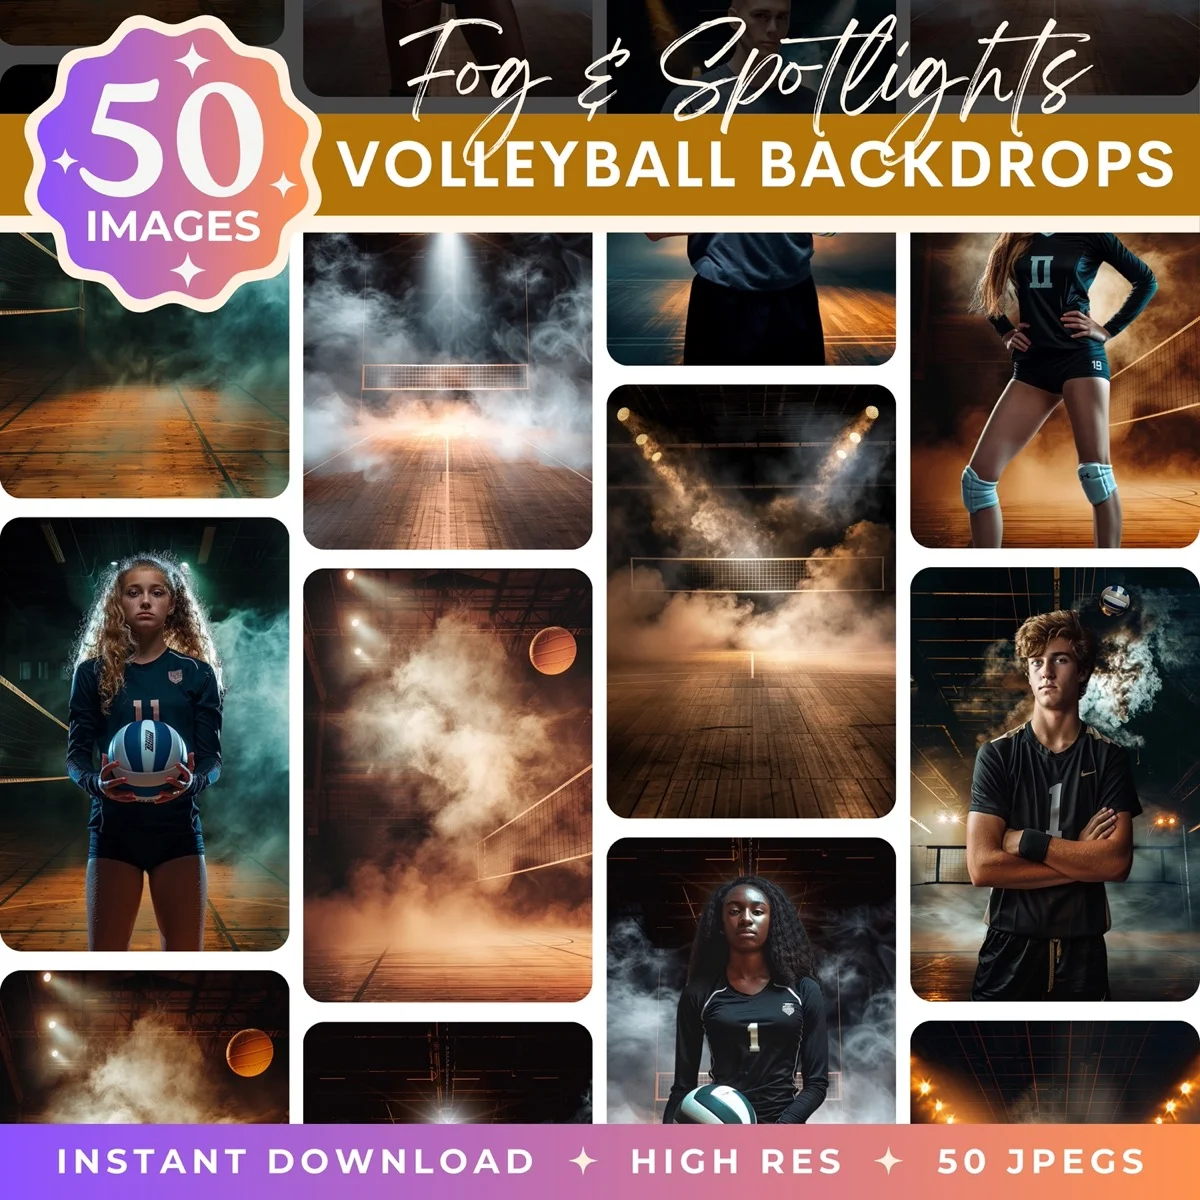

Making Stickers from Your Cutouts
One of the most fun uses for iPhone background removal is custom stickers. iOS 17 introduced the ability to turn any Lift Subject cutout into a reusable sticker that lives in your emoji/sticker keyboard and works across all messaging apps.
Do the Lift Subject press-and-hold on any photo. When the outline appears, tap "Add Sticker" instead of Copy or Share. The cutout gets saved to your sticker collection. You can add effects (outline, puffy, glitter, comic) and the sticker persists across app restarts. Now you can send your dog's face, your kid's reaction, or your own expression as a sticker in any conversation.
For small business owners, this is a free way to create branded stickers of your products. Cut out a product photo, save as sticker, send it in customer conversations. It's informal and personal in a way that a product link isn't.
For parents, the sticker collection becomes a gallery of your kid's greatest expressions. First day of school face, birthday excitement, the look they give when dinner isn't what they wanted. Once you start making stickers from your camera roll, you'll find yourself looking at every photo through the lens of "would this make a good sticker?" The answer is usually yes.
Compositing on iPhone
Once you have a transparent cutout, you can composite it onto a new background directly on your phone. You don't need a computer.
In Canva mobile: create a design, add a background image, then add your transparent PNG on top. Resize and position. The layering works the same as on desktop.
In Pages or Keynote: add a background image to a slide, then paste your cutout on top. Keynote is surprisingly good for quick composites because it handles layers and transparency natively.
For more serious compositing with color matching and shadow work, Photoshop for iPad is the full desktop app running on a tablet. It supports layer masks, adjustment layers, and everything else you'd use on a computer. If you're a photographer who edits on an iPad Pro, this is the most powerful option for mobile compositing.
We cover the full compositing workflow (background removal, placement, color matching, shadows) in our Canva compositing guide and our Photoshop guide. Both workflows translate to the mobile versions of those apps.
One thing to keep in mind with phone composites: the screen is small. What looks clean at phone size might show edge problems when you zoom in or print. If the composite is for a social post or a message, phone editing is fine. If it's going to be printed or displayed at a larger size, do the final composite on a computer where you can inspect edges at 100% zoom. The cutout from your phone is still useful in that case. Just save the transparent PNG to Files, AirDrop it to your Mac, and composite in Photoshop or Canva on a bigger screen.
Which iPhones Support This?
Lift Subject works on iPhone XS and later running iOS 16 or newer. It also works on iPads with A12 Bionic chip or later. If you're on an older device, you won't see the glowing outline when you press and hold. The feature requires the Neural Engine in newer Apple chips for the on-device AI processing.
The iOS 18.1 Remove Background editor tool requires iPhone 15 Pro or later (or any device with Apple Intelligence support). Older iPhones running iOS 18 get Lift Subject but not the editor-based removal.
For the Shortcuts automation, any iPhone running iOS 16+ with Lift Subject support can use the Remove Background shortcut action.
If you're on an iPad and want the best possible mobile background removal experience, Photoshop for iPad supports full layer masks and Refine Edge, which gives you computer-level control on a tablet. It's a paid subscription, but for photographers who do a lot of mobile editing, it's the most capable option available.
When to Use Your Phone vs. a Computer
Your phone is perfect for quick cutouts intended for social media, messaging, stickers, cards, and casual composites. The speed is unbeatable. See a photo, hold, copy, paste. Done in five seconds.
Move to a computer (Photoshop or a web tool) when you need clean hair edges on a portrait for print, when you're processing more than a handful of images, when you need the cutout at full original resolution, or when you're building a composite that needs precise color matching and shadow work.
For most people, the iPhone handles 80-90% of their background removal needs. The remaining 10-20% is the precision work that justifies opening a desktop app. If you want to learn those desktop methods, our guide on making image backgrounds transparent covers every option from free web tools to pro Photoshop techniques.
Don't resize before removing the background. Always work from the highest resolution version of the photo. Removing the background from a tiny screenshot or a compressed social media download gives you a low-quality cutout. Start with the original from your camera roll.
Common Mistakes
Pressing and holding on the background instead of the subject. You need to touch the thing you want to keep, not the thing you want to remove. If nothing happens when you hold, try tapping directly on the person or object.
Saving to Camera Roll instead of Files and losing the transparency. The Camera Roll can convert transparent PNGs to JPEGs silently. Save to Files to keep the alpha channel.
Trying to select part of a subject. Lift Subject is all-or-nothing. You can't select just someone's face or just their hand. It grabs the entire detected subject. If you need a partial selection, use a third-party app or move to a desktop editor.
Using it on a screenshot of a photo instead of the actual photo. Screenshots are lower resolution than the original, and the compression artifacts confuse the AI. Always use the original image from your camera roll, not a screenshot of it from Instagram or a text message.
Expecting desktop-quality results on complex images. The iPhone tool is fast and convenient, but it's not Photoshop. For paid client work or large-format prints, do the cutout on a computer where you can refine the edges manually.
Drop your iPhone cutouts onto professional backdrops


The iPhone isn't trying to replace Photoshop for background removal. It's making a task that used to require a computer and specialized software into something you can do while waiting in line at the grocery store. For most everyday uses, that's more than enough.
Transform Your Photos
Give Your Photos the Wow Factor
Browse our collection of premium digital photo backdrops. 50 high-resolution print-ready backgrounds in each pack. Instant download.
Browse Backdrops

