

In this guide
- Quick Answer
- Why Adobe Express Became the Default Free Option
- How to Remove a Background in Adobe Express (Step by Step)
- The Photoshop "Remove Background" Button (If You Already Pay for Creative Cloud)
- Adobe Express vs Photoshop vs Photoroom vs Canva
- Where Adobe Express Struggles
- How to Refine a Messy Cutout Inside Adobe Express
- Adding a New Background After the Cut
- Use Cases Where Adobe Express Is the Right Call
- The Paid Tier: Is It Worth It?
- File Format and Export Settings
- Common Mistakes
- When to Switch Tools
- What Comes Next
Quick Answer
Open Adobe Express in your browser, upload your photo, and the free AI background remover runs automatically in about two seconds. You get a transparent PNG you can download or drop straight onto a new background inside the same tool. No Photoshop required, no download, no watermark on the free tier for background removal specifically. The cutout quality is very good on clean subjects against contrasting backgrounds and slightly fuzzy on fine hair, which is the same trade-off every AI-based remover makes.
This guide walks through the exact steps, where Adobe Express beats Photoshop and where it does not, how to fix the edges when the AI makes mistakes, and what to do once you have a transparent cutout (the part most tutorials skip).

Why Adobe Express Became the Default Free Option
Three years ago, removing a background meant either paying for Photoshop or wrestling with the free version of remove.bg, which limits exports to 0.25 megapixels unless you pay. That single limit sent most people looking elsewhere, and Adobe was the company that noticed.
Adobe Express is Adobe's free, browser-based design tool. The background remover is tucked inside it alongside templates, resizers, and a video trimmer. It uses the same underlying AI (a trimmed version of the Adobe Sensei model that powers Photoshop's Remove Background button), and the results on the free tier come down at full resolution. That is the detail that matters. If you upload a 4000 x 3000 portrait, you get back a 4000 x 3000 transparent PNG. Most free competitors downscale the export.
There is a free tier and a premium one. For background removal specifically, the free tier has no meaningful limit on quality, resolution, or watermarks. You sign in with an Adobe ID, which is free to create.

How to Remove a Background in Adobe Express (Step by Step)
The whole process takes under a minute once you have an account.
1. Go to the tool. Open https://www.adobe.com/express/feature/image/remove-background. Do not go to the main Express homepage and dig for it. The direct URL lands you on the right page.
2. Upload your photo. Drag a file onto the page or click "Upload your photo." Adobe Express accepts JPG, PNG, WebP, and HEIC, which means iPhone shots work without conversion. Maximum file size is 40MB on the free tier, which covers almost any finished JPEG. If you are uploading a RAW file, convert to JPG first. Express does not read RAW.
3. Wait two seconds. The AI does its work automatically. You will see the transparent checkerboard appear where the background used to be. There is no button to click, no setting to choose. This is either a feature or a limitation depending on how much control you want.
4. Download. Click Download in the top right. Choose PNG to preserve the transparency. If you choose JPG, the transparent areas fill with white, which almost certainly is not what you want.

That is it. The edit-and-refine steps are optional. For clean portraits against a single-color backdrop, the automatic result is often good enough to use as-is.
Always download PNG for cutouts, never JPG. JPG does not support transparency. Adobe Express will save the file as if the background were white, and you will paint yourself into a corner the moment you try to composite onto a new backdrop. PNG keeps the alpha channel intact.
The Photoshop "Remove Background" Button (If You Already Pay for Creative Cloud)
If you have a Photoshop subscription, you do not need Adobe Express for this. Open your photo in Photoshop, go to the Properties panel (Window > Properties), and click Remove Background under Quick Actions. It runs the same Adobe Sensei model and produces a layer mask you can refine immediately with Select and Mask.
The output is identical in quality to Adobe Express. The difference is what comes after. Photoshop gives you a full mask editor, Select and Mask with Refine Hair, and the ability to paint the mask manually. Adobe Express gives you a simple brush tool with two modes (erase and restore). If you know you will need serious edge refinement, do the cutout in Photoshop. If you do not, Adobe Express is faster because there is no desktop app to launch.
Photoshop's button lives under a few different names depending on your version. In Photoshop 2023 and later it is called "Remove Background." In older versions it was "Select Subject" followed by a mask step. Both end up at the same place. For the full deep-dive on Photoshop cutouts including Pen Tool and channel selections, see our complete Photoshop background removal guide.
Adobe Express vs Photoshop vs Photoroom vs Canva
The AI background removers on the market in 2026 all fall into one of four tiers based on the underlying model and what the tool wraps around it.
Tier 1 (best edges): Photoshop, Adobe Express, Photoroom. All three use top-end AI and all three produce cutouts that hold up under zoom. Photoshop gives you the most control after the cut, Adobe Express gives you the fastest workflow, Photoroom has the best mobile app.
Tier 2 (reliable but slightly softer on hair): Canva, remove.bg, Photopea. Good enough for social media, visible softness on print-quality output.
Tier 3 (watch out): Most "free online" tools you find by searching. Some work, some downscale the export to 500 pixels so you are forced to upgrade, some watermark the result. Read the fine print before uploading a client photo.
For a head-to-head with test results on each tier, see our best free background remover tools comparison, which ranks ten tools against the same reference images.
Where Adobe Express Struggles
Every AI background remover has the same weak points because they all interpret the image rather than mask it. Here is what breaks the Express model in practice.
Flyaway hair against a busy background. The AI pulls the outer hair into the mask, but strands that cross into a detailed or similarly-colored background get erased. A blonde subject against a beige backdrop is the worst-case example.
Glass, water bottles, and anything transparent. The AI either keeps the glass as solid or drops it entirely, and it almost never preserves the see-through quality. This is a fundamental limit of every tool in Tier 1, not a bug.
Motion blur. A softly-blurred hand or fast-moving limb confuses the edge detector. The cutout will be crisp where the arm is in focus and broken where it is blurred.
Subjects touching the frame. If a subject's elbow runs off the edge of the photo, the AI sometimes treats that edge as a hard boundary and cuts the elbow flat. Crop with some buffer before you upload.
Busy stripe or pattern backgrounds behind fine detail. High-contrast stripes (brick, fence posts, venetian blinds) force the AI to guess, and the guesses are visible at 100% zoom.
When any of these come up, you have two options: refine the mask inside Adobe Express using the built-in brush, or switch to Photoshop's Select and Mask workspace, which has a dedicated Refine Hair brush and the ability to sample color from either side of the edge.

How to Refine a Messy Cutout Inside Adobe Express
After the automatic removal, click the "Refine Edge" or "Brush" tool on the right panel. You get two modes: Keep (paints back parts of the subject that the AI removed) and Remove (erases parts of the background that the AI kept). The brush size is adjustable.
The most common fix is around the feet and the bottom edge of a dress or shirt, where the AI often keeps a sliver of floor. Set the brush small, zoom to 200%, and paint along the edge. For hair, use the Keep brush on strands that were erased, but do not try to paint every flyaway back in. Past a certain point the edges look obviously rebuilt, which is worse than the AI's original pass.
Zoom to 200 percent before judging any cutout. At fit-to-screen, almost every AI removal looks perfect. At 200 percent, you will see the fringing, the soft edges, and the stray pixels. That is the view your final composite will be printed at, so that is the view you need to judge against.
If a cutout needs more than two minutes of refinement inside Express, you are better off moving to Photoshop or Photopea. The Express brush is usable but not fast.
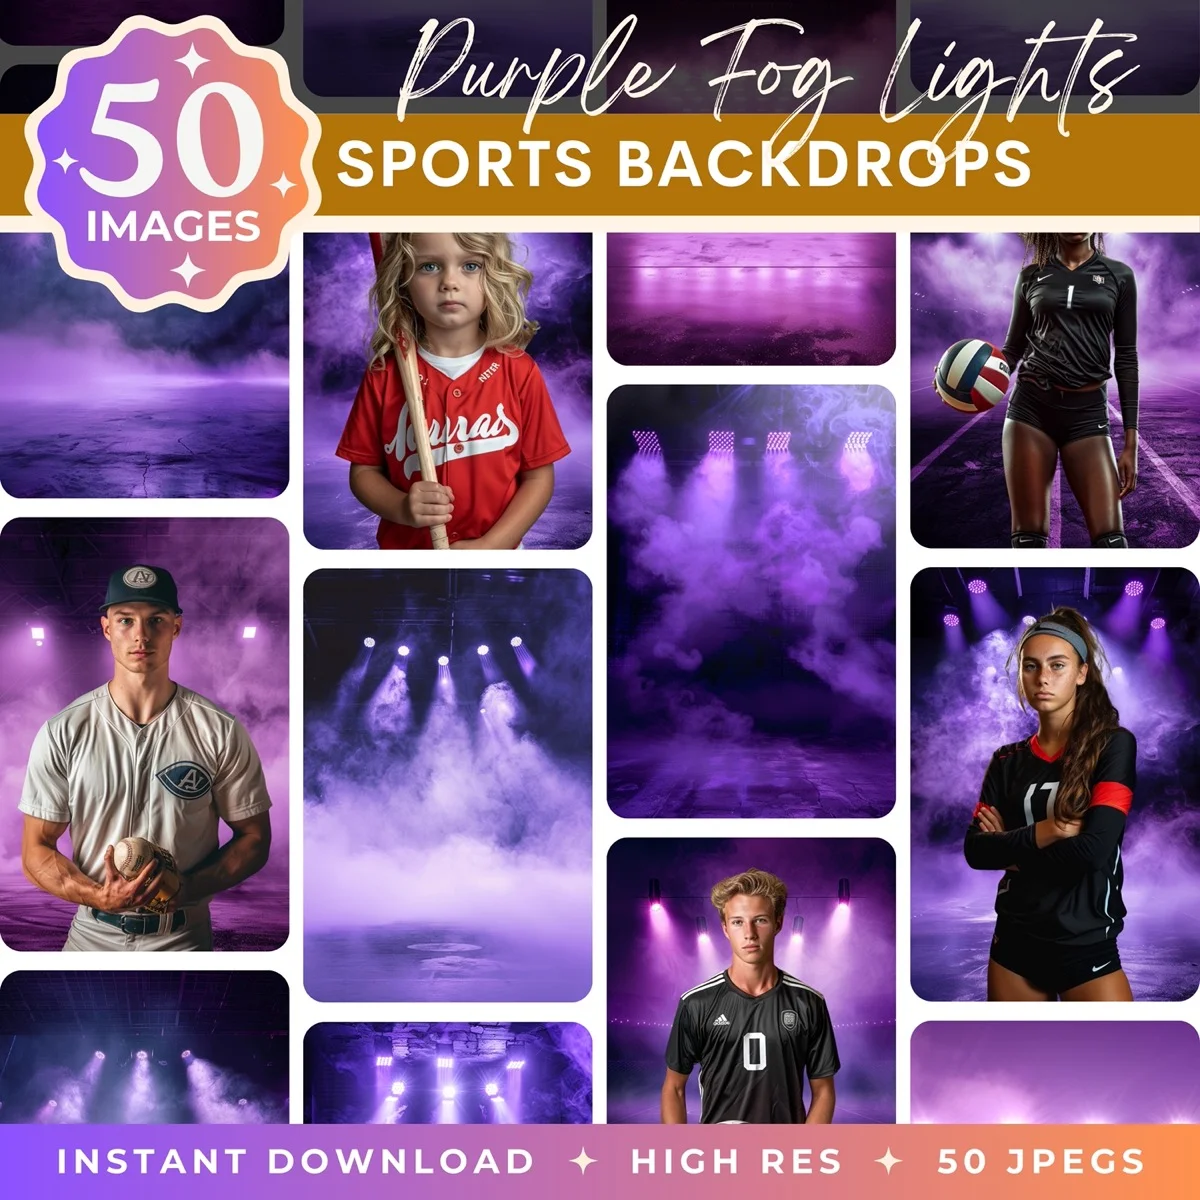
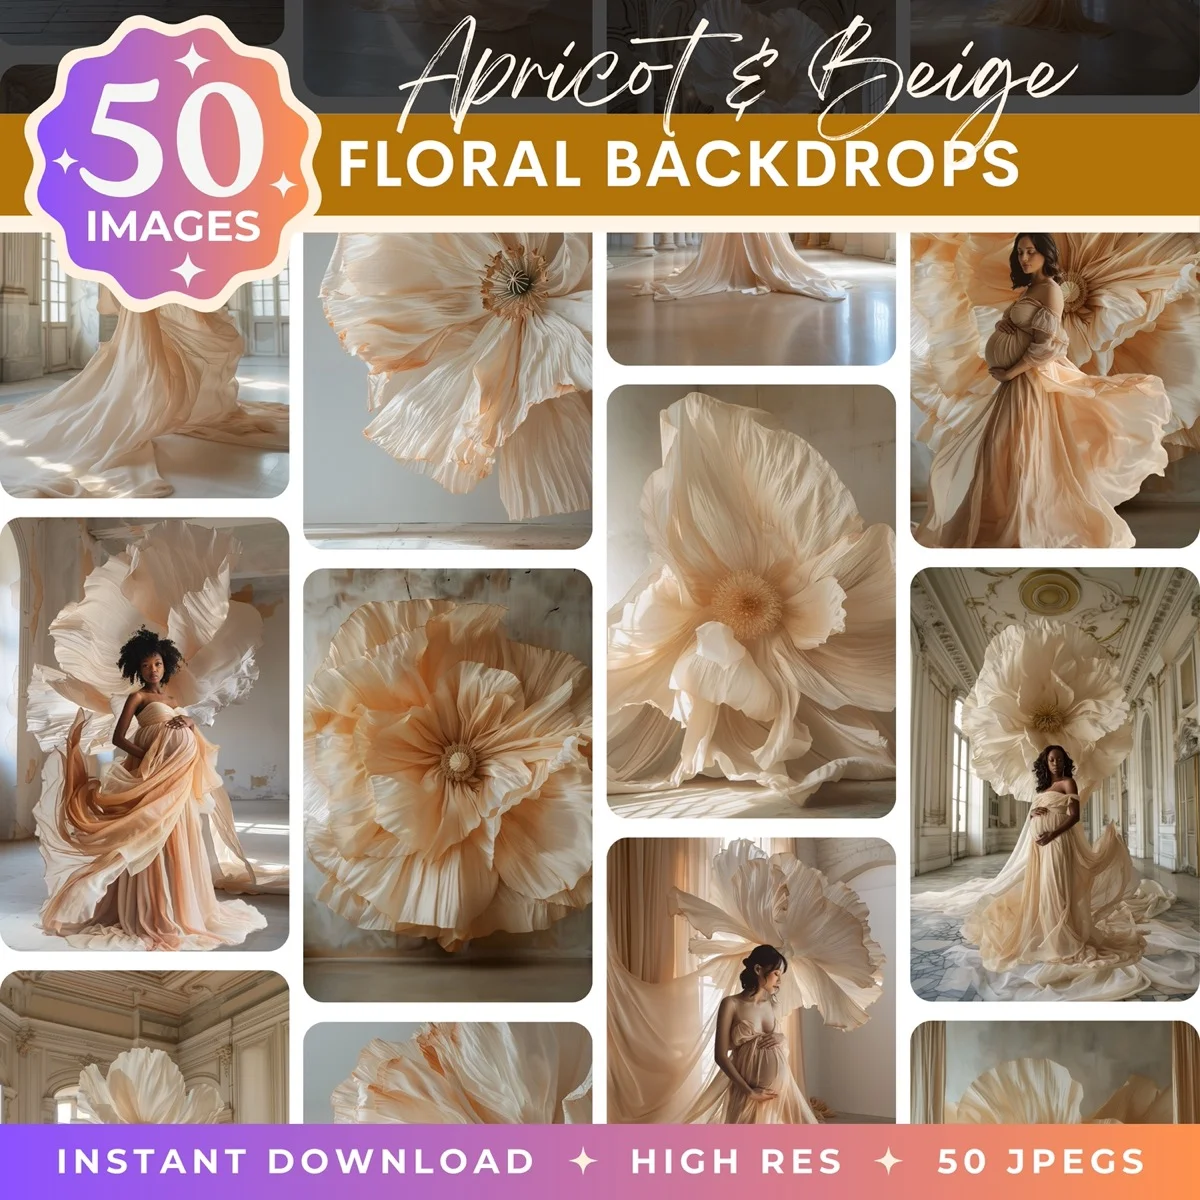
Transform Your Photos
Give Your Photos the Wow Factor
Browse our collection of premium digital photo backdrops. 50 high-resolution print-ready backgrounds in each pack. Instant download.
Browse Backdrops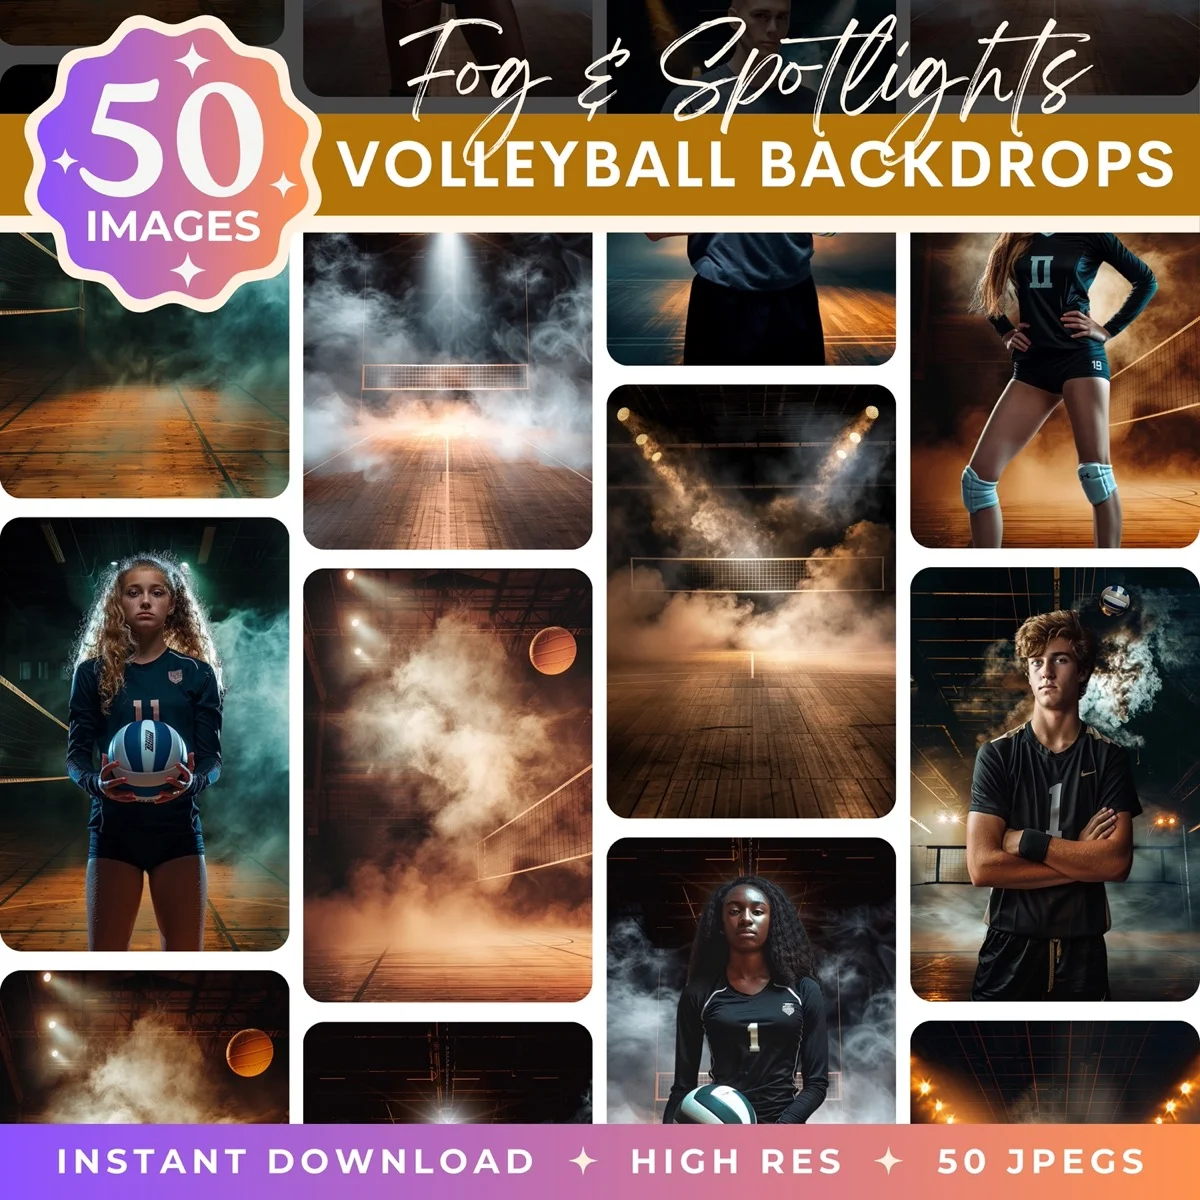

Adding a New Background After the Cut
A transparent PNG by itself is not the finish line. It is the prep work. The interesting question is what goes behind the subject.
Adobe Express lets you drop the cutout onto a new background directly in the same editor. Click "Replace Background," and you can upload your own backdrop, pick from Express's stock library, or generate one with Adobe Firefly. The subject stays where it is, the new backdrop slots in behind it, and you get a merged image to export.
This is where the tool shines for non-designers. You do not have to learn Photoshop layers. You upload your portrait, click two buttons, pick a backdrop, and export. The full workflow from raw photo to composited image takes under three minutes.
For the composite to look good, the lighting on the subject has to match the lighting on the new backdrop. A subject lit from the left cannot be plausibly dropped onto a backdrop lit from the right without looking wrong. Our color-matching guide goes deep on this.
If you are compositing for family portraits, sports team photos, or maternity sessions, we design digital backdrops at Illumina Backdrops specifically for this workflow. Our packs come in resolutions tuned for prints up to 16x24 inches and include lighting-matched variations so the composite holds up at wall size.

Use Cases Where Adobe Express Is the Right Call
The tool handles some jobs better than others. Based on a year of running it alongside Photoshop for mixed client work, here is where Express wins.
Real estate listing photos. Agents who need to swap out a cluttered backyard for a neutral sky, or remove a parked car from a driveway shot, get Express output that looks publication-ready without any further editing. The AI is particularly good on buildings, cars, and other geometric subjects.
Headshots for LinkedIn or resumes. A clean subject-plus-neutral-background headshot is the highest-volume cutout job on the internet, and Express nails it. Upload, download the PNG, drop onto a plain gray or branded gradient. Done.
Product photography for ecommerce. Etsy sellers and small Shopify stores use Express to put their products on pure white backgrounds for Amazon-style listings. The AI is less reliable on reflective products (glassware, polished metal) but excellent on soft goods, food, and anything with a matte finish.
Social media compositing. Instagram and TikTok thumbnails where a subject is placed on a bold color or pattern. Express keeps the export at full resolution, so the result holds up even on a 6.7-inch phone screen.
Where I would not use it: fine-art portraiture, wedding photography, anything destined for a 20x30 wall print, and any composite where the subject has complex hair against a similarly-toned background. Those jobs belong in Photoshop.
The Paid Tier: Is It Worth It?
Adobe Express Premium runs $9.99 a month and unlocks the full template library, Firefly image generation at higher quotas, and batch processing. For background removal alone, the free tier is complete. You do not need Premium to get full-resolution PNG exports or to use the edge refinement brush.
Premium is worth the money if you also want templates for social posts, brand kits, or short-form video. It is not worth it purely for background removal. If you need batch removal (dozens of images at once), Photoroom's paid tier is better engineered for that specific workflow.
Adobe also bundles Express Premium with its main Creative Cloud plans, so if you pay for Photoshop or the Photography plan already, you likely have Premium access without knowing. Sign in with your Adobe ID to check.
File Format and Export Settings
The export dialog offers a few choices that matter more than the interface suggests.
PNG vs JPG. Always PNG for a transparent cutout. JPG does not carry transparency. The only reason to pick JPG is if you have already added a new background in Express and the composite is finished.
Resolution. Express exports at the resolution you uploaded. If you want a smaller file for web use, resize before export by clicking on the canvas and adjusting dimensions. Do not rely on JPG compression to shrink the file (that is a different kind of size reduction).
Color space. Express exports in sRGB. This is fine for web, print, and almost every consumer use case. If you are printing at a professional lab that needs AdobeRGB or ProPhoto, you need Photoshop.
If the final use is web, export as PNG then convert to WebP. WebP files are 25 to 35 percent smaller than PNG at visually identical quality, and every modern browser supports them. Adobe Express does not export WebP directly, so do the conversion in a separate step.
Common Mistakes
Three mistakes come up in every client Adobe Express cutout I have reviewed.
Exporting the canvas instead of the cutout. If the Express canvas has a white background color set, "Download" will bake that white into the exported PNG. Make sure the canvas is set to transparent before exporting, or use the "Download PNG with transparency" option explicitly.
Trying to fix a bad source photo in post. If the original photo is softly focused or poorly lit, no background remover is going to save it. The AI needs a crisp subject edge to work with. Reshoot if you can.
Not checking at print size. A cutout that looks perfect on a phone screen can fall apart when printed at 11x14 inches. Zoom to 100 percent and check the edges before you send a final composite to a lab.
When to Switch Tools
Adobe Express handles 80 percent of background removal jobs in under two minutes. For the other 20 percent, you want more control.
Switch to Photoshop when you need to preserve transparent objects (glass, water), when you need precise mask refinement with Select and Mask, when the hair is especially fine and the subject's hair color is close to the background color, or when you are working in a full multi-layer composite. If you do not have Photoshop, Photopea is a free browser-based Photoshop clone that handles most of the same jobs.
Switch to Photoroom on mobile. The iPhone app handles batch processing, brand templates, and one-tap export to marketplaces faster than Adobe Express. If you are removing backgrounds on a phone for product listings or social media, it is the stronger tool.
Stick with Adobe Express for single portraits, family photos, real estate staging, and any job where you need a clean transparent PNG in a hurry. It is the best free tool for this job in 2026, and the gap between it and paid tools keeps closing.
Beautiful backdrops to composite onto
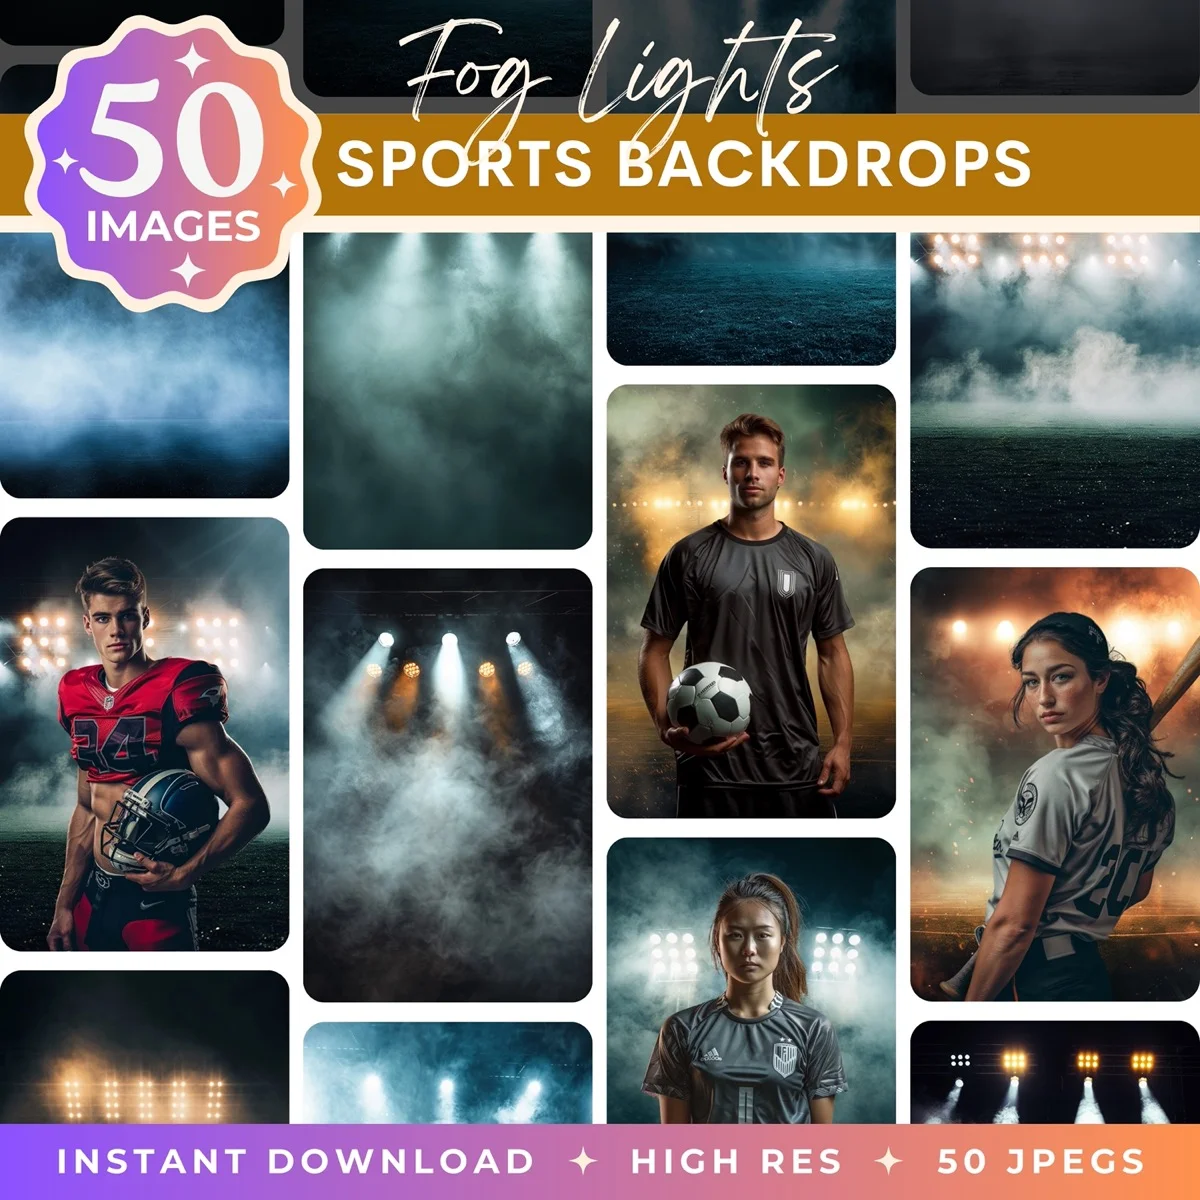


Once the background is off your photo, the next question is what goes behind the subject. A clean transparent cutout on a white canvas is a starting point. A cutout composited onto a high-resolution, purpose-designed backdrop is the finished image your clients pay for. Browse the full Illumina Backdrops collection for sports, maternity, studio, and zoom packs tuned for composite workflows.
What Comes Next
A transparent cutout is a starting point. The interesting work is what you drop behind the subject. If you are compositing sports team photos, maternity portraits, family sessions, or virtual meeting backgrounds, pairing your cutouts with high-resolution digital backdrops is what turns a phone photo into a studio-looking image.
See the full workflow in our how to add a background to any photo guide, or browse the Illumina Backdrops digital backdrop collection for print-quality backgrounds in 50-image packs designed for photographers.
Transform Your Photos
Give Your Photos the Wow Factor
Browse our collection of premium digital photo backdrops. 50 high-resolution print-ready backgrounds in each pack. Instant download.
Browse Backdrops

